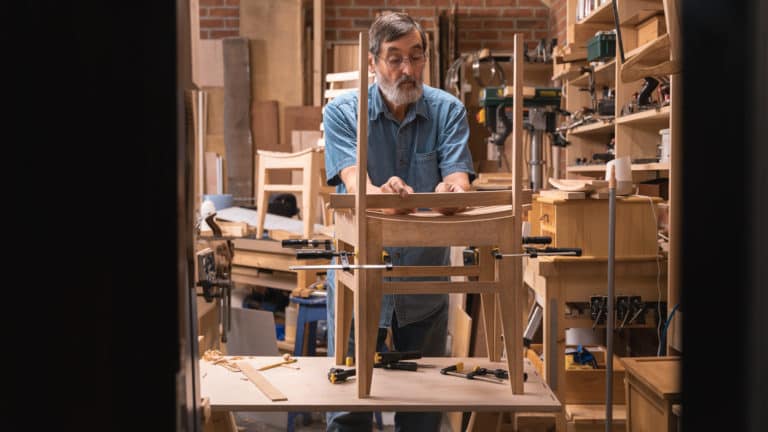
Sharpening Your Hand Tools: A Beginners Guide
Learning to sharpen your tools is a useful skill to have and one which we recommend you learn early on. It will save you lots of time if you’re using well sharpened tools and you will get cleaner results too. Paul recommends learning to freehand sharpen, however you can use a honing guide to help you get started and until you get a feel for the angle and presentation of the tool to the sharpening surface.
We’ve rounded up the best of our blogs, guides and videos to help you on the road to sharpening your tools!
Click one of the options below to jump to each section:
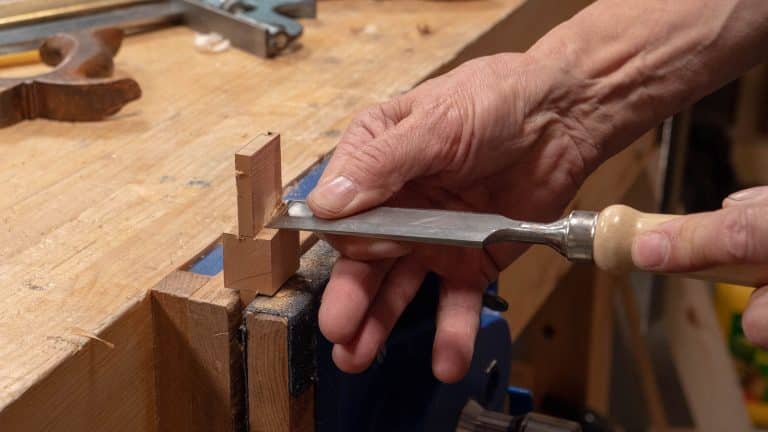
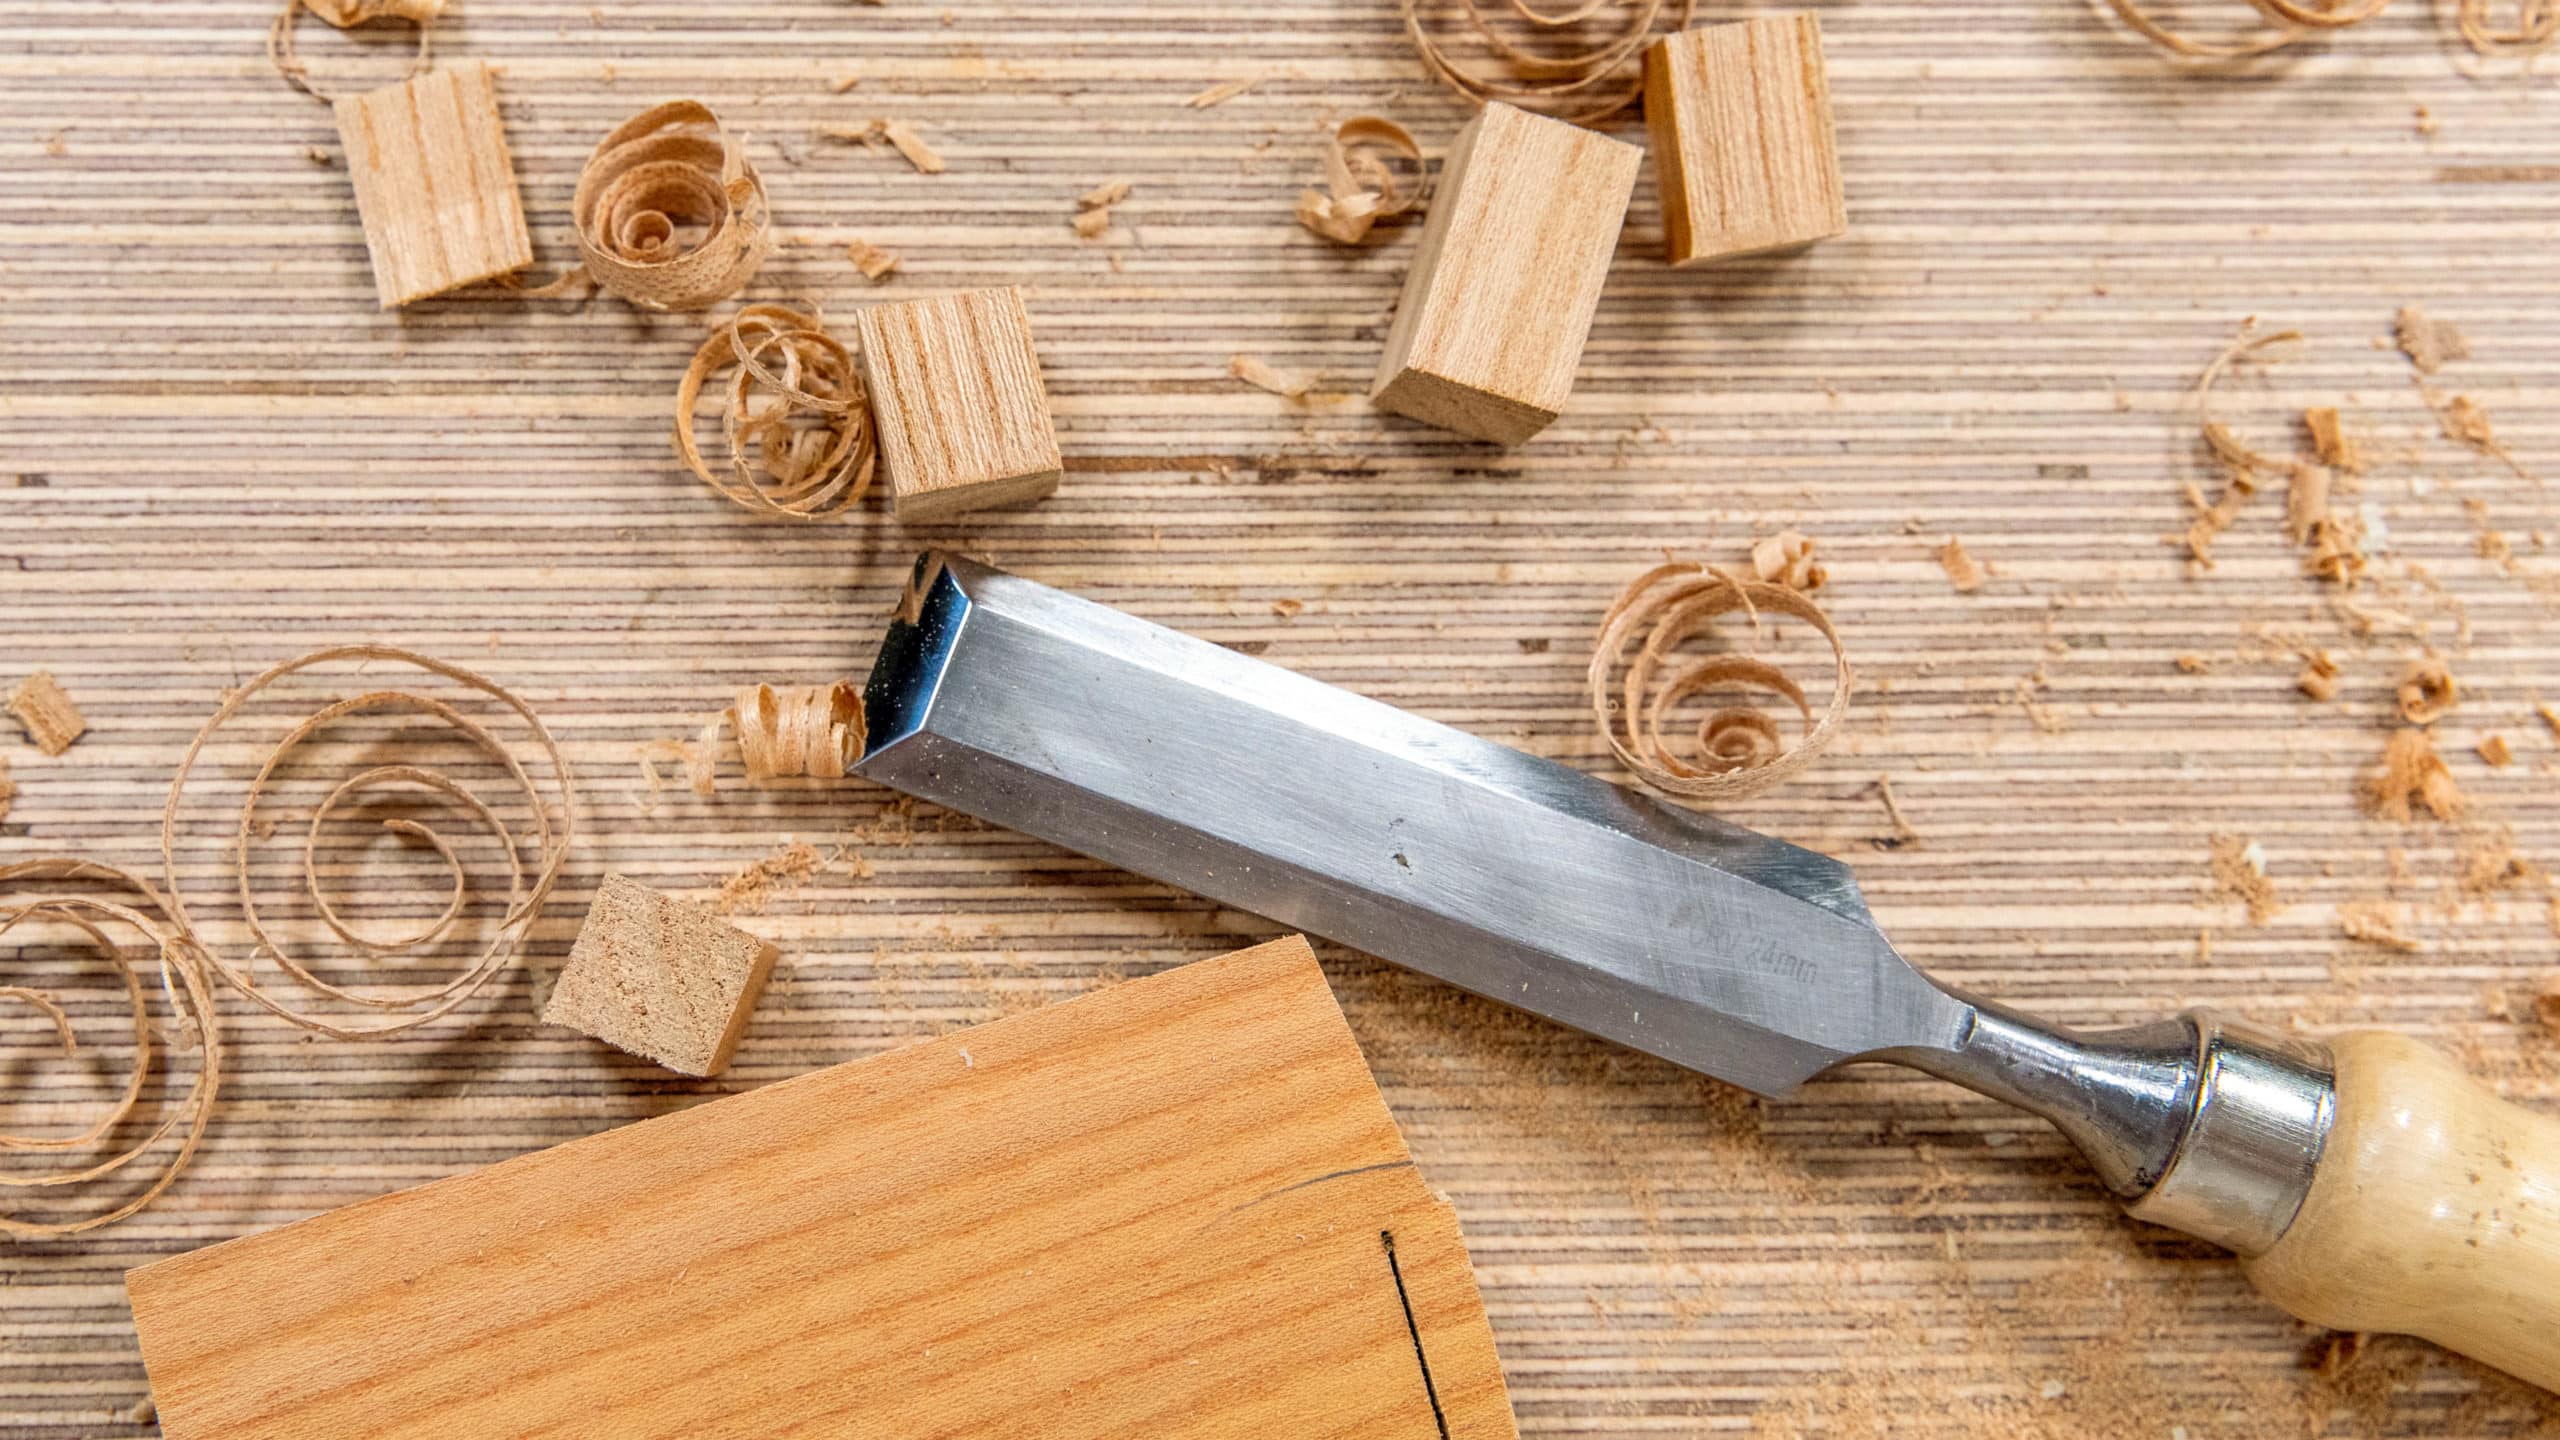
Sharpening a Chisel
Our beginner friendly guide walks you through initialising and sharpening your chisel using diamond stones, but also shows an alternative, short- term method using abrasive paper.
You can watch Paul’s Youtube video from 2017 on sharpening using diamond stones below.
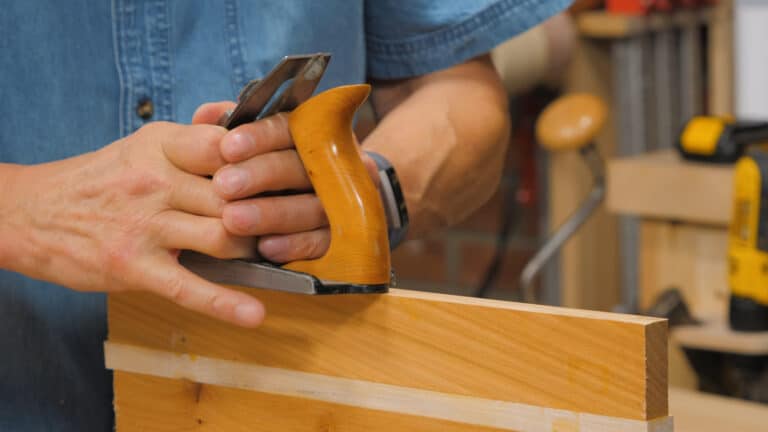
Sharpening a Plane
In our beginner guide, Paul details the angles at which you should be sharpening the plane bevel. Using the same technique as sharpening a chisel, you can use a honing guide or try out freehand sharpening.
You can also watch Paul’s YouTube video from 2015 on Sharpening and Setting the Bench Plane here:
Saw Sharpening
Paul has 3 different sizes of saw files. The PPI of the saw will determine how it is sharpened. For the majority, Paul will use a sawset to set the teeth and then either sharpen them to a ripcut or cross cut pattern. If the saw has a high PPI (small teeth), setting with a sawset is not an option so Paul recommends using a hammer and a nail punch. You can find out more in our ‘Setting Up and Sharpening a Saw‘ guide.
The following blogs from paulsellers.com provide great insight into choosing either a ripcut or crosscut pattern for your saw:
The following videos from Paul’s YouTube channel might be useful too:
Sharpening a Spokeshave
Our beginner guide walks you through the steps needed to prepare your bevel down spokeshave for use, this ranges from sharpening the blade to a specific angle, reshaping the cap iron and flattening the sole of the spokeshave.
You might find this blog from paulsellers.com useful:
Spokeshaves Rounding Coving and Curving Versatility!
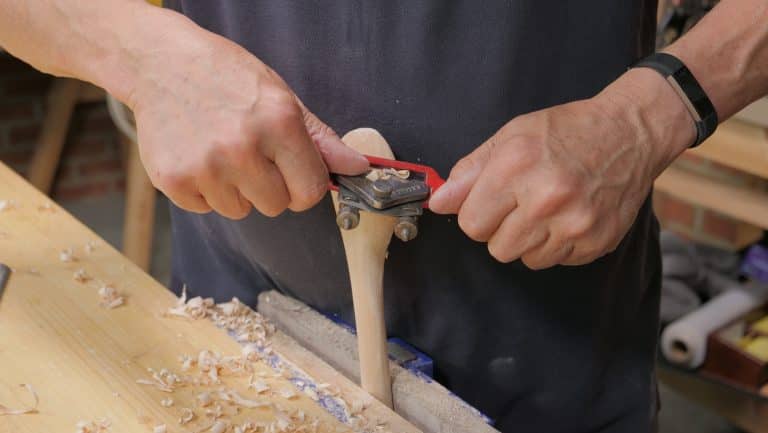
Sharpening a Woodworker’s Knife
Our beginner guide demonstrates how to sharpen your Woodworker’s Knife using a small paddle and a scrap piece of wood in the vise. You can buy replacement blades, however if you learn to sharpen them they will last you much longer!
Sharpening a Gouge
In our beginner guide Paul talks you through the equipment you will need to sharpen a gouge, similar to a chisel, however you will need a two specially shaped strops.
Sharpening a Brace Bit
When buying second hand brace bits they can come in a variety of conditions, in our sharpening guide, Paul shows you what you should look for to ensure the bits can be sharpened.
Using photos, you can identify whether the spurs are in tact and what qualities they should have. This also includes advice on what to do if the pointed snail is dulled. You may find this video from Woodworking Masterclasses useful on Sharpening an Auger Bit
Sharpening a Card Scraper
When sharpening a card scraper, you will need the diamond stones and a burnisher to develop the edge and consolidate the steel. Paul talks you through how to create a turned edge on the scraper to get great results. This same method can be used for sharpening a rounded card scraper. You may find this video of Sharpening a Card Scraper on Woodworking Masterclasses useful too.
Sharpening a Plough Plane
A plough plane might not be on the ‘essential’ tool list, however if you have one it is useful to know how to get the most from it by keeping it sharp. Similar to the chisel and plane, you can also use the honing guide for this if you are not used to freehand sharpening. As always, the strop is an optional step, but adds an extra level of refinement. See our beginner friendly guide for more information. You may find this video on setting up, sharpening and using the plough plane from Woodworking Masterclasses useful.
Sharpening a #80 Scraper
Our beginners guide will show you how to sharpen the angle, use the burnisher and turn the edge. You’ll also learn how to remove the unwanted burr created when sharpening. You can make a honing guide to help sharpen the angle, see Paul’s Youtube video below:
Sharpening a Router Plane
Our beginner guide will take you through the steps needed to initialise, square and sharpen the router plane blade. This may not be an accessible tool to everyone due to the high price point, however there are plenty of alternative methods you can use that don’t require a router plane.