Spokeshave Control
These exercises will work on your control of the flat-bottomed spokeshave and establish good patterns for continuously reading the grain:
For these exercises you will need:
- 1x piece of wood approximately ¾” thick (19mm), 4” wide (100mm), 16” long (400mm)
- 2x 1” (25mm) panel pins (finish nails USA)
- Pencil
- Spare thin piece of wood (thin enough to bend gently without snapping) 3/16” thick (5mm), ¾” (19mm) wide, same length as your main piece of wood.
- Hammer
- Spokeshave (flat-bottomed)
Convex and Concave
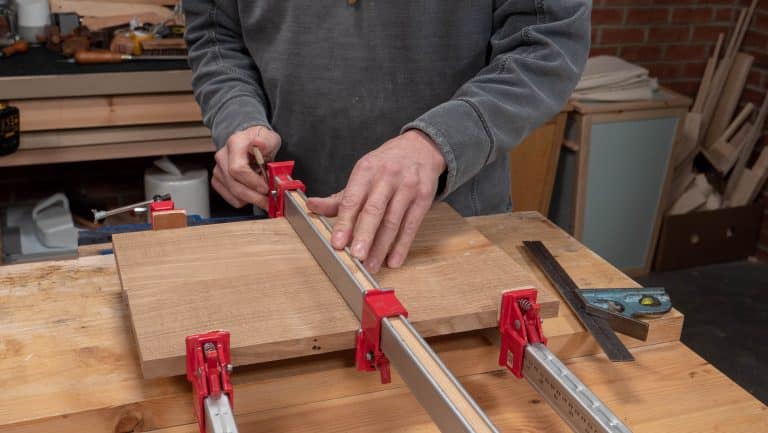
1- Start by driving two panel pins into your wood, 1” (25mm) from each end and 1” (25mm) from the edge.
2- Use your thinner piece of wood to push against the two pins applying pressure in the centre to create a bend in the wood which we will use a guide. Use your pencil to draw a line on one side of the wood, this will be your concave target line.
3- Take the pins out and do the same along the opposite edge. This time, resting the wood on the other side of the pins and bending it the opposite way and out to the edge of the wood, use a pencil to draw along the edge which will be your convex target line.
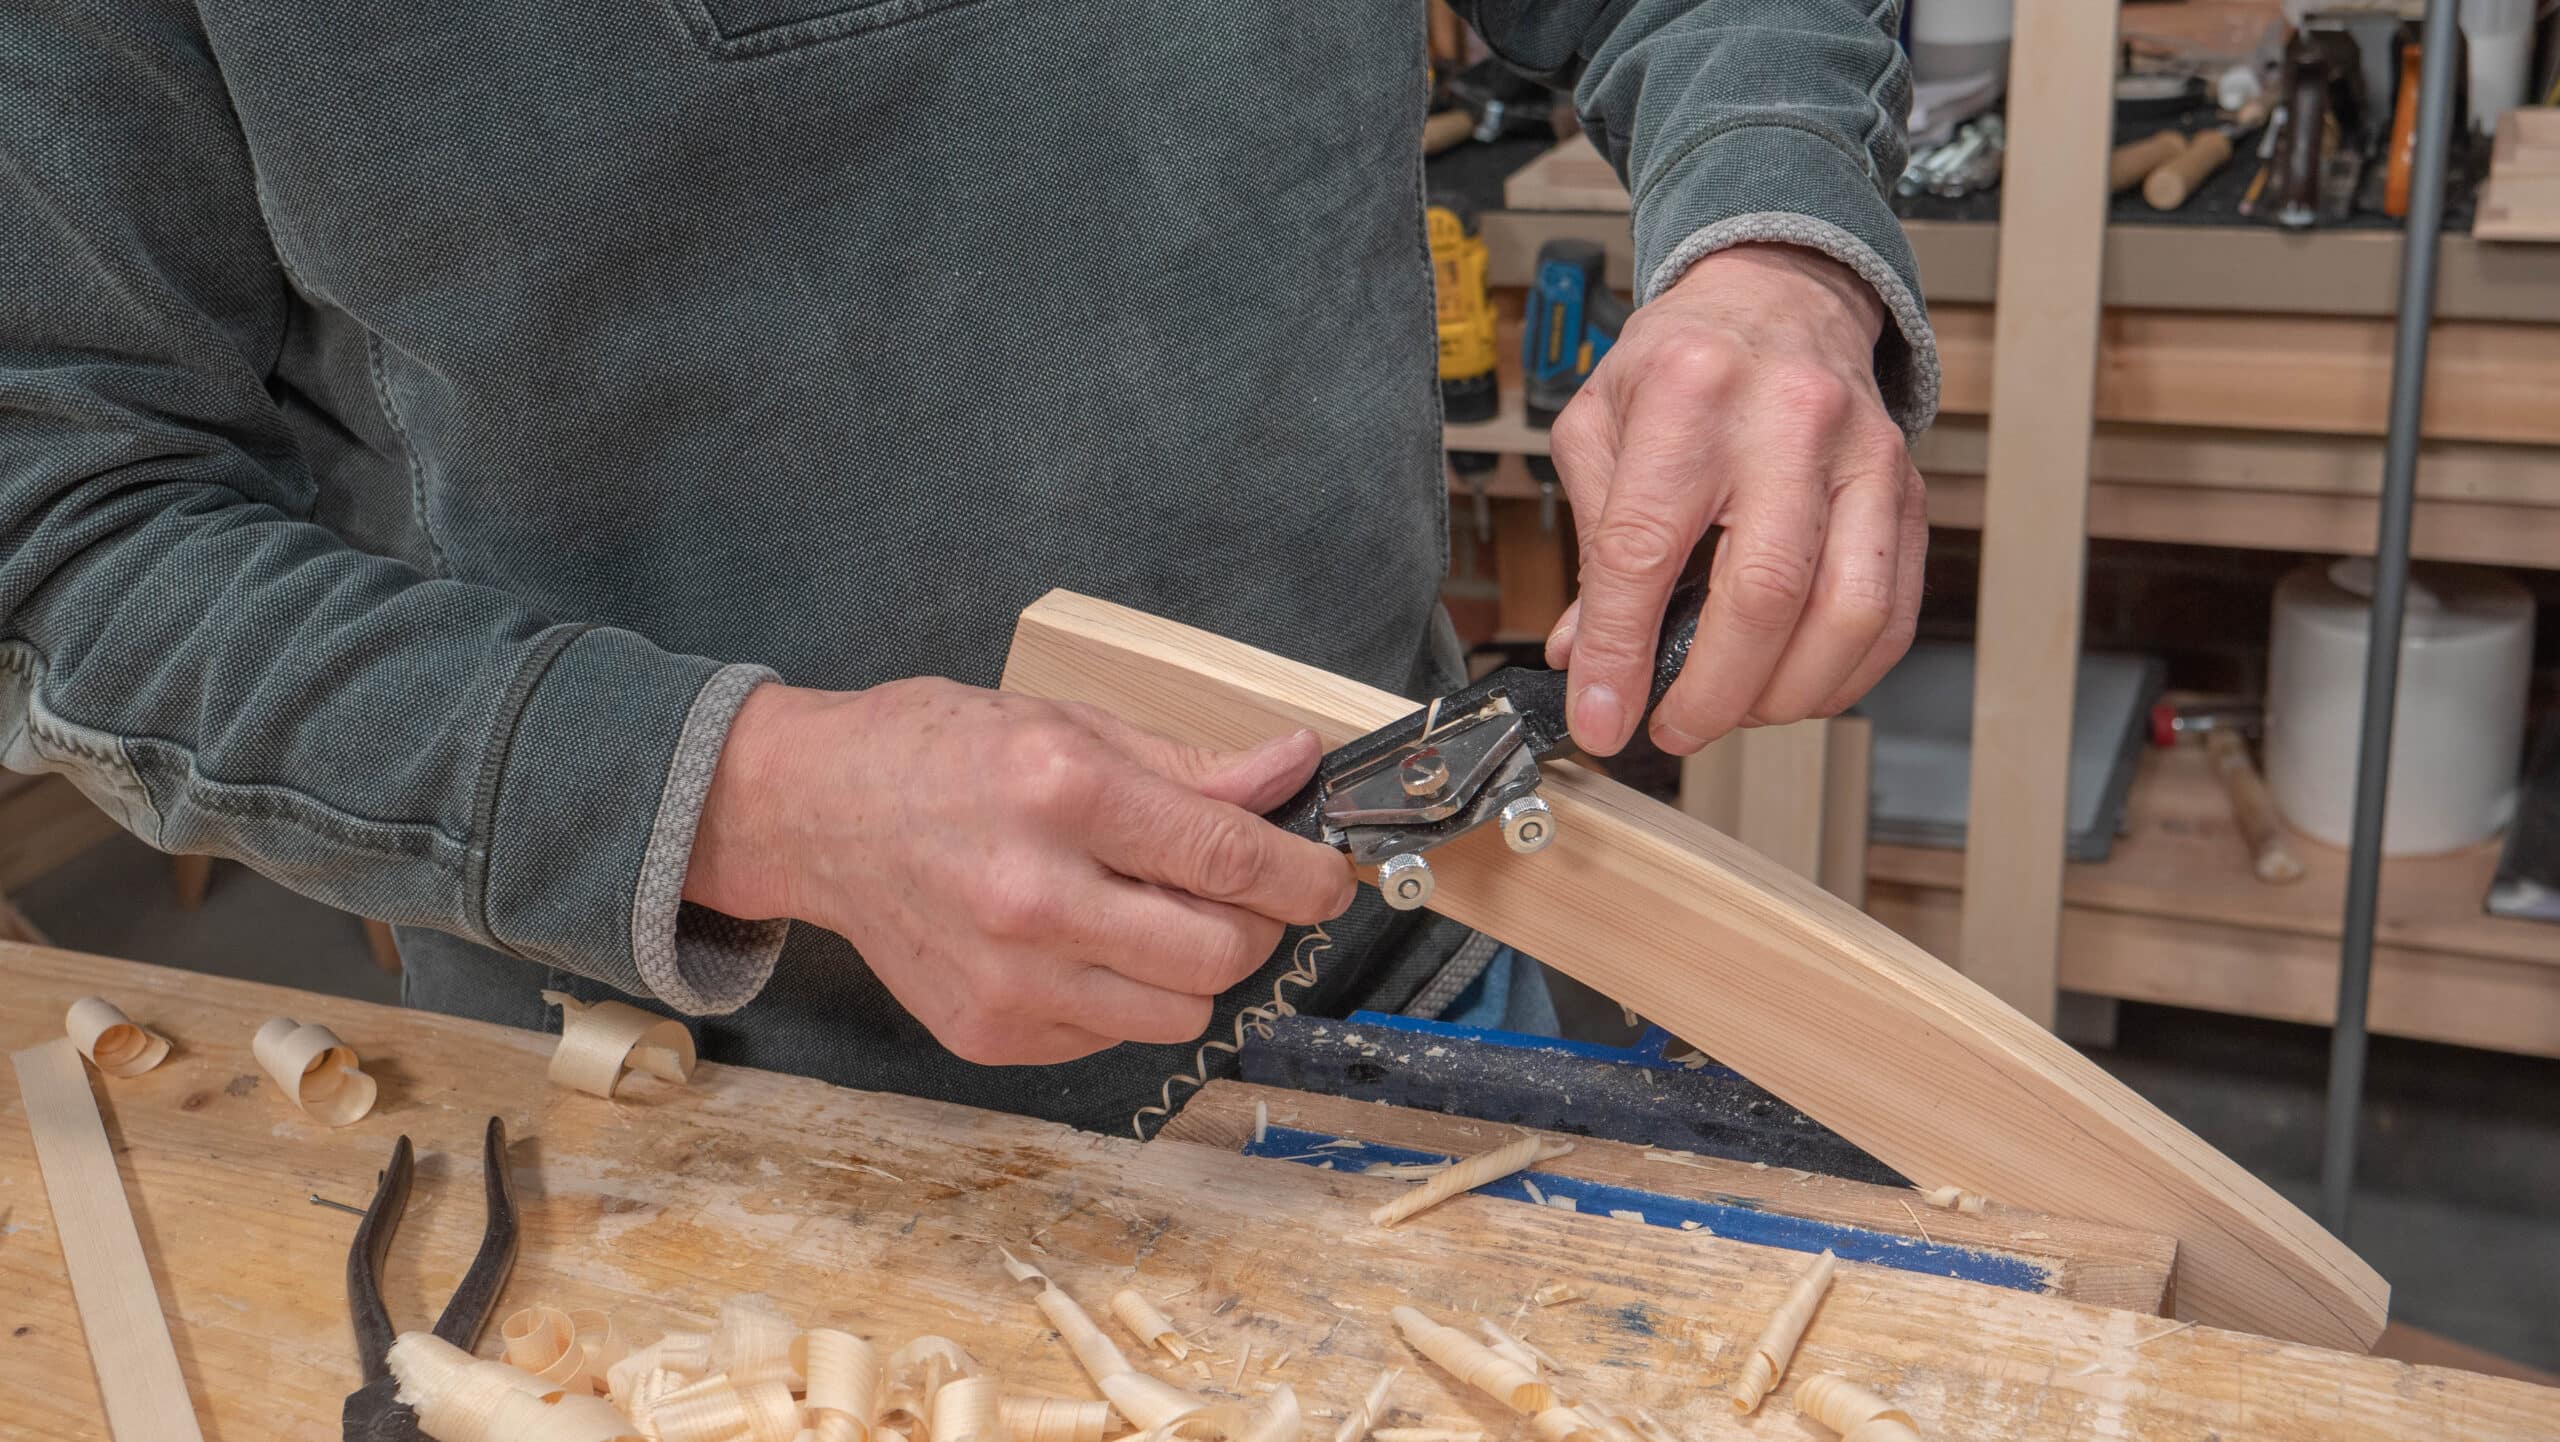
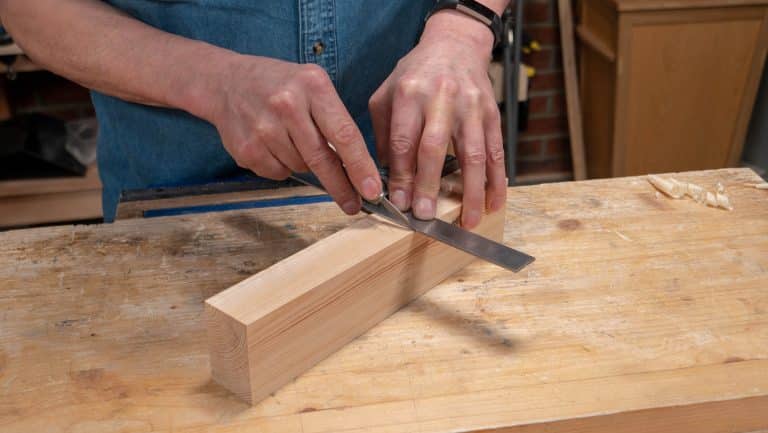
4- Secure your wood in the vise and use a sharp spokeshave (click here to read our guide on sharpening a spokeshave) to reach your target line. Try to use both the push- and pull-stroke methods to allow you to practise using the tool. If the spokeshave is skudding (bouncing in the cut), try changing direction as this could be because you have hit end grain fibres in the stroke, if you treat the template line as a ‘hill’, use the spokeshave to go ‘down the hill’.
5- Check that your spokeshave strokes are square cuts and not tilted to one side or the other. You can do this by holding the combination square against the edge you are spokeshaving. If it is not flat across the full width of the surface you will need to focus more on the higher point and or sides to bring it back to an even square.
Tips
- Check that your wood is square at several intervals in the process, not just at the end because if you need to remove some higher points once you have already reached your line then you will have to go below the target line.
- If the spokeshave is used square on throughout, any undulations in the wood will be further exaggerated. Turn the spokeshave on a slant, skewing its presentation, the sole spans a longer distance as you move the spokeshave forwards in the cut and removes the higher points by spanning the low points.
- To take off material on one side, move the spokeshave across more to that side and use the opposite end of the blade. For example if you need to take material off the right side, use the left side of the blade with the other side of the blade overhanging.
- The cap iron might vibrate loose (see parts of the spokeshave) when using the spokeshave continuously. This happens sometimes and just needs to be realigned and tightened using the knurled setscrew in the centre of the cap.
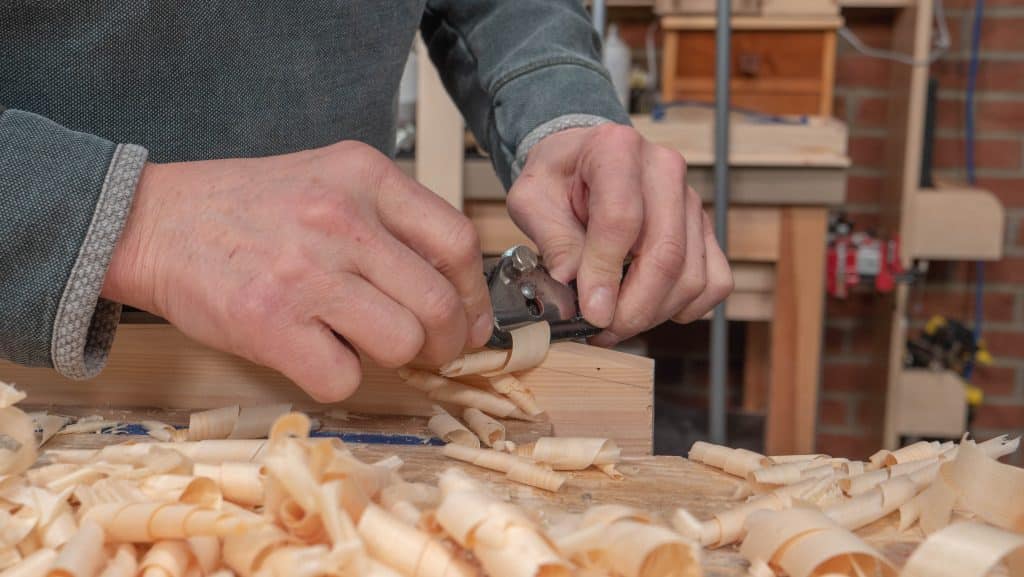
- Use this as a good opportunity to set a heavy and shallow depth to get the feel for heavy and light cuts and to get used to adjusting the depth of cut.

Note: We use chamfers to remove corners as this strengthens the corner of the wood.
Chamfer
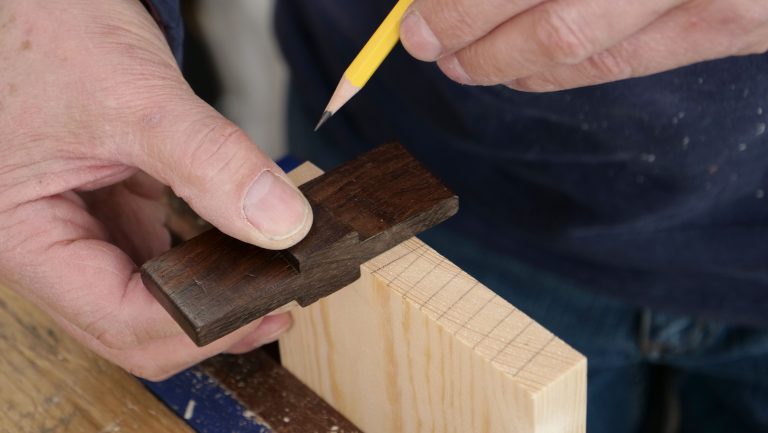
1- Use a pencil and your finger as a guide to draw a line ¼” (6mm) from the edge, flip the wood and use your finger as a guide to draw another line at an equal distance on the other edge. These will be your chamfer guides.
2- Use the spokeshave to gradually take the corner down, while feeling for the direction of the grain. If you carefully use your fingernail and run it down the edge both ways, the direction that catches is usually a good indication of going against the grain.

- Usually you would use the spokeshave to go ‘down the hill’ meaning that you would start from the middle and go outwards for both directions. To do this you will need to work from the centre high point to the lows on each end.
- It is important to note that grain can often be contrary and therefore this might not always be the case and sometimes you will need to use the spokeshave in the same direction for the length of the wood.
3- Use the spokeshave until you have reached both your guide lines, then the chamfer will be at 45°.
4- Repeat the steps on the other side (concave or convex). The wood works differently on both concaves and convexes so it’s important to develop experience outside of an actual project.
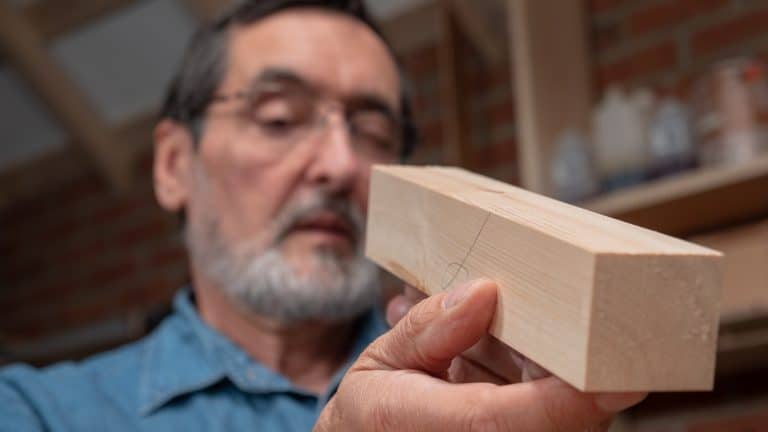
Stop- Chamfer
1- Mark a line on each edge, the same as before using your finger as a guide, but this time only mark in the centre part of the wood, leaving about 4” (102mm) at each end.
2- Start by removing the waste in the centre and gradually get closer to the outside line, this will give you a smooth transition into the chamfer from the edge.
3- Repeat on the other side:
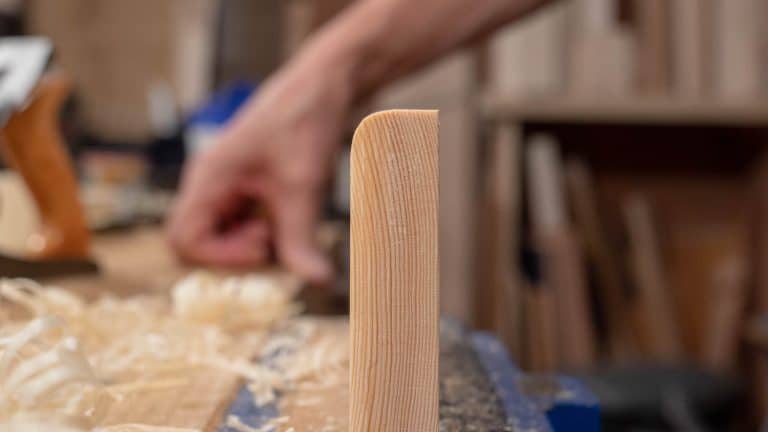
Rounded Edge- End grain
1- Upend your wood in the vise so you are working with the end grain.
2- Start to take off the corners, holding the spokeshave as near as possible to an angle of 45° and also skewed at an angle of 45°. This will make it easier to work with end grain.
3- You will be able to feel if you are going the right way if the spokeshave doesn’t catch. Take off the corner as when creating a chamfer.
4- Gradually take off the edges of the chamfer and blend them in with the sides. Keep taking off small sections while moving back and forth to round the corner. This will create a gentle curve.
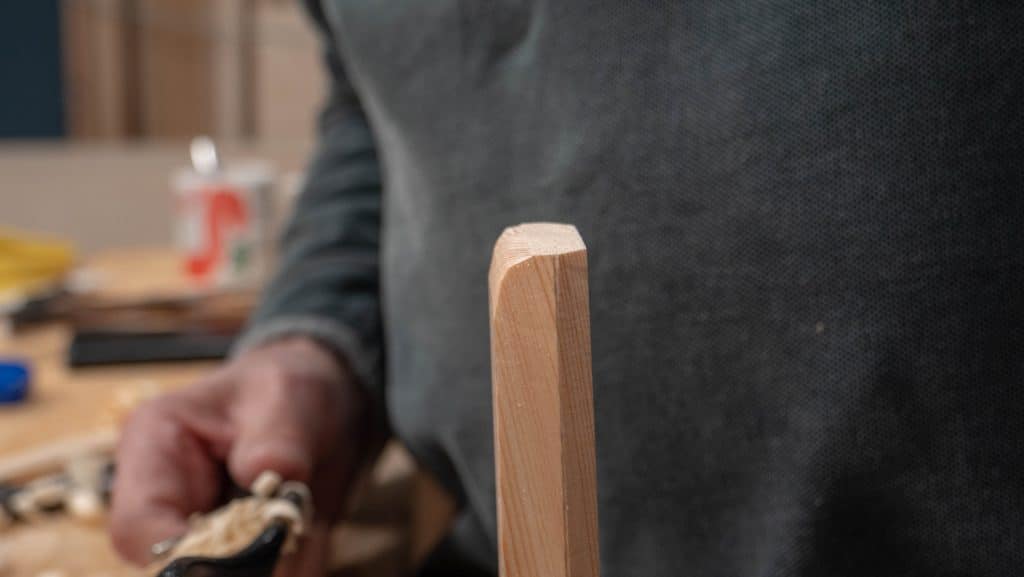
- The wood may appear shiny in places, this is the natural oiliness from the end grain wood being burnished as you move the spokeshave.
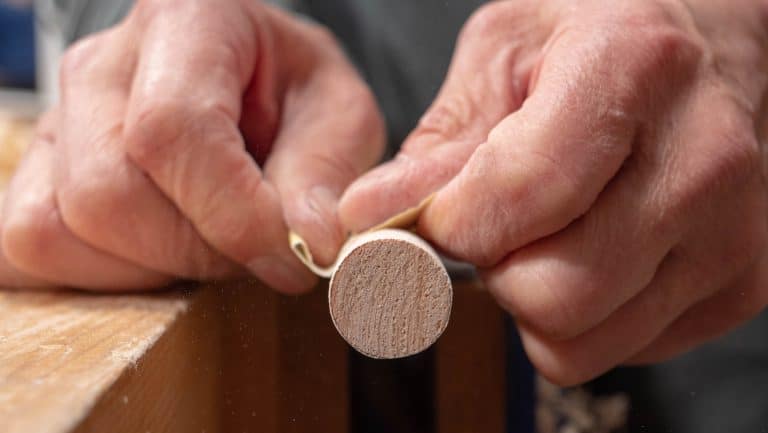
Rounded Corner- Along the Grain
1- Turn your wood onto the side.
2- Take off the corner, the same as a chamfer.
3- Take off the hard corners of the chamfer and gradually work your way round the edge. This will result in a rounded corner.
Izzy,
Thanks, this is really helpful.
I would love to see Paul do these exercises in a WW masterclass techniques video