Using Registration Faces
This exercise will focus on using two registration faces to mark around your wood which will help when you need to crosscut wood to length, which requires an accurate knifewall on all faces to prevent tearout. It will also help you to understand how to mark around a piece of wood when defining a knifewall in joinery such as dovetails and mortise and tenons.
To view a video of this exercise, click here.
For this exercise, you will need:
- Plane
- Knife
- Square
- Pencil
Two marks are used to identify the registration faces, one is called a ‘face mark’ (marked with an ‘f’) and the other is called a ‘face edge mark’ (marked with a chevron pointing towards the edge), these are universally used terms to identify the registration faces.
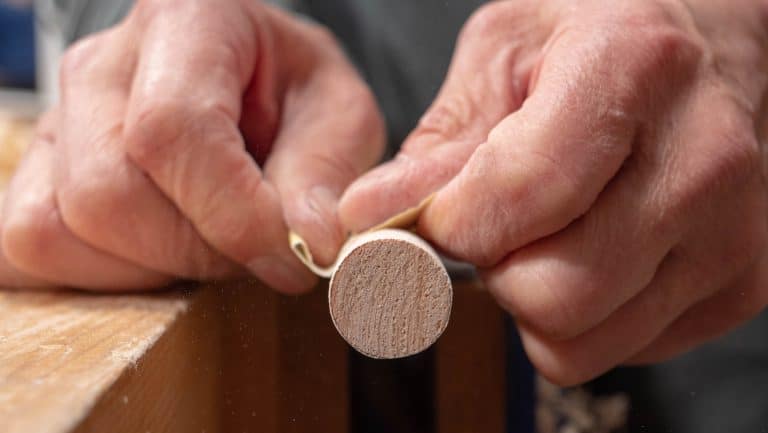
- Plane down two adjacent surfaces so that they are flat and straight and square to one another. These are now your ‘registration faces’ and will be the faces you register the stock of the square against each time. Mark them with a face mark and face edge symbol.
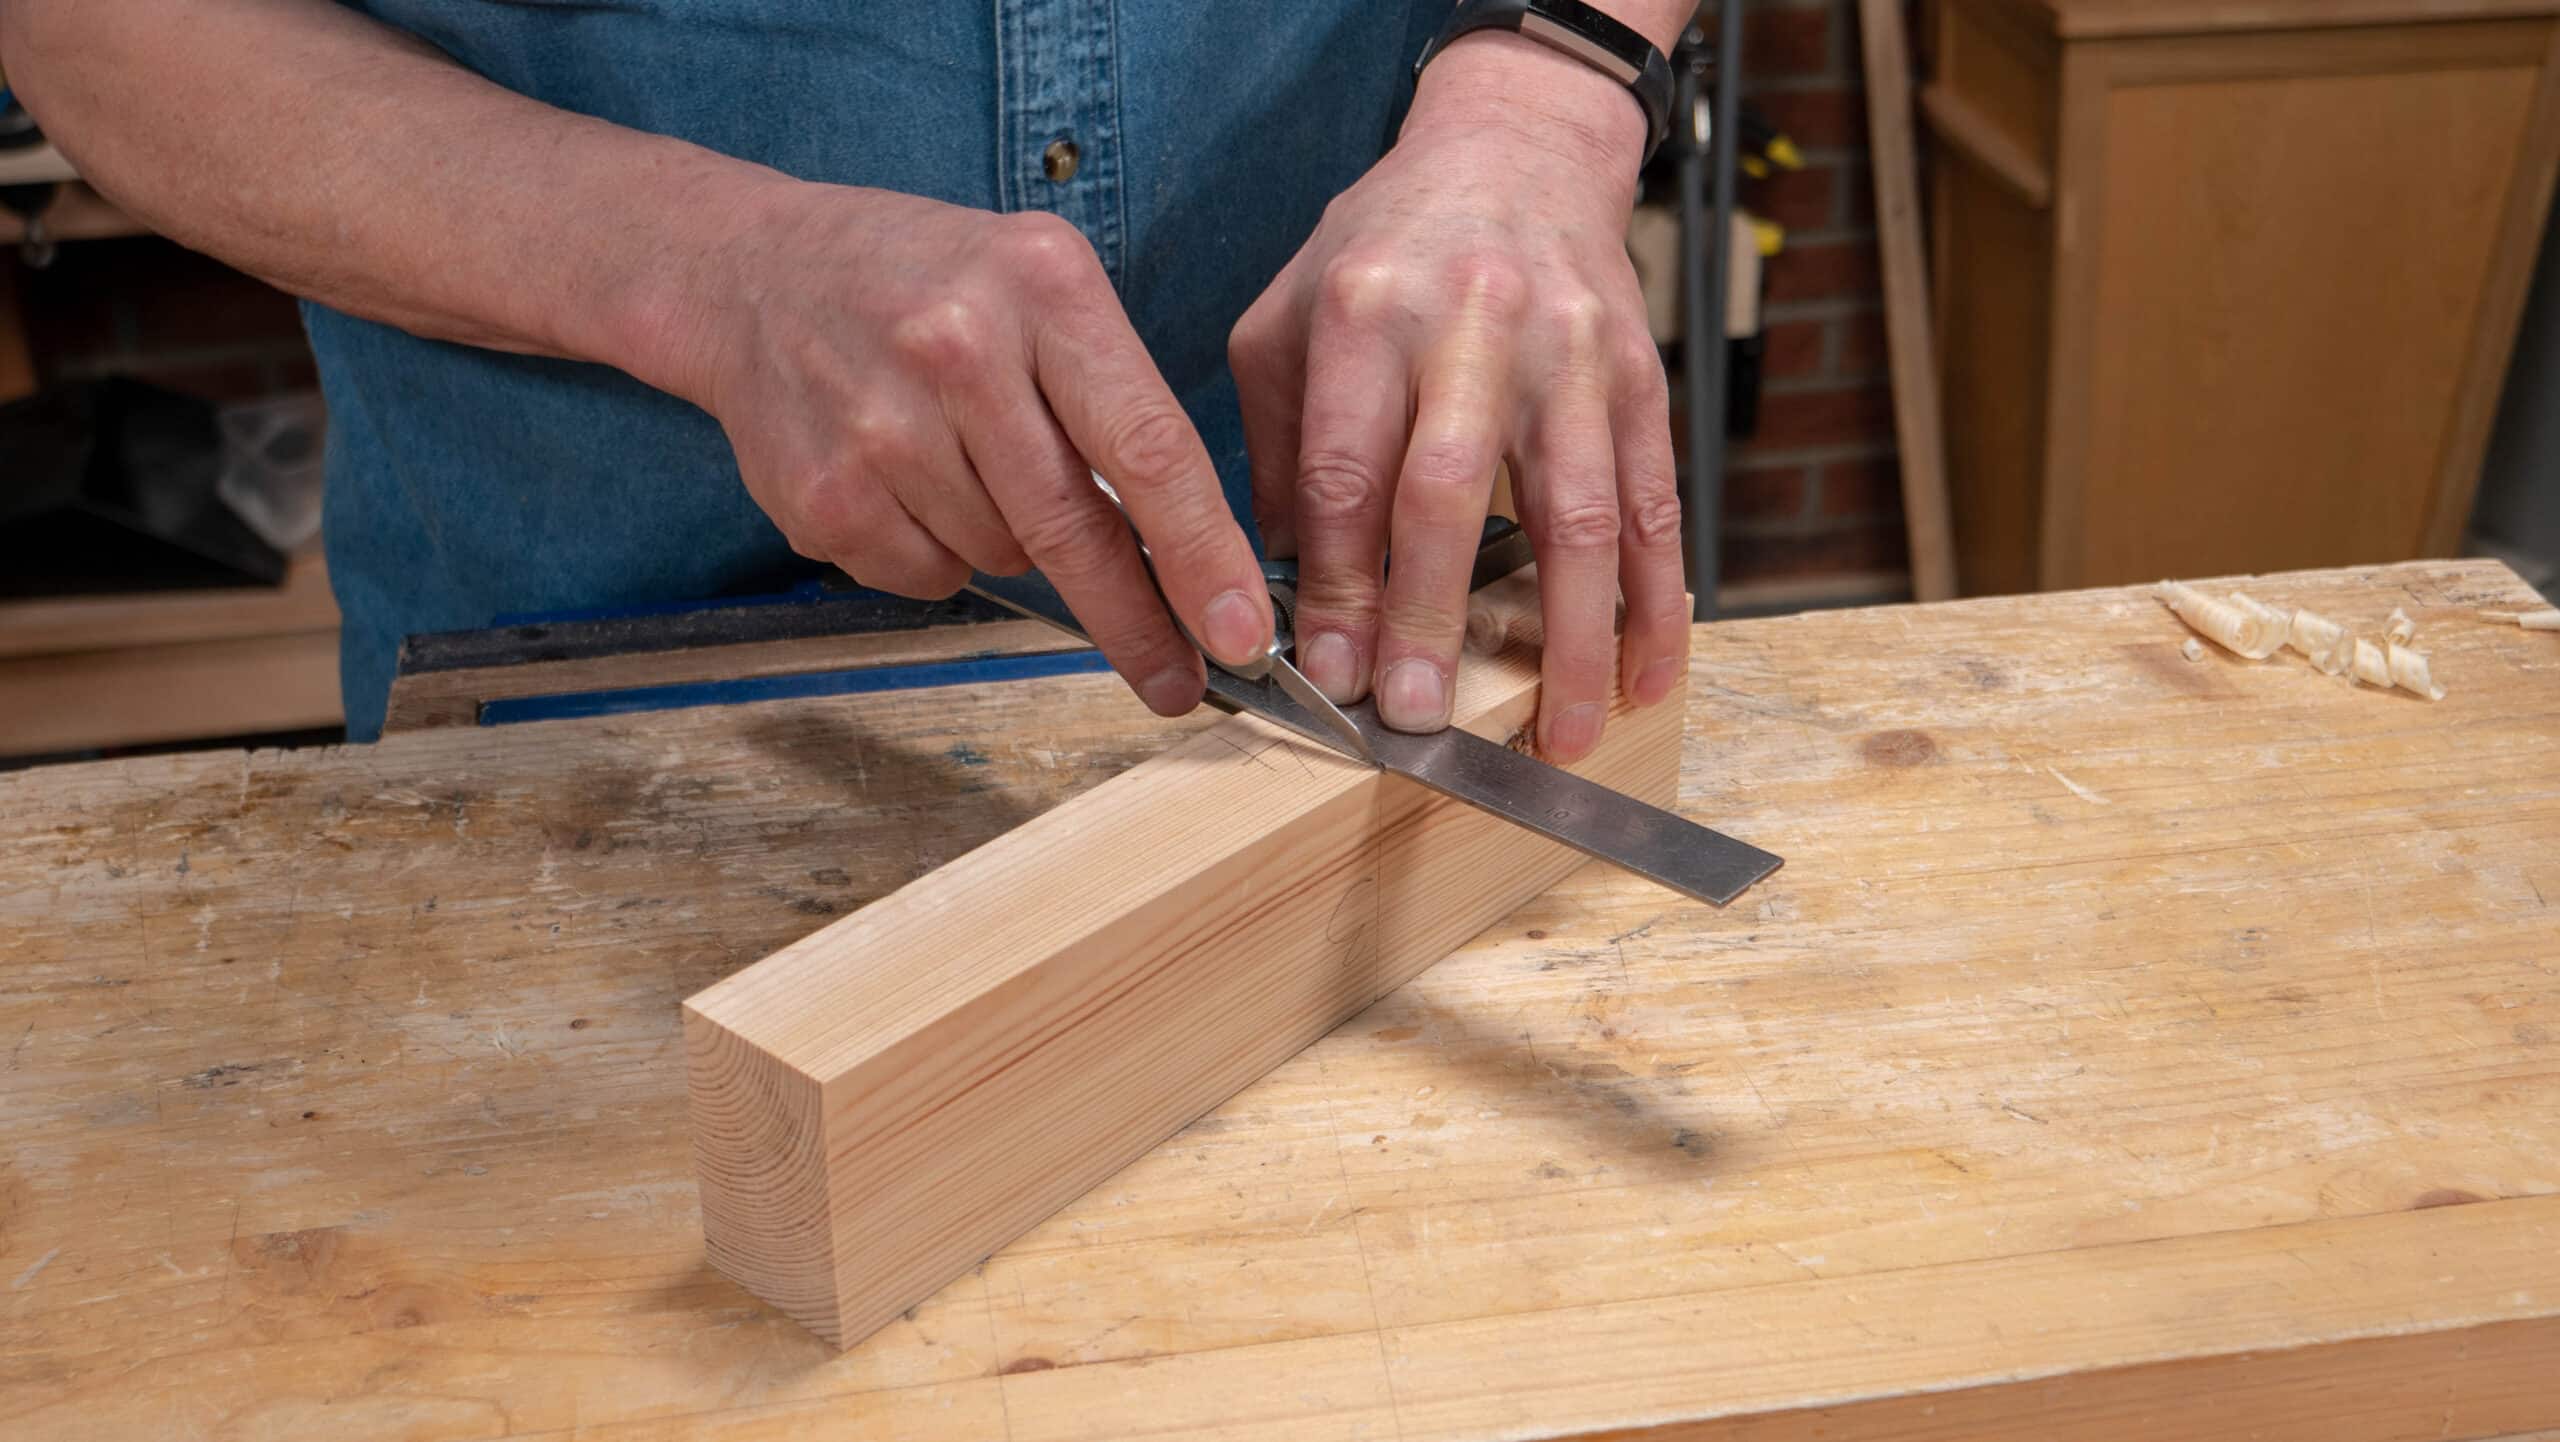
2. Register the stock of the square against the face edge, with the beam across the face- mark face, use the knife to create a knifewall across the face.
3. Turn the wood and flip the square so the stock is against the face- mark face and the beam is across the face- edge face. Rest the knife in the knife nick from the previous knifewall, slide the square up against the side of the knife edge. Use the knife against the square to make the second knifewall across the face of the wood.
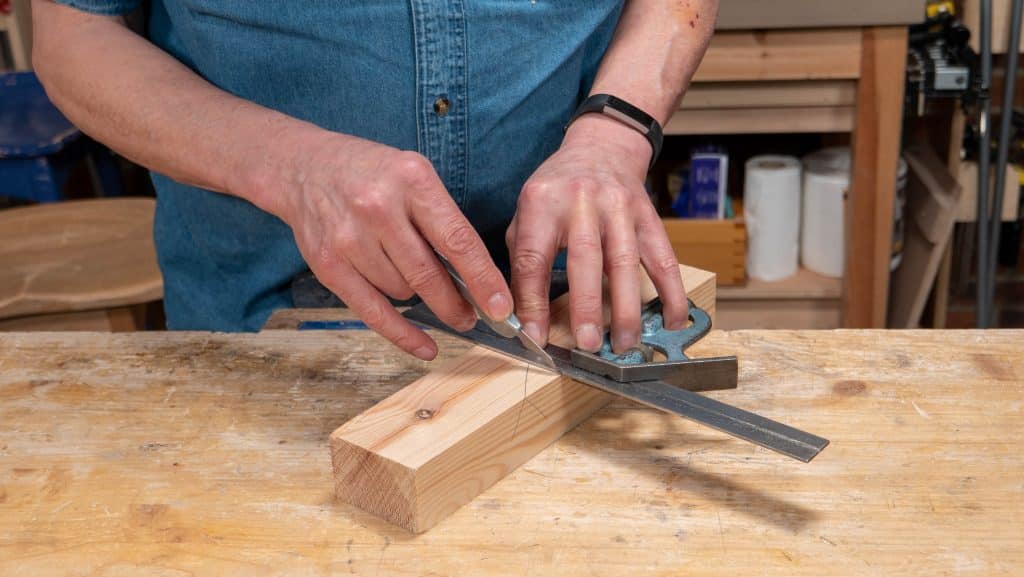
4. Turn the wood so that the stock is registered against the face- edge face with the beam across the adjacent face. Rest the knife in the knife nick from the previous face, slide the square up and create a knifewall.
5. On the final face, flip the square and turn the wood. Register the square against your face- mark face with the beam across the last face, use the nick from face- mark face to rest your knife in, make the final line.
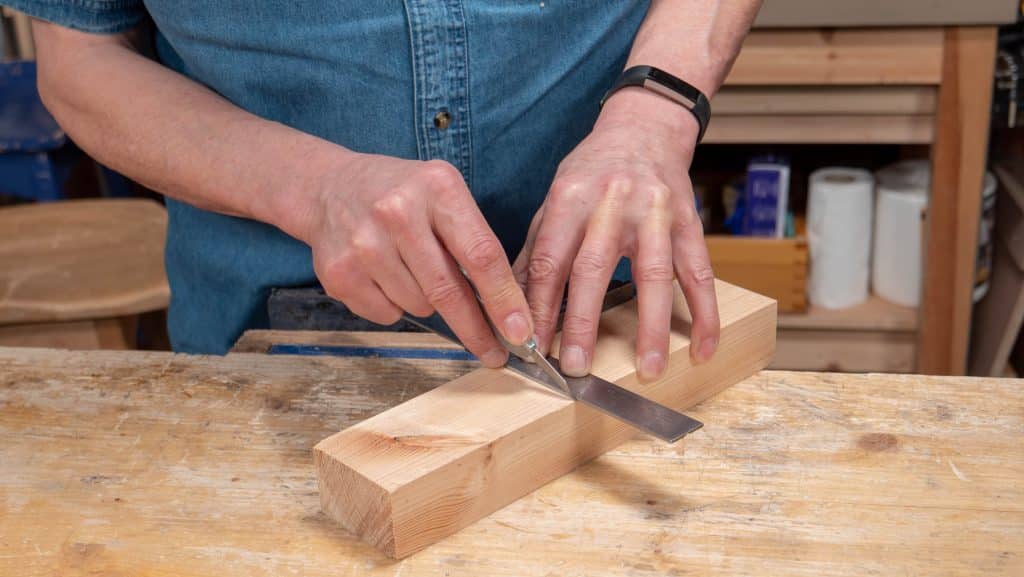
- If done correctly, this should line up exactly with your first line. If your lines are slightly off, this could be because you haven’t used your registration faces, or your registration faces are out of parallel. Always use the two proven registration faces for setting the square against as this guarantees a positive outcome.
- It is very important that this lines up exactly as if it is even 1/32” (~1 mm) out, you will have a gap in the shoulder lines of your joint which could make your project out of square and possibly unstable.
The gallery below shows what happens if you mark your faces without using the registration faces when the wood is planed out of parallel [Note: If you make your wood very out of parallel the effects will be exaggerated and you will be able to see why the line does not match up]:
I’ve noticed many times in project videos that Paul does not always use the registration surfaces when squaring a line around a workpiece. In fairness, there have been times that he’s done this, but said it didn’t matter because he squared up his stock very precisely. But when teaching new woodworkers, which I believe the majority of WWMC students are, I think he should be careful always to do this the proper way.
This is such a handy tutorial for me right now. Is there a way to download this so I can view it whenever I want?
Hi,
Unfortunately not. However you can download it as a PDF (the galleries and videos will not be interactive) by pressing Ctrl + P (Windows) or Cmd + P (Mac).
I hope this helps!
Kind Regards,
Izzy
Great, lucid and informative
Hello.
I am new to woodworking and, fortunately for me, I found Mr. Sellers internet presence very quickly. I have learned so much from him in a very short time because of his outstanding ability to get his point across to newbies like me. Many thanks to Mr. Sellers and his whole crew for sharing such rich educational content. Take care and be well.
A few months ago I was trying to cut dovetails with a copingfçx
Better to watch on a computer than phone – you’ll miss stuff on the phone – like I did first time round. Great video. Thanks
I’ve watched many great Paul Seller videos and heard, repeatedly, about marking and using two adjoining registration faces. However, somehow, this video by using the terms “stock” and “beam” and putting the stock of the square onto a registration “facemark” or “facemark edge” and my noting a sequence of stock-to-edge, to-face, to-edge, to-face (E-F-E-F) completed the circle. Wonderful.
Just started woodworking as a hobby and enjoying the lectures so far. I hope Paul Seller’s page is the place to perfect the art. Time and commitment on my part will tell how far I will go.