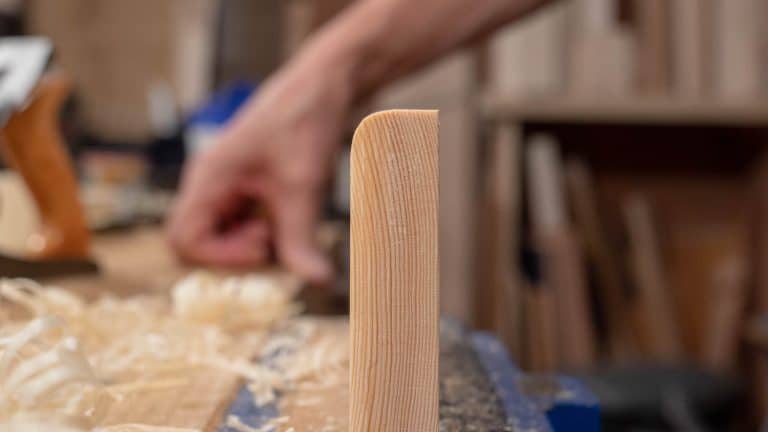
Preparing Your Wood
Preparing your wood is also referred to as truing your stock.
For this exercise you will need:
Wood (size will be dependent on the project you are working on)
Plane
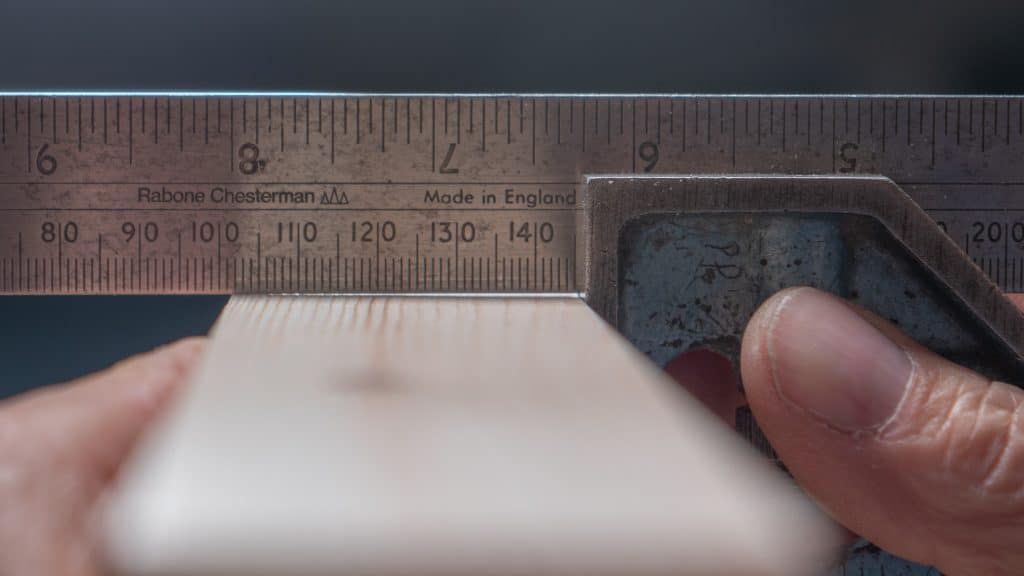
Steel Rule
Winding Sticks (you can make them using this video or you can use the ‘poor mans’ version Paul uses in this guide)
Pencil
Square
Gauge
All stock must be trued before joinery to establish the registration faces required for accurate layout.
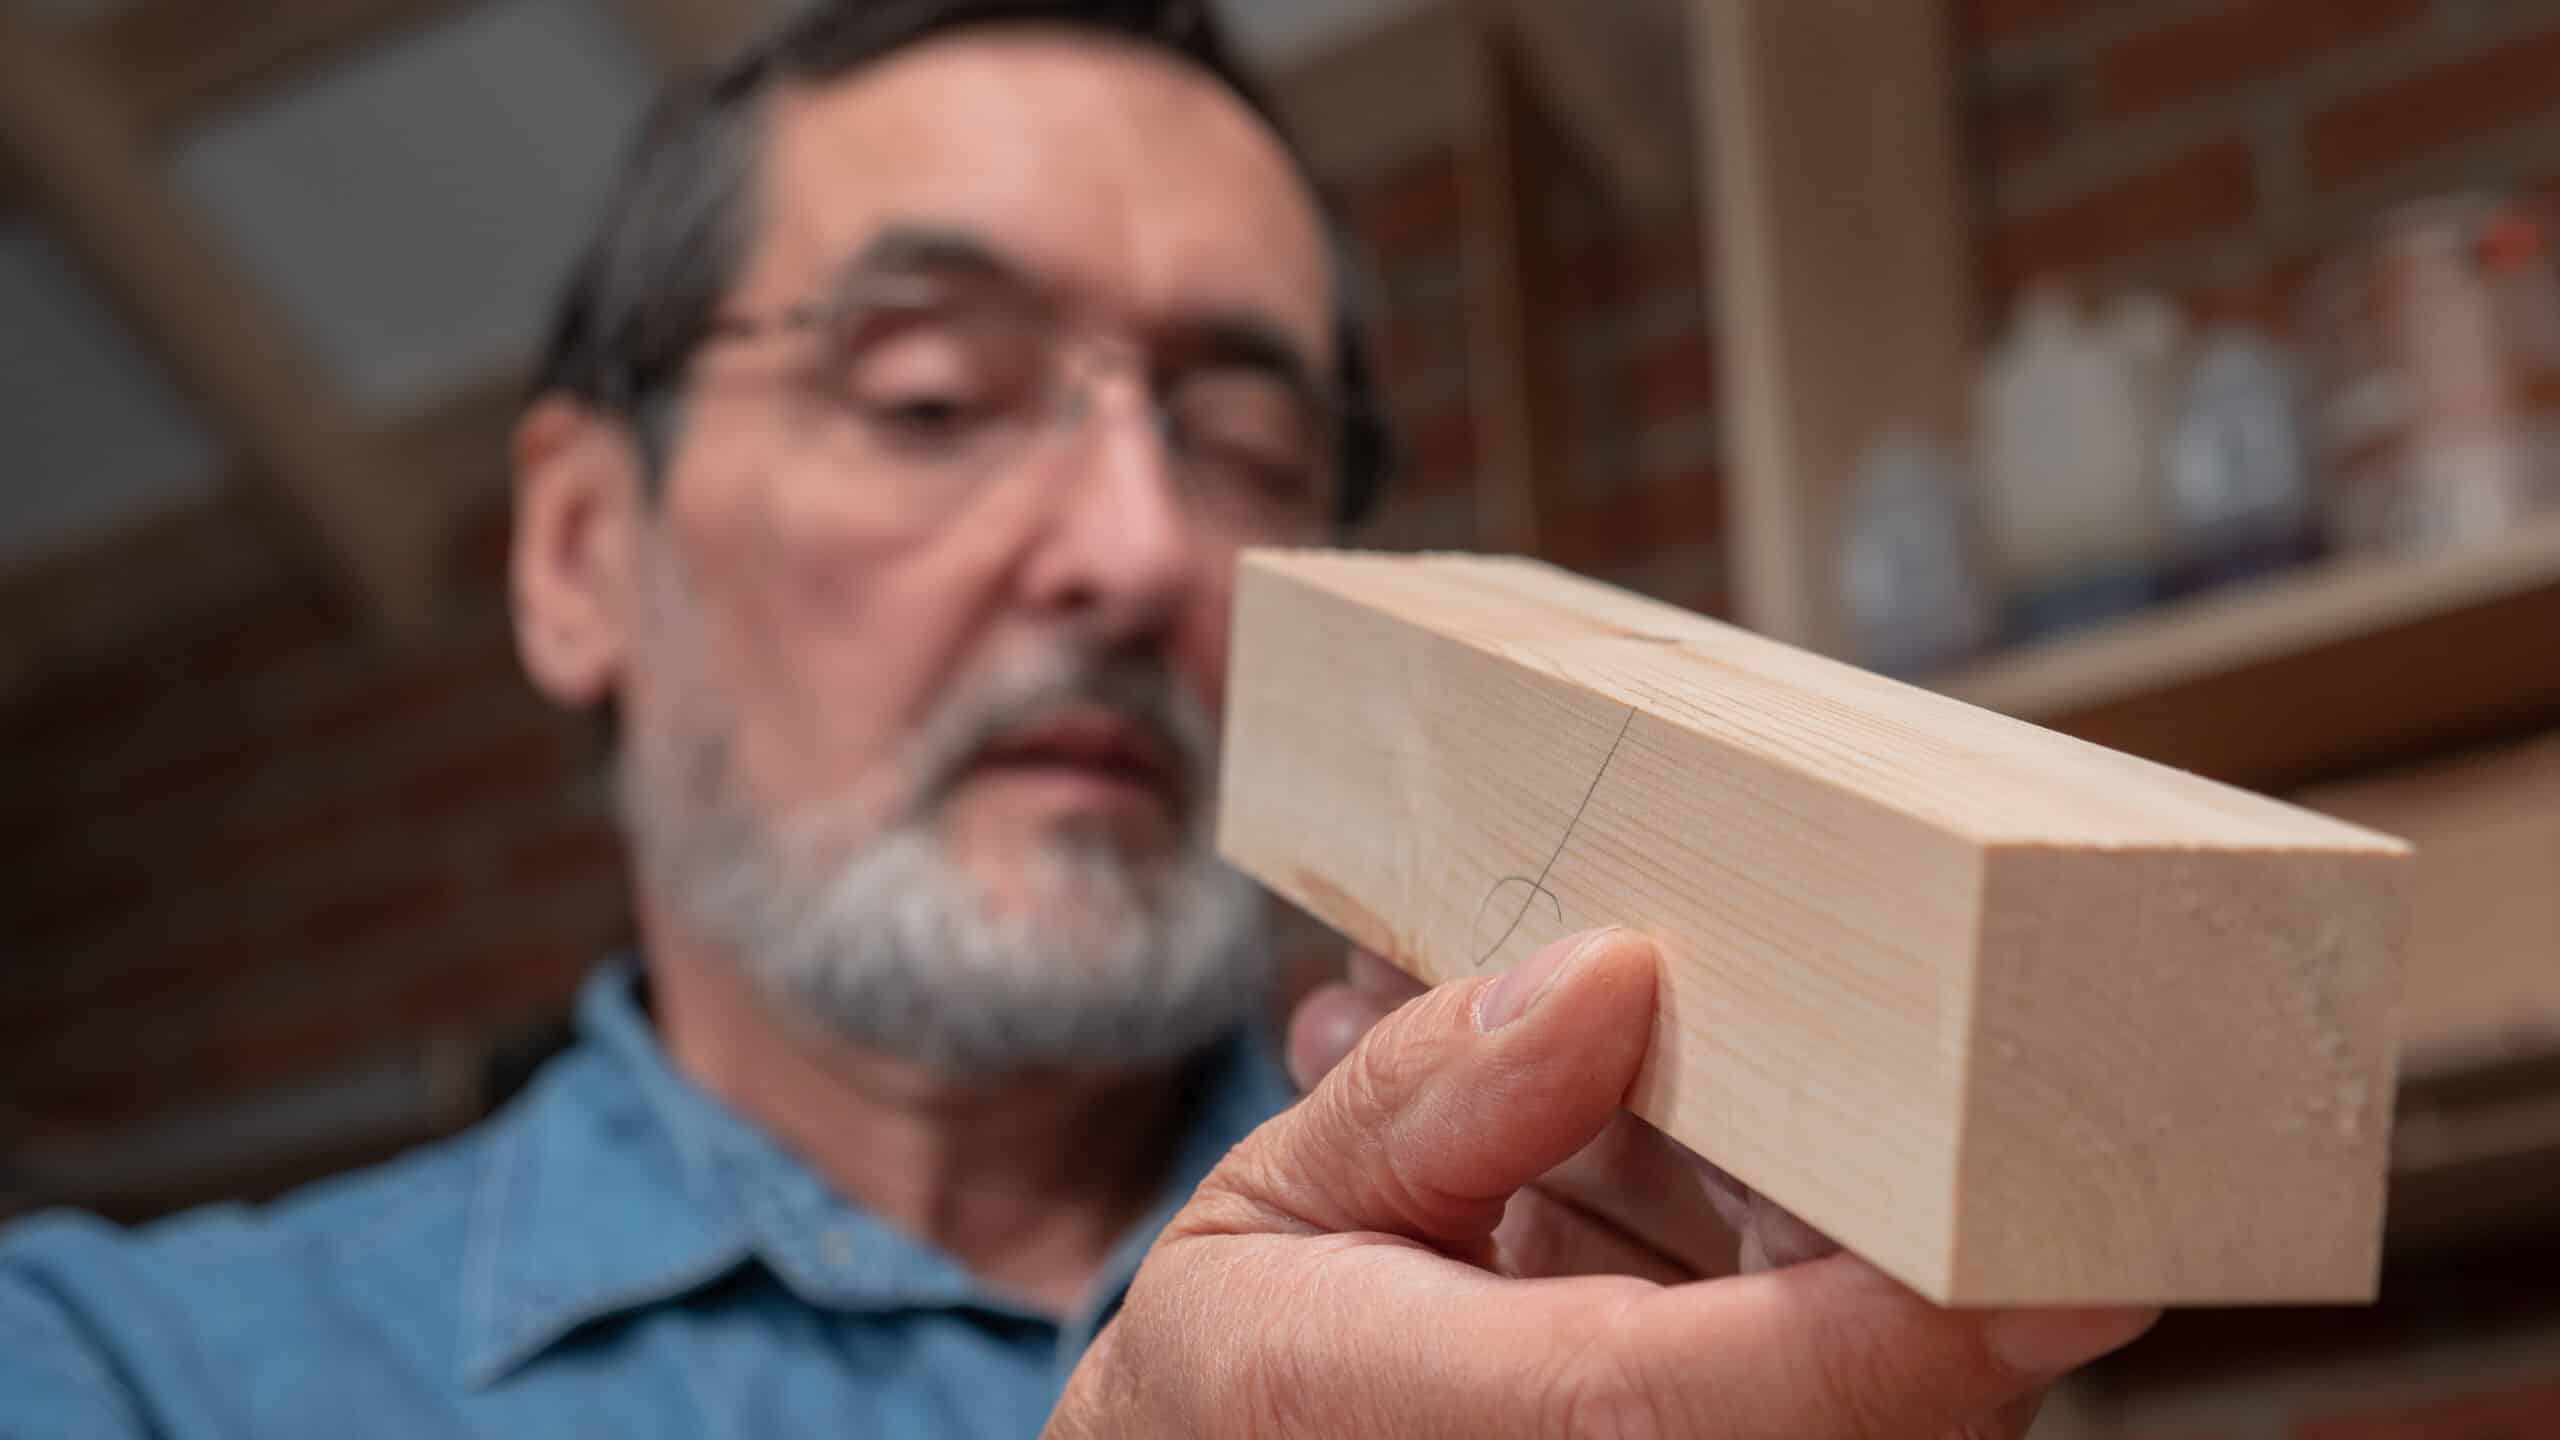
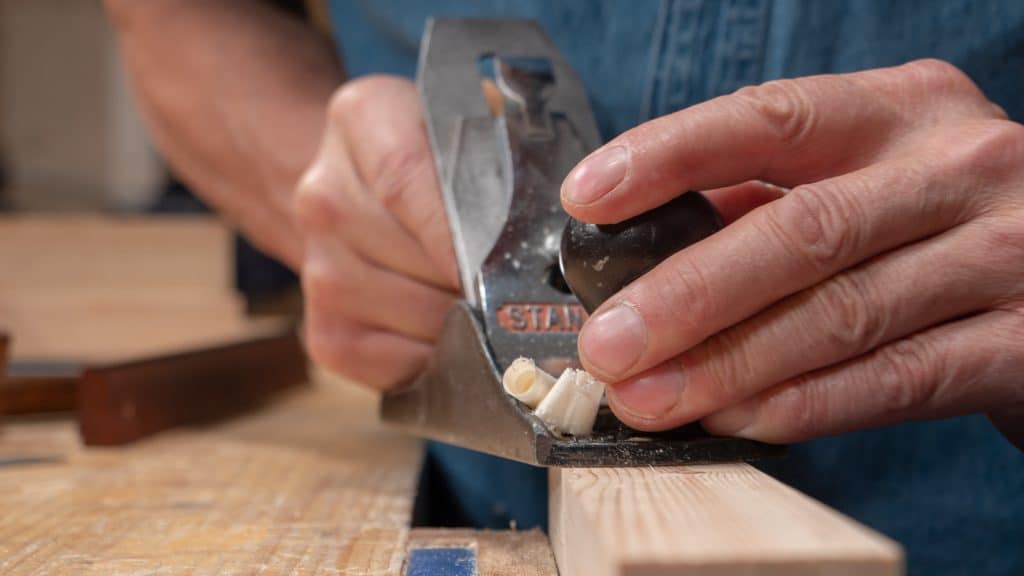
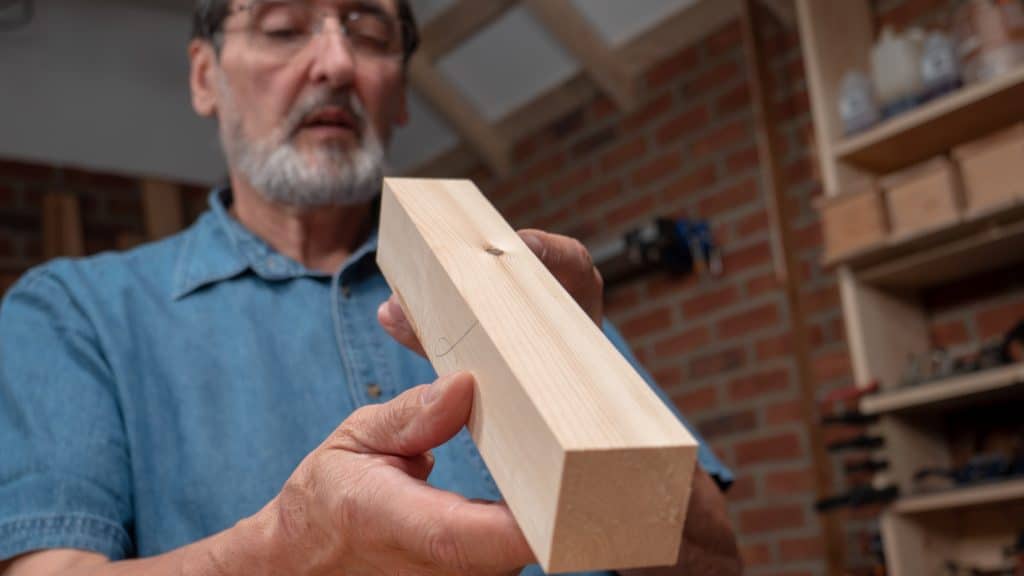
1. Sight down the wood to see if it is straight, hollowed or bellied. If it isn’t straight, use a smoothing plane to take off the high spots. If no hollow or belly is identified, you can go straight to winding sticks in step 2.
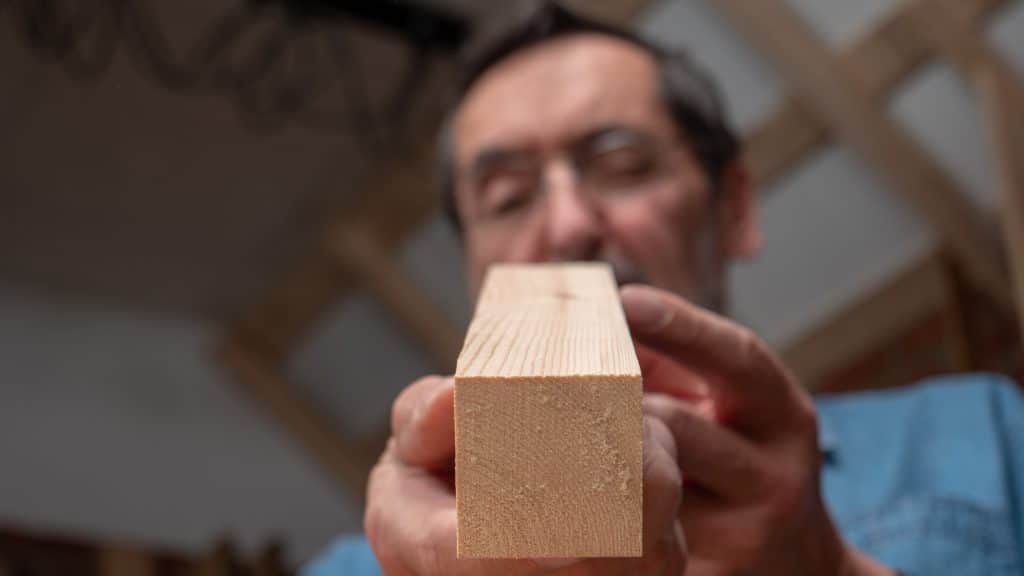
Note: If it’s a short piece you can usually place a steel rule or the blade of the square against the wood to check for any hollows.
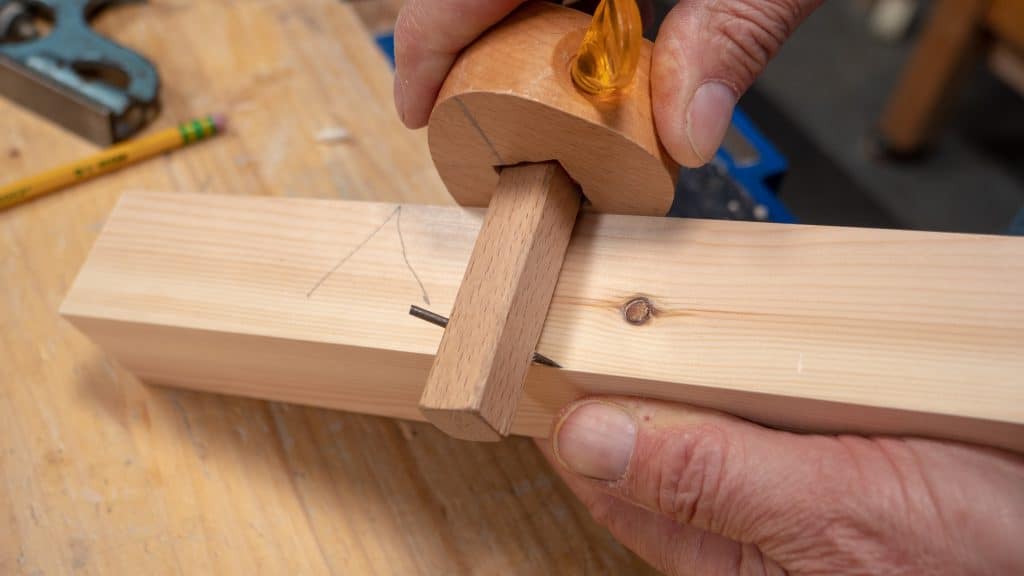
2. See if it has a twist by using winding sticks. If you don’t have any winding sticks you can make some yourself following this video or make some poor man’s winding sticks, which can easily be made using 2 bits of wood the same width with parallel surfaces. Mark the centre of both pieces of wood.
3. Blacken the edge of one for contrast
4. Put one winding stick at one end of the wood you are checking, and the other at the other end. Step away and crouch down to level to see if they are flat.
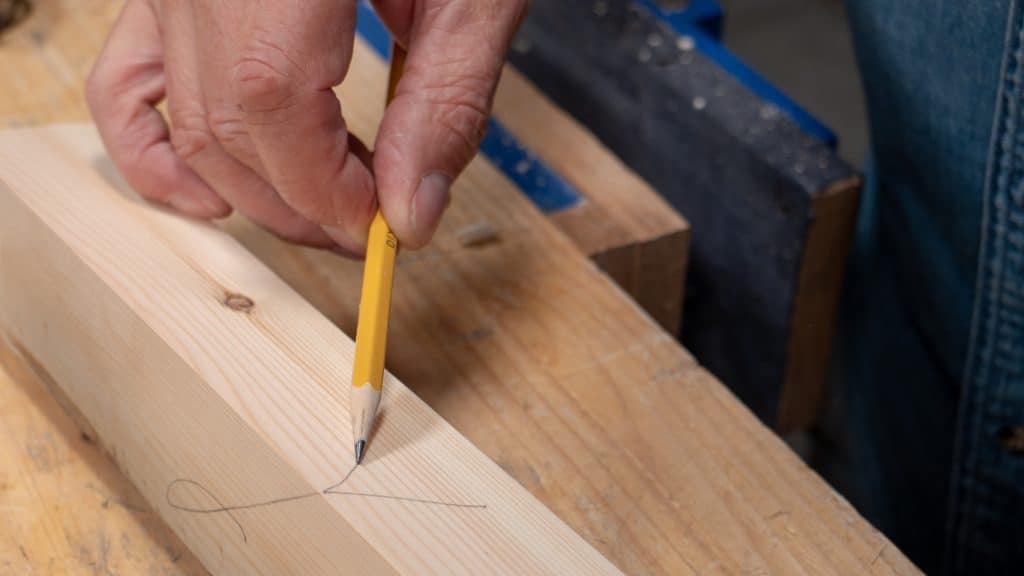
5. If you do see a twist and one end of one winding stick seems higher, then you must plane from high point to high point, from high corner to high corner. Check with the winding sticks periodically to see how close you are. When the winding sticks align with one another and you have checked that you did not create any undulation, mark that face with a ‘face’ mark (below).
6. We use the tail of the face mark on the first face to show us which face we do next and repeat the same steps on this adjacent face. Using this reference face (the one we marked with the face mark) to hold the square against we can now check the second face for square by registering the stock of the square against the face with the facemark. If there is a gap on one side or the other of the square we must plane the high side down to match the low side.
7. Sight along the face to make sure it is straight. It is easy to focus on squareness and forget maintaining a straight face or edge.
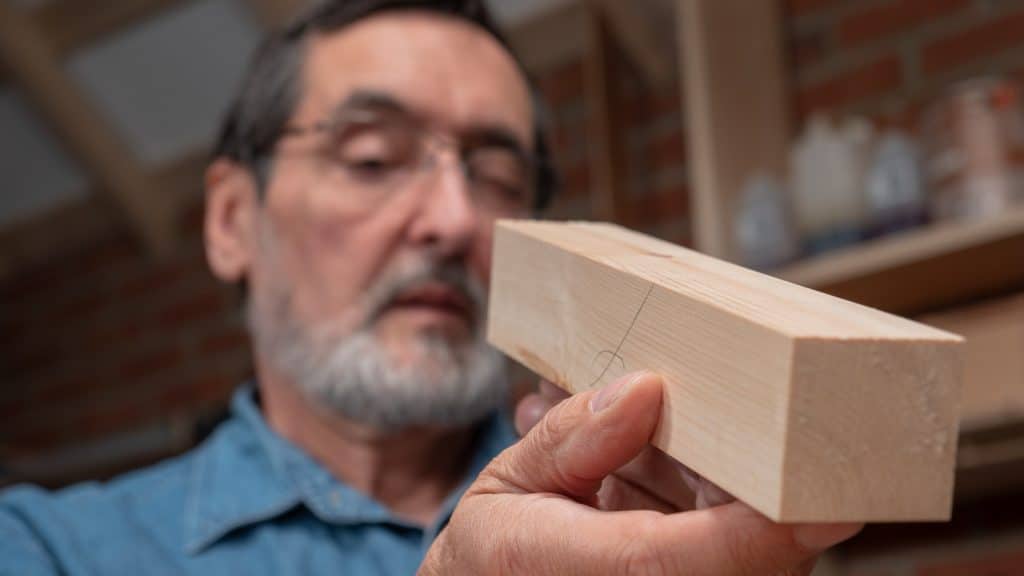
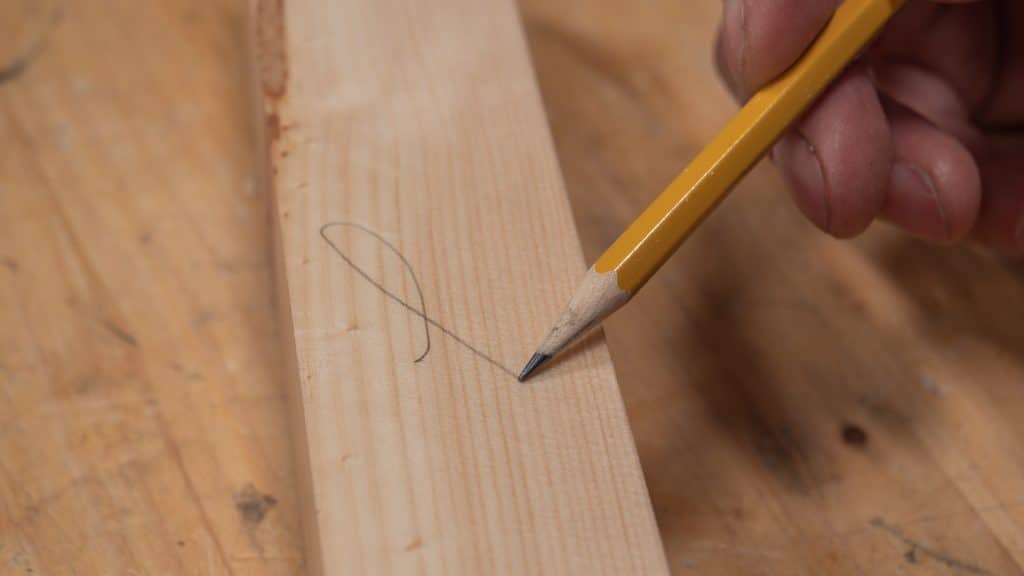
8. Mark this newly trued adjacent face or edge with a ‘face-edge’ mark (below).
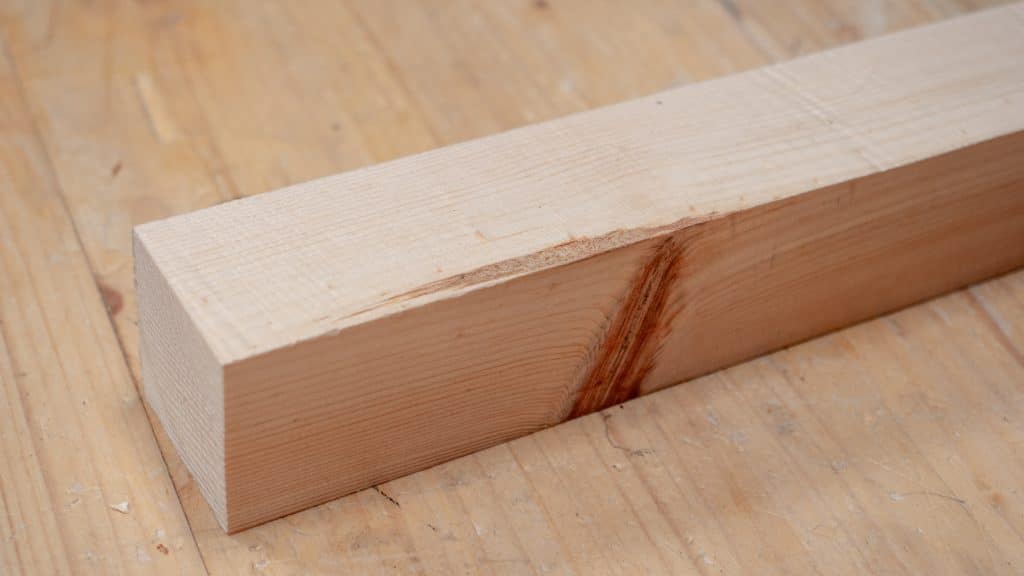
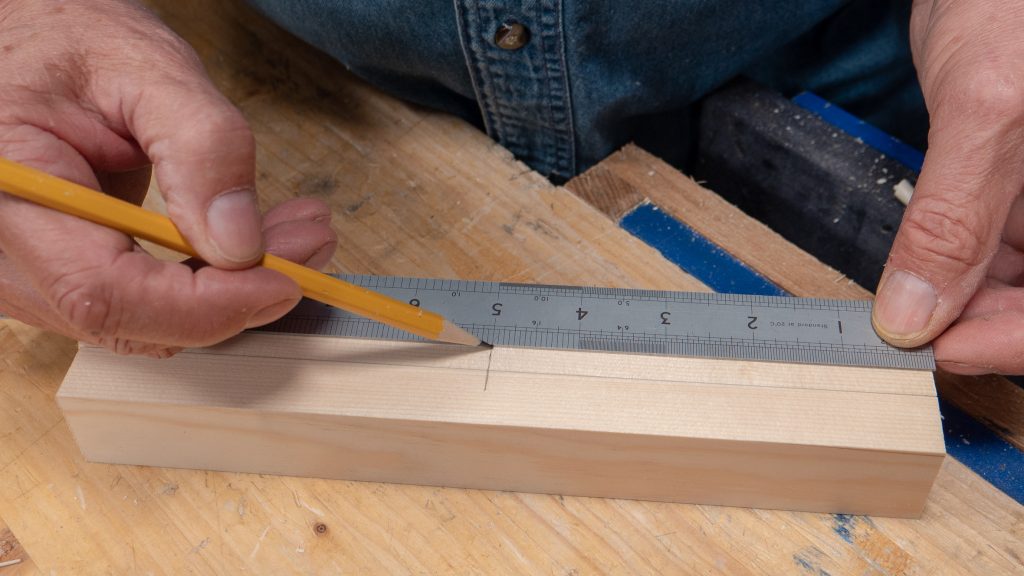
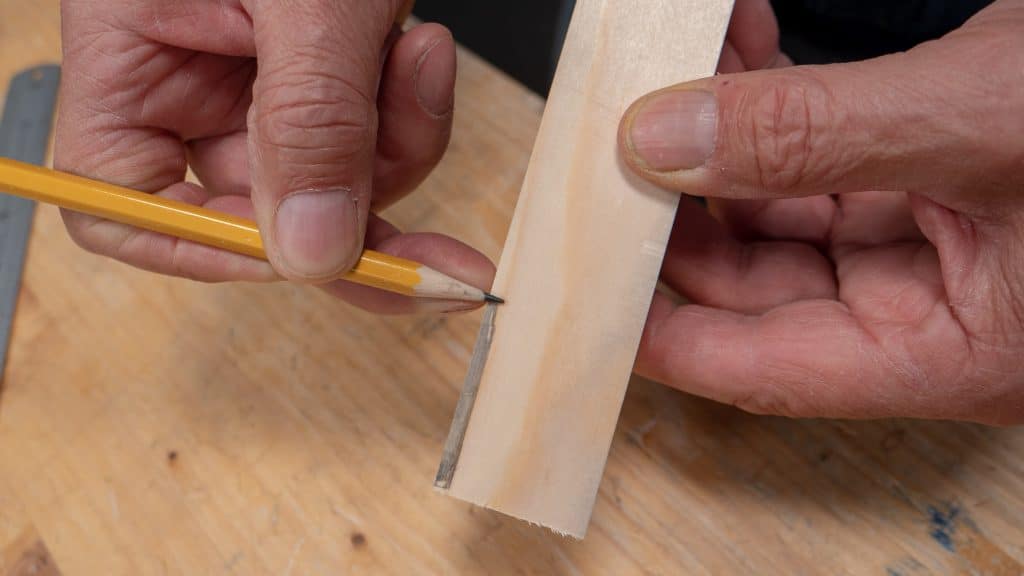
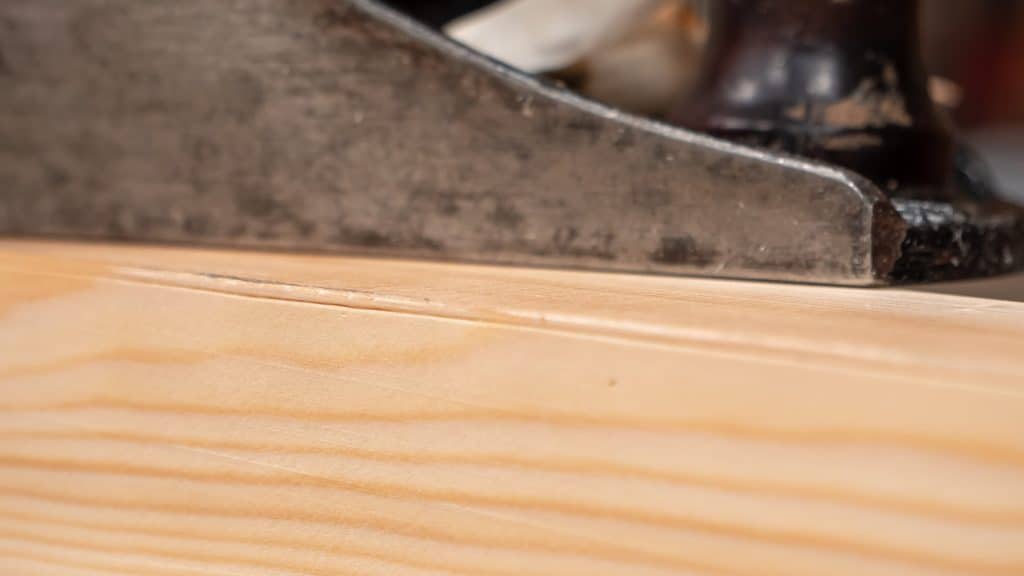
9. Set a gauge to the thickness you want the finished material to be planed to. Register the stock of the gauge against the face mark side and push the gauge along the edge of the wood to mark the line along the long grain and also onto the ends.
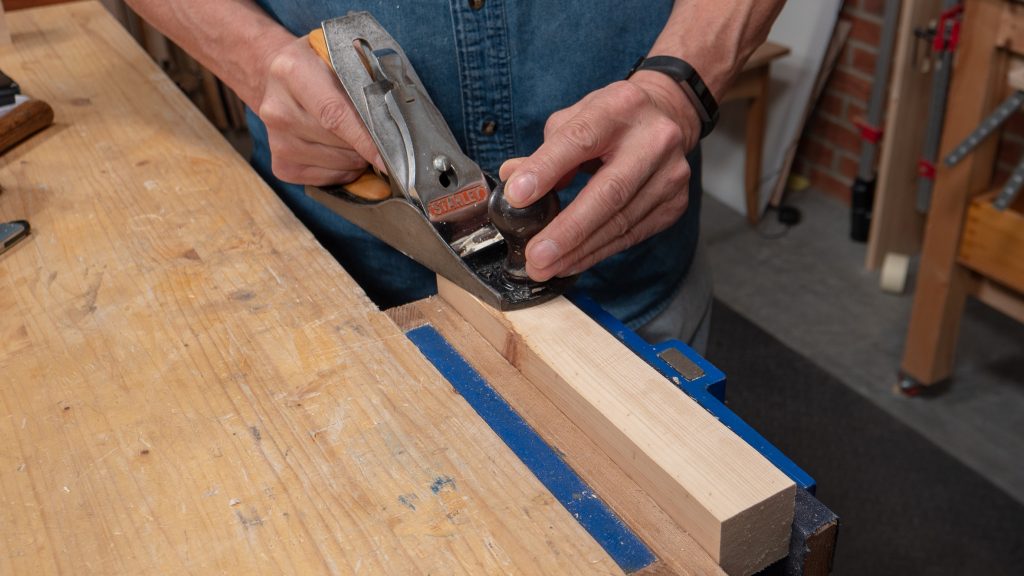
10. Plane down to the gauge line, checking periodically to make sure you do not plane below the line.
11. Now set the gauge to the thickness you want and register the stock of the gauge against the face marked with the face-edge to mark the level to plane to.

Note: Winding sticks are used to check for twist on the first face only. Once this is established as straight and without twist, we use the square to correct discrepancies to the adjacent face and then the gauge to establish parallel surfaces.
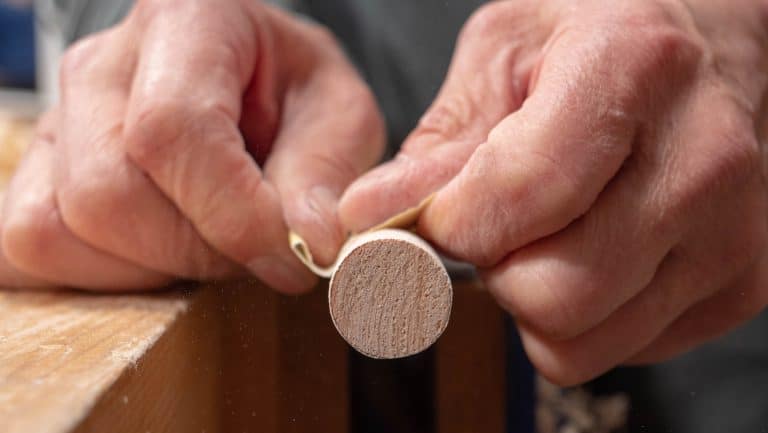
A nice tutorial. One thing it showed me, by the close up photo, is how deep Paul makes the gauge lines. These small details make a big difference. Thank you Common Woodworking.
I might not be reading it properly but in step 9, I would add to run the gauge on both long edges. As a beginner, I found it easier to have the gauge lines all around the piece. I recall Paul doing so in his videos. I can see him in my mind’s eye, flipping the piece, end-to-end, to keep the Face edge the same side as the gauge stock. Thank you for sharing this knowledge with us all.
Jean-Christophe is correct that Paul marked the piece on the ends and both sides. Thanks for this review.
I’m new to woodworking and I’ve found a few videos where people show how to make a stock or board flat. They are great and this article also, but one big question I can’t find an answer for is “How to make sure that a stock or board not only flat and 90 but also have the same thickness along the length?”.
Because the surface can be flat, two sides can be 90 degrees but what if I have one egde higher that the other? How do I detect and fix it without an ideally flat table and bubble level ruler?
For example, I work with a plane not properly and always push it downwards, so I’ll get an inclined surface.
Hi Sergii,
Paul says:
Once the first face is trued, the opposite parallel face will be marked with a marking gauge that gives the line to plane too and thus guarantees parallelity.
Kind Regards,
Izzy
Hi, thanks for the info. I’m new to fine woodworking too… I’m wondering what the process should be for a new project. Do I cut wood to size according to my cut list, then use your method for truing the stock? In which case, the pieces may end up smaller than what the cut list asked for. I suppose I could cut a little on the bigger side to allow for loss. Or, do I attempt to true up the bigger piece of wood and then make my cuts, and recheck for squareness again?
Hi Sarah,
Paul says:
No, cut them larger and then plane to the finish sizes. We give the finished sizes in our cutting list so you must add extra thickness. It’s not unusual to add ⅛” thickness and width with an inch extra in length.
Kind Regards,
Izzy
When I’m truing stock after a crosscut, I usually end up with some degree of angle to the cut (I’m a novice!) which needs to be planed flat on the end grain. I find that when I plane on the end grain with my #4 that it comes out with a slope that ramps up slightly from the start of my plane stroke to the end. Definitely not square. I also have some tearout at the end of the plane stroke on occasion. I can eventually flatten the ramp in most cases, but I don’t know what’s causing it in the first place, nor do I know exactly what I’m doing differently to flatten it successfully. Got any advice for either of these issues? Thanks!
Hi Nathan,
Paul says:
It’s practise, it’s very difficult to plane end grain. Even though I do it all the time, I recommend you use a shooting board as this steadies the plane: https://woodworkingmasterclasses.com/videos/shooting-board/
Kind Regards,
Izzy
It seems that most of the time I’m planing to true a face that I end up with a slightly triangular shape when sighting down the length of the board rather than a totally flat plane. My best guesses are that the plane iron isn’t laterally adjusted correctly or that my slightly out-of-level vice is biasing the planer strokes, but I’m not convinced either way. Any thoughts on how to fix this or to plane a flat face more consistently?
Hi Nathan,
Paul says:
I think sometimes we expect too much if we are new to an planing wood, it’s very important to practice and establish the skills as early as possible without over expectation it’s good that you are seeing discrepancy early on.Perhaps it is your plane with a miss set blade that is causing the issue it doesn’t take very much for a plane to be out to cause this kind of problem.
Kind Regards,
Izzy
Hi Paul and Team, how does one true stock for winding sticks without winding sticks? Thanks, Jeremy
Hi Jeremy,
Paul shows you how to make a simple version of winding sticks in the first half of the guide.
Izzy
Hello Izzy,
Would I be correct in thinking that step 11 is a repeat of step 9 and can be safely ignored?
Many Thanks
Paul
Hello again Izzy,
It was the word thickness that threw me.
I see now that you do need step 11 otherwise the final side is not squared to the others at a thickness you have determined.Gauge marking occurs from face and face-edge.
All the best
Paul
Should all wood be S4S? I made some rough wheelbarrow arms without S4S, but nagging doubt crept in…Paul squares all of his stock…I’m not an artesan!
Hi,
Paul says:
No, it is all according to end use and end user.
Izzy
Jeffdustin, as long as you have one reference face and edge you are usually ok to start layout for joinery.
Hi Paul,
Thank you so much for all your videos. I’d like to understand what method you use to plane long wide boards to a uniform width all the way along the length of the board.
I am preparing my stock for the joiners toolbox from your masterclass website and I’m struggling to get perfectly trued pieces for this, and I think the issue is the board width is inconsistent along the length of the board. I’m making the top and bottom parts for the main toolbox and because these pieces are fairly wide (188mm) I cannot use the method you’ve described in this video to scribe a line using a marking gauge since my marking gauge is only about 100mm long. I have planed the width of the board to as close to 188mm as I can all the way along the width of the board, but when I plane the end grain square to the face edge the same end is not square to the face opposite the face edge. I hope this makes sense.
If you have any videos on truing wide boards that would be enormously helpful (I don’t think you have any on here or YouTube but I may have missed something).
Thank you!
Peter