Setting Hinges
Note: Before setting your hinges, if there is more than one, check them over to ensure there are no major discrepancies in sizing between the two. Whereas some hinges are made to tight tolerances, some are not, in which case the recesses must be customised to each specific hinge flap to guarantee a good fit. The majority of hinges are used in pairs and sometimes with three, very rarely do we use one hinge alone.
Equipment needed:
- Hinge and screws
- Screwdriver
- Gauge
- Chisel
- Square awl
- Knife
- Chisel Hammer
- Square
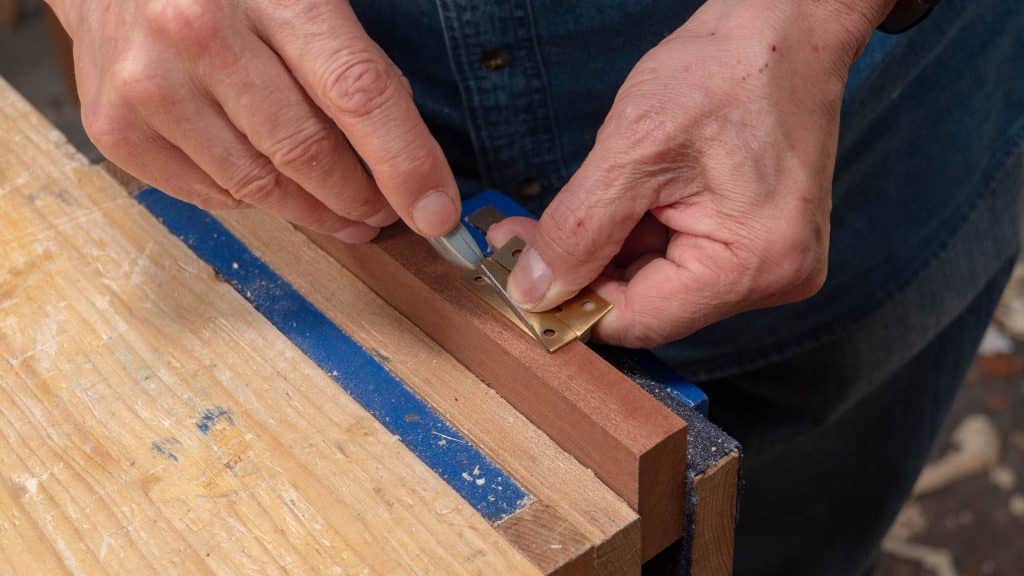
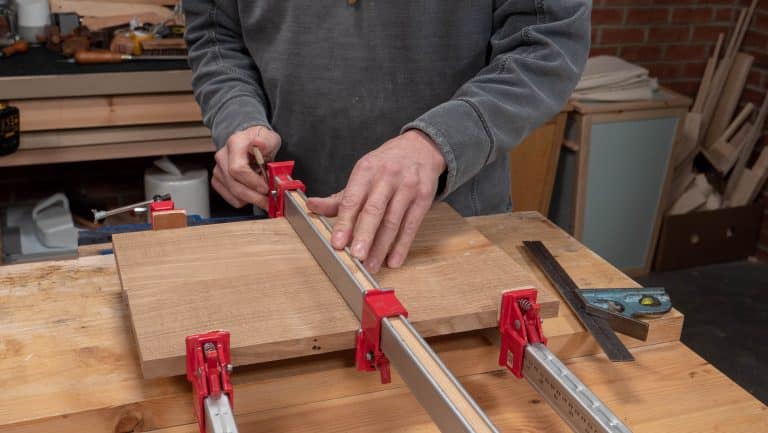
Place your wood in the vise and put the the hinge in the desired position, using the knuckle of the hinge butted up against the component you are hinging first (it is generally easier to hinge the lighter component first).
Use your knife to mark lightly at both ends of the hinge. Make a second, heavier pass using a square to deepen the knifewall.
Make a knife nick on the edge marking both ends of the hinge.
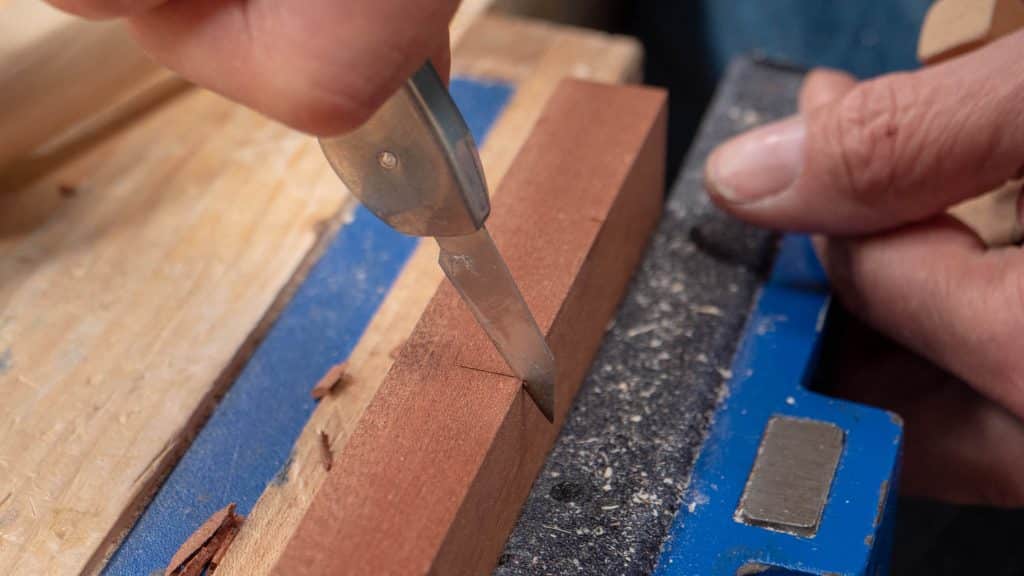
METHOD 1- Using the Knife
Mark the long edge of the hinge using a knife.
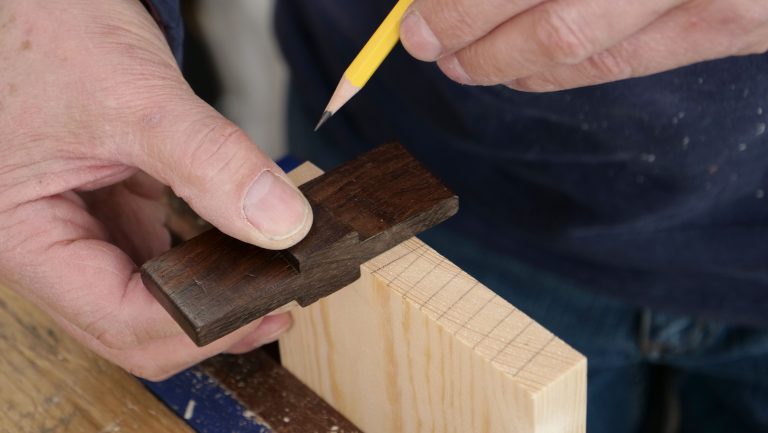
METHOD 2- Using the Gauge
Set the gauge to the width of the hinge flap. Notice that one end of the flap is wrapped around the knuckle pin, so make sure you measure the one that is an open slit, this will be the smaller width (see picture). Use this setting to mark out the long edge of the hinge, this can be used for the second hinge as you can assume they are the same size.
Set the pin on a gauge to just under half the thickness of the knuckle of the hinge, use this to mark the depth of the hinge recess on the edge of your component.
Use a chisel to remove the excess material. Start off with a step down using the chisel, subsequent chops can be angled as you work along the recess away from the knifewall. Work across the full length of the recess, being careful to stop short of the full depth. The closer you are to the line, the less you will have to pare down the recess. Notice that the bevel of the chisel travels in the direction you are chopping. Be careful not to go past the long knifewall/gauge line. Depending on the size of your chisel, this may mean that your chisel isn’t fully registered onto the wood.
With the chop cuts completed, flick away the waste material if it is loose however don’t force it as you could split the wood if it is still attached. Use a larger chisel to pare-cut the waste material.
Next, use perpendicular cuts along the back and side edges of the recess to square up the recess and also clean out any waste from the internal corners to ensure the hinge recesses fully. Start with the cut slightly away from the knifewall, then place the chisel on the knifewall.
Check the hinge fits.

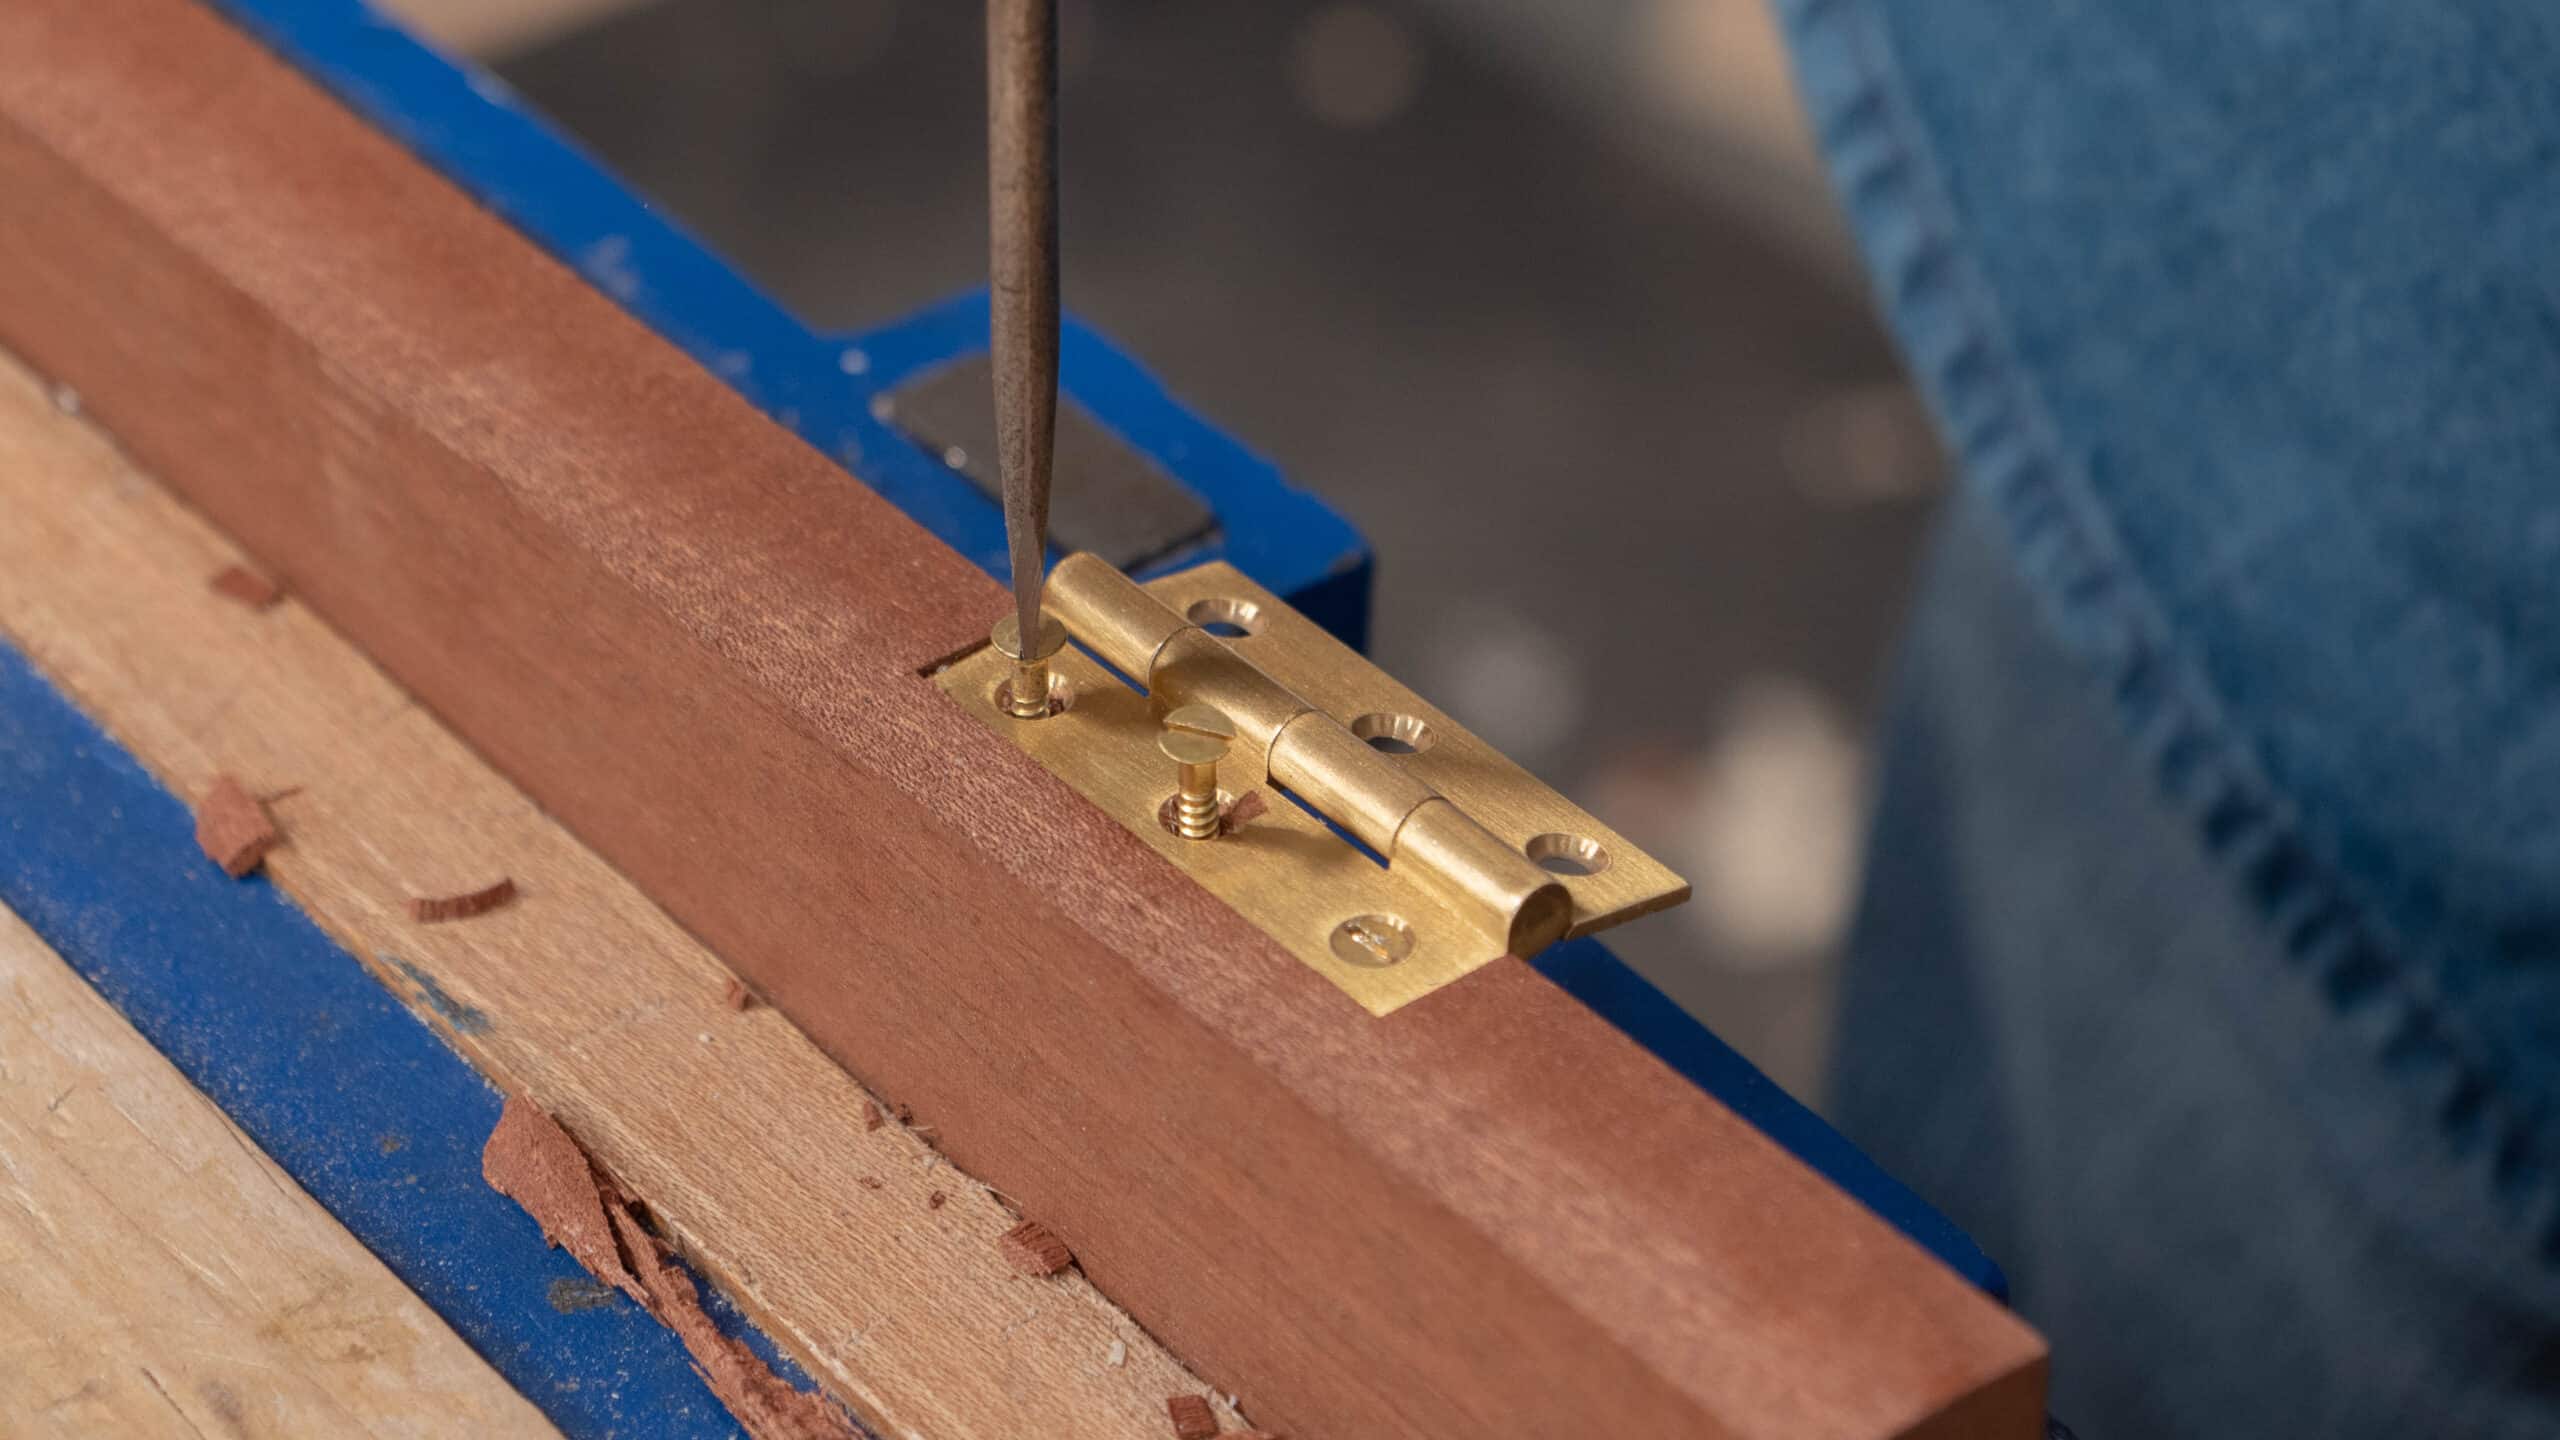
Use a square awl to position the screw holes, start the holes slightly off center towards the back of the hinge recess. This makes sure that the hinge is pushed up against the back of the recess when the screws are driven in. This only needs to be slightly off-centre, if you position them too far to the back of the hole then it will be difficult to screw them in and you might end up screwing into the edge of the hinge hole.
To avoid splitting, it’s always best to use the awl to make pilot holes for the screws, use this to create a starter hole for the thread to bite into. If using brass screws, dip them in furniture wax to help lubricate them, which will make them easier to screw in and will also reduce the risk of them snapping off. Occasionally a screw will snap, if this happens, use a small twist drill bit to drill into the broken part.
If you are still struggling, use a steel screw in the holes first as they are more robust, make sure they are the same size as your brass screws.
Using a screwdriver, tighten the screws and ensure all the slots in the screw heads are facing the same way for aesthetics.
Once the hinges are positioned in the lid or door, align the hinged component in position and use a knife to mark the exact position of both hinges on the outside edge then use the hinges to mark the hinge recess exactly as you did on the lighter component.
Very helpful. Now – getting the door on the frame! My initial attempts have been pretty abysmal!
Hi Joe,
Thanks for the feedback, good luck with the door!
Izzy
Very nice! I already saw several videos of Paul where he sets hinges, but there was always some details that I didn’t understood. Now it’s clear. To be perfect, the only thing missing is the next step: setting the other half of the hinge to the heavier component 🙂
Thanks for this tutorial, keep it up!
Hi Antonio,
Thank you for your kind feedback.
We have now added a sentence at the bottom of the guide to help with the next steps, I hope this helps!
Kind Regards,
Izzy
Very concise and helpful reference. I should frame the photo for setting the marking gauge for depth to prevent hinge binding.
I would, however, point out that all commercial waxes are not created equal, some contain chemicals that react with steel screws over tiime, so paraffin wax s a safer (and cheaper) solution.
Another short, sharp & shiny set of instructions. Thankyou all. Just wanted to mention that I always use a bit of broken off beeswax candle to rub against my screws before installation.
Hi Izzy.
I did as shown and seem to always wind up with a gap. Front or back.
One way is too shallow. One way is too deep. Would you add a bit explaining how to fix the two problems please.