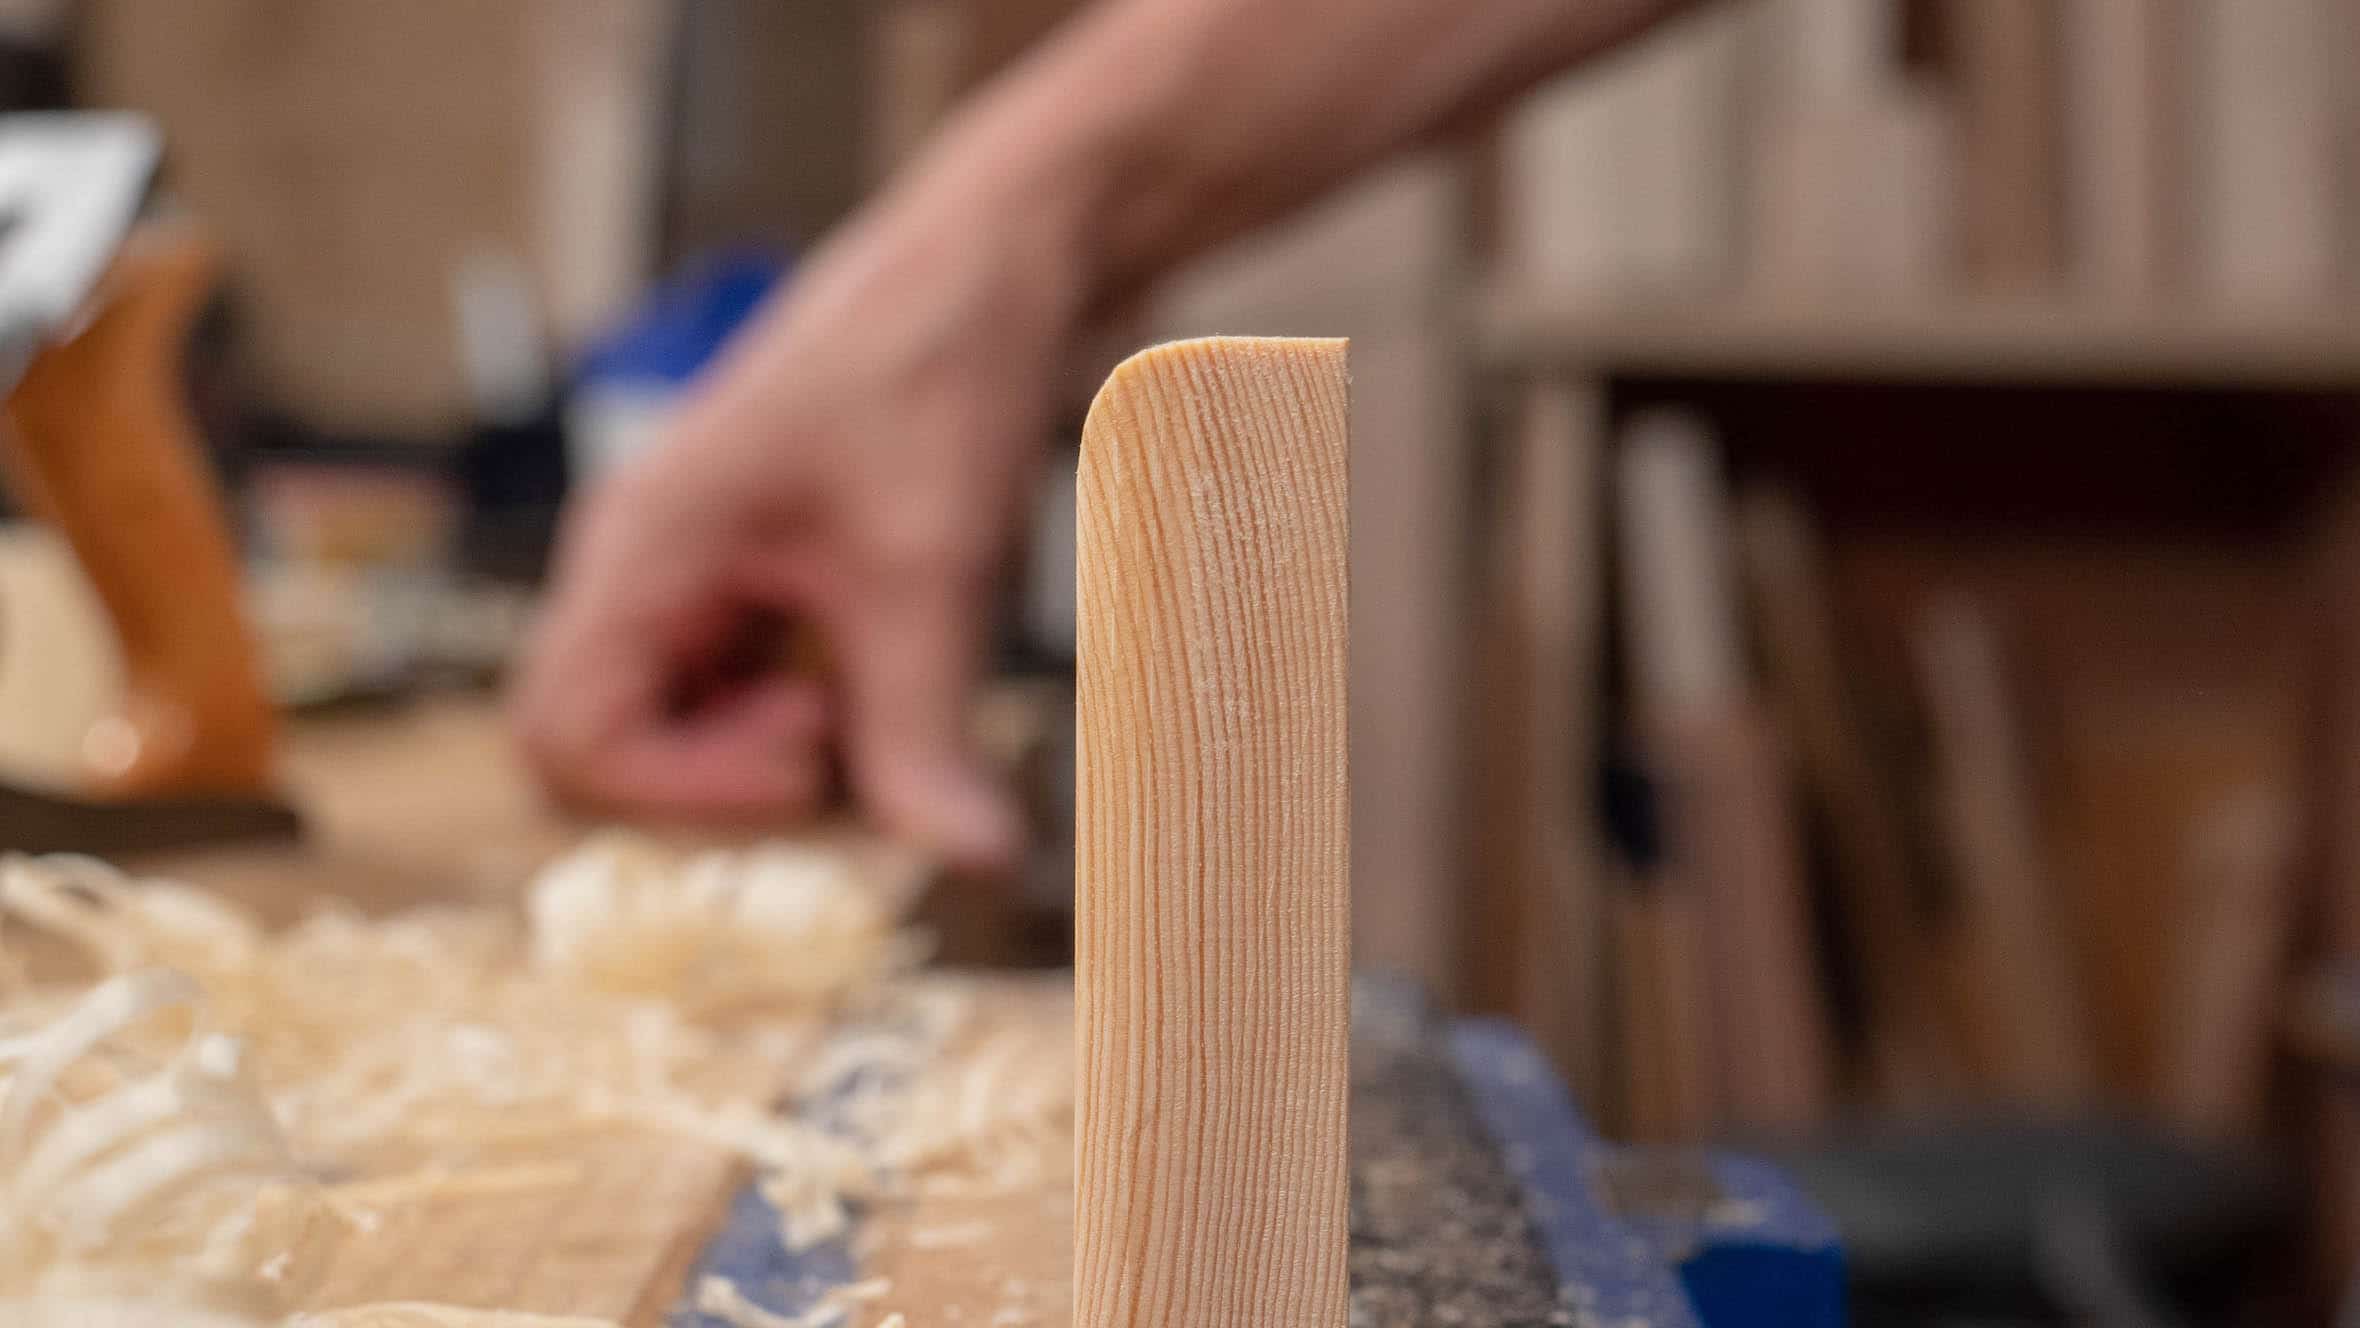
Roundovers
Note: Roundovers are used on edges that have the potential to wear, splinter and break with use. Rounding these edges or corners gives you a more solid and resistant structure. Here a plane works well instead of a spokeshave as it has a longer sole to register on the wood. Also spokeshaves tend to follow any undulation in the wood instead of removing them.
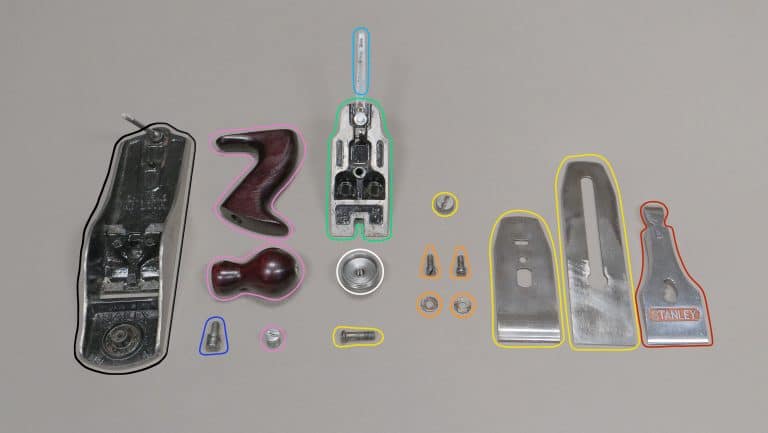
For this exercise you will need:
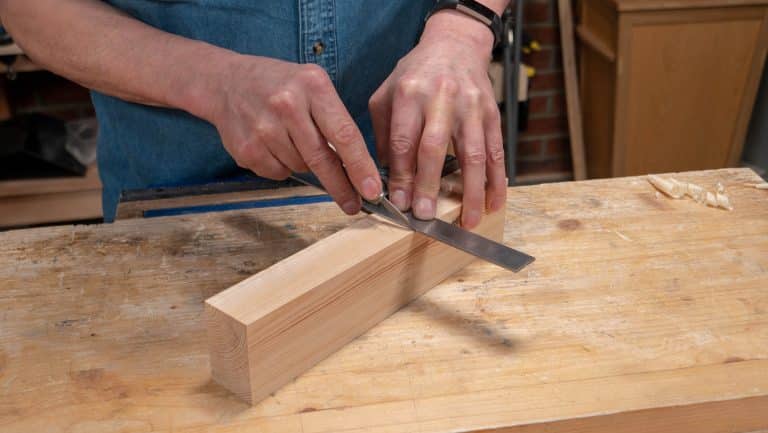
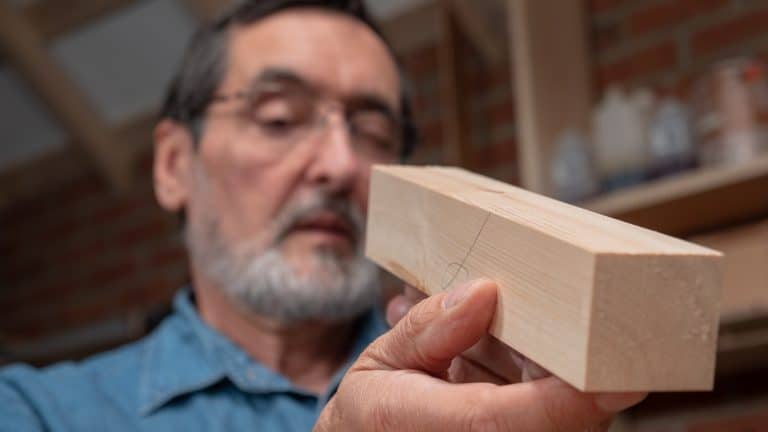
Once you have trued your wood, it is best to remove the corner of the wood first before starting to increase/decrease the angle of the plane for the roundover. Work on the end grain first so that any fracturing can be repaired when doing the long grain. Angle your plane at 45° to the wood and tilt it 45° too. Keeping the plane in this position, take a shaving from one side to the opposite side in a continuous stroke. This keeps the shaving even and also removes wood evenly too. If you see that you’ve taken off more on one side, then go back to the higher end and take some extra strokes. The 45° tilt means you will be slicing the wood rather than tearing it, which should give you a smoother finish.
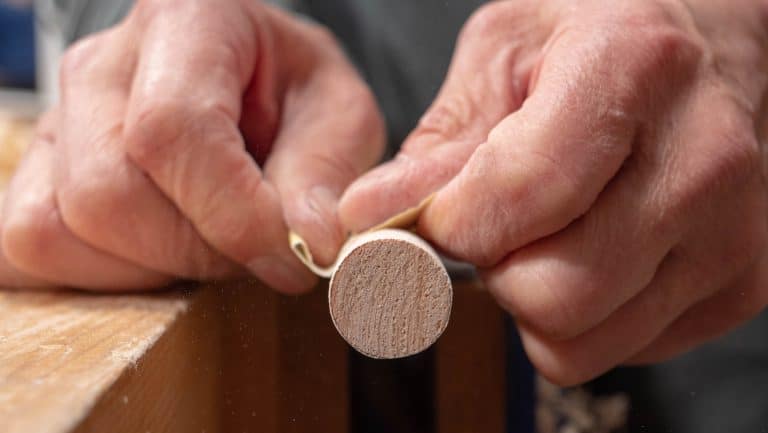
Once the corner has been taken off at roughly 45°, decrease the depth of cut by withdrawing the cutting iron into the body of the plane. Now lower the plane so it’s nearly flush with the face of your wood. Take off finer shavings while working your way up and around the 45° bevel, working this way will form the round.
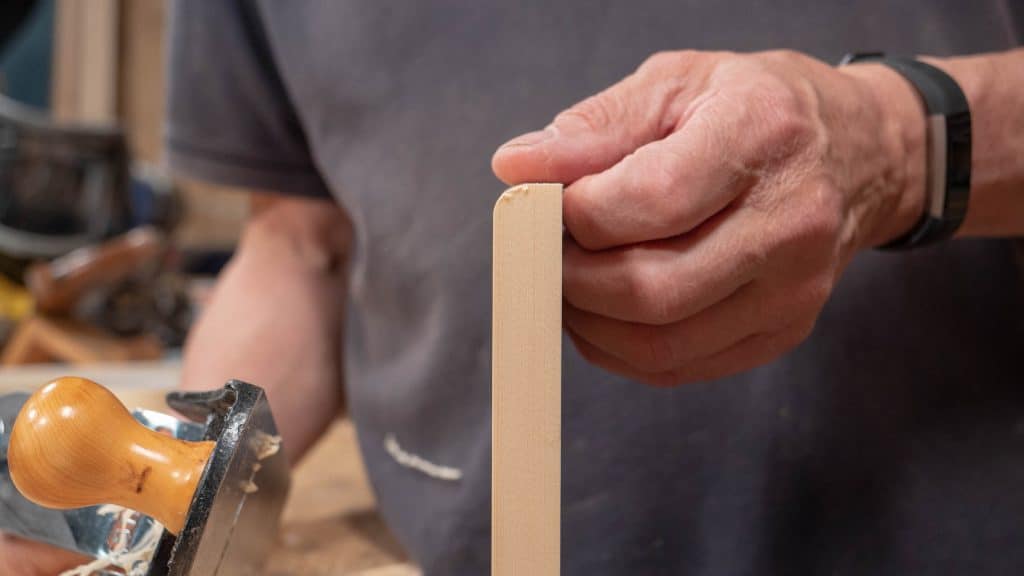
When working along the grain, you can use your plane in the more common position, registering the sole along the edge of your wood to keep the shaving even. If you want to smooth out your roundover, ease the iron off even more so a very fine shaving is being taken; this should remove any ridges in the roundover.
Use sandpaper to create a smooth finish. You shouldn’t need to use this for long as most of the work should be done using the plane.
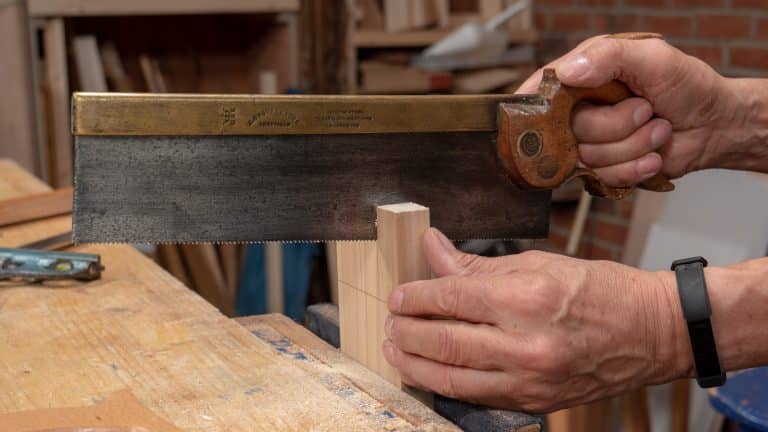
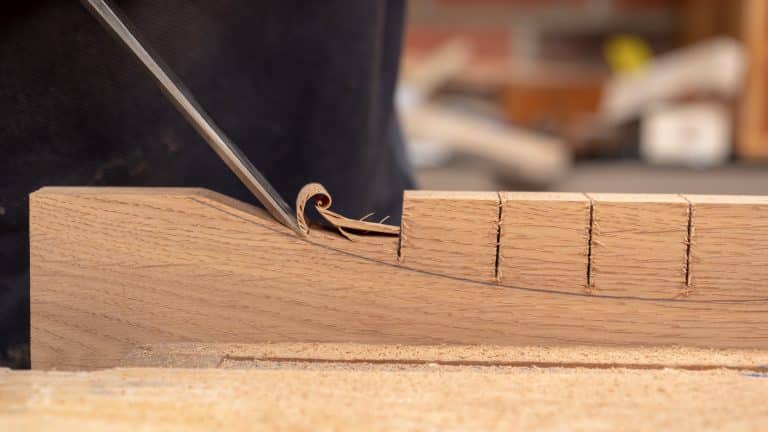
Make sure to practise this on both the end grain and along the grain. Do the end grain first so that any fracturing is repaired with the long edge profiling.
This is such a worthwhile tip to practice. I saw Paul demonstrate this in one of his videos a while back. I was amazed at how well this works! I suggest that everyone try this…it will be your preferred method. So Simple! Thanks Paul.
Hi Gary,
Thanks for the feedback!
Kind Regards,
Izzy
Another great exercise! Thanks – not only is it a core technique for me it was very rewarding – I could make that cool mitered round over.
Some thoughts
– could you consider adding some actual exercises for practice? The angled cut exercise is what I’m thinking. I realize how important it is to actually build something (I’m totally proud of my clock!!) but there are also skills that just need to be practiced over and over. So I’m wondering if you could provide tasks to practice on to build muscle memory that would be frugal with wood and diagnoses common errors with the technique.
– Is there an order I should work these exercises? I’m thinking starting with basic skills (saw straight…) and working up to layout skills? Also maybe each exercise could end with a project that emphasizes the skill (spoke shave-> Spoon)
– Is there a place where I can post my problems and get suggestions for improvement? For example when I started planing edges they always turned out titled Why? Paul did a vid showing different ways he holds the plan, so now my front hand holds the plane and registers on the side of the wood. I know the forum would work but it seems to me to be more suited for the Common Woodworking site.
It’s so cool watching this site grow!!! Thanks very much
Hi Jay,
Thank you very much for your positive feedback!
We encourage all beginners to practise the require skills several times over before using them in a project. As we publish more exercises, we will try to cover all the tools with a basic exercise for each which can then be used within a project. There is no ‘correct’ order to do these in yet as they vary from tool to tool. As more content is published on the site, there will be several exercises which will help you move onto different courses.
Feel free to post your difficulties/ celebrate your triumphs with the Common Woodworking audience on our Forums. This is a great place to share your experiences and to learn from each other.
I hope this helps!
Kind Regards,
Izzy
Thank you so much for this tutorial. I’m just working on the shaker candle box. Is there any reason why I should not do this kind of roundover with a spokeshave?
Hi Michael,
Paul says:
The length of the sole on the spokeshave makes it harder to get an even round, especially on the end grain but if I can do it so can you.
Kind Regards,
Izzy