The Chisel Guide
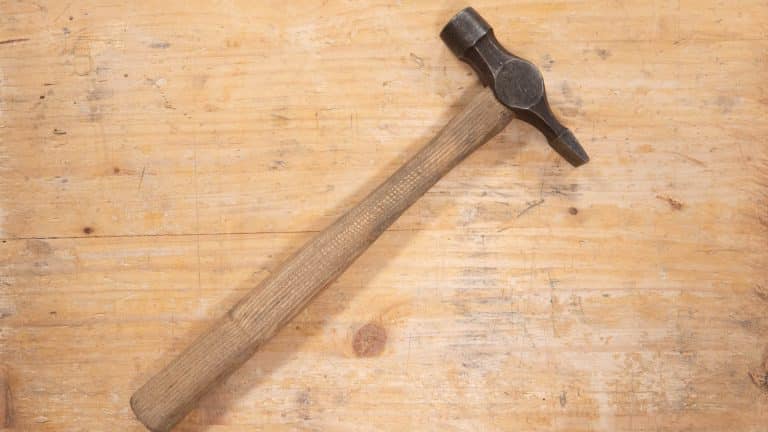
Chisels are one of the most commonly used tools in the history of woodworking. They are made up of a steel blade attached either to a wooden or plastic handle. Chisel hammers and wooden mallets are the tools we use to strike the end of the handle to allow you to split, chop and pare wood. Chisels are primarily used for developing woodworking joints and shaping wood.

Uses
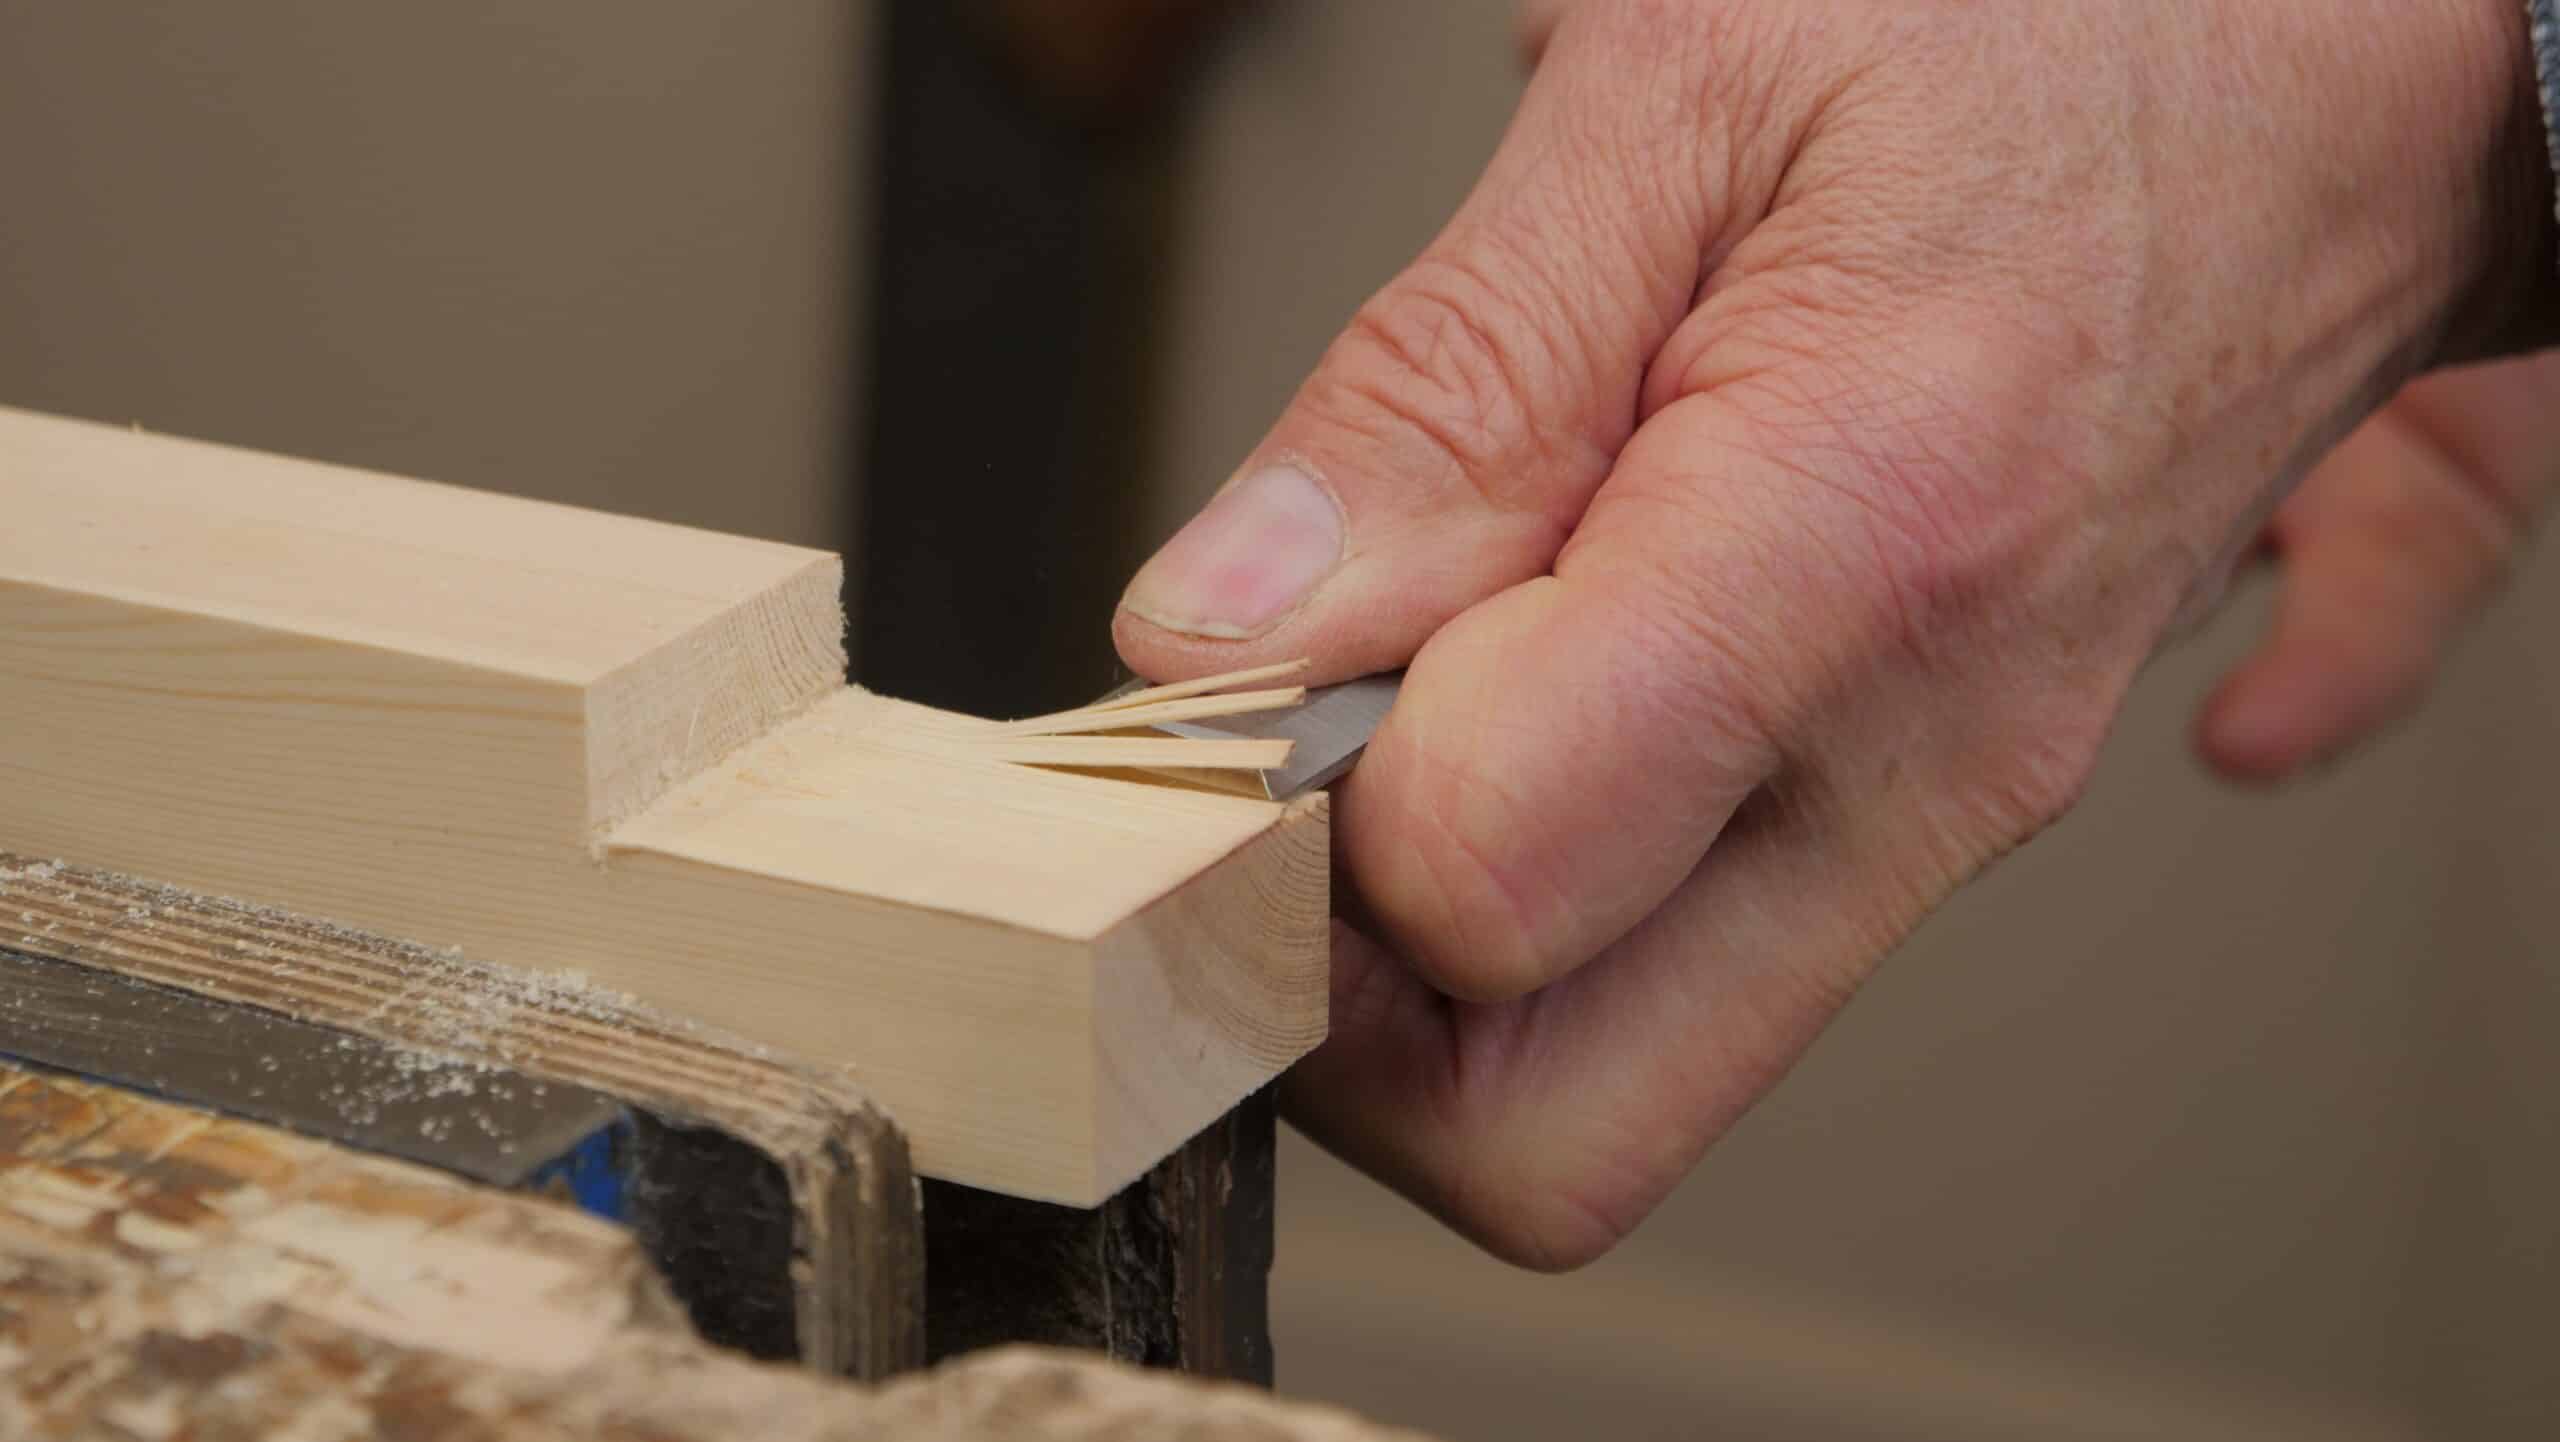
Chisels are often used on the surface of wood using paring cuts. Paring is the method we use to remove levels of wood bit by bit using a slicing motion. You can choose to remove wood by paring the surfaces using hand pressure only or remove larger chunks using direct blows with the chisel hammer or mallet. This generally depends on how deeply the chisel enters the wood, which can be adjusted by the angle we present the chisel to the wood; the steeper the angle, the deeper the blade digs into the fibres.
For paring wood we rely on hand pressure only and use both hands to present the chisel to the wood. With the dominant hand on the handle and the other wrapped around or pressing the blade, push with a slicing motion into the wood.
Another use of chisels is split cutting. This is where we position the cutting edge on the end grain of the wood and strike the handle with a chisel hammer. This drives the chisel into the fibres along or with the grain to split the wood away in chunks rather than shavings. This is a great method for removing lots of material quickly, however you are limited by the direction of the grain, which is not always straight or to your advantage.
To chop cut using a chisel, this is where you are cutting directly into the grain, usually perpendicular to the grain but not always. This is a technique we use for chopping mortises and various recesses. After striking with a hammer, if the chisel doesn’t dig into the wood, then you should consider presenting the chisel at a slightly steeper angle. This method works best when removing sections of material at a time.
Terminology
- Bevel – This is the angled face at the end of the chisel that forms the cutting edge
- Bevel Edged (formerly known as bevelled edge) – These are the two angled edges along each side of the blade.
- Ferrule – A short section of metal tubing surrounding the handle where the blade fits into the handle to minimise the risk of the handle from splitting.
- Camber – Curved surface forming the cutting bevel
- Metal Capped – Some plastic handles have a metal covering or inner rod formed to the end of the chisel handle to protect it from damage when heavier steel claw hammers are used.
- Bolster – The neck of the steel blade before the ferrule.
- Tang – The thinned taper part of the blade which goes into the handle to secure them together.
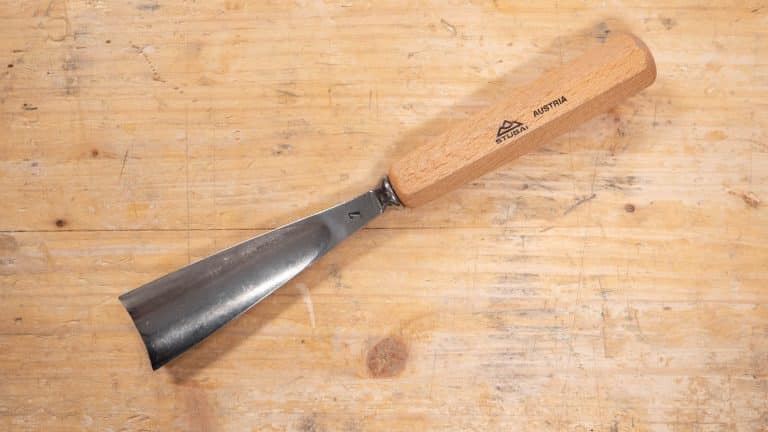
Types of Chisels
There are several common types of chisels. The most commonly preferred type is the bevel-edged chisel. This is most suited to use in most hand tool woodworking, however if you have any of the below they will also work but may not be as versatile:
- Mortise Chisel
- Firmer Chisel
- Butt Chisel
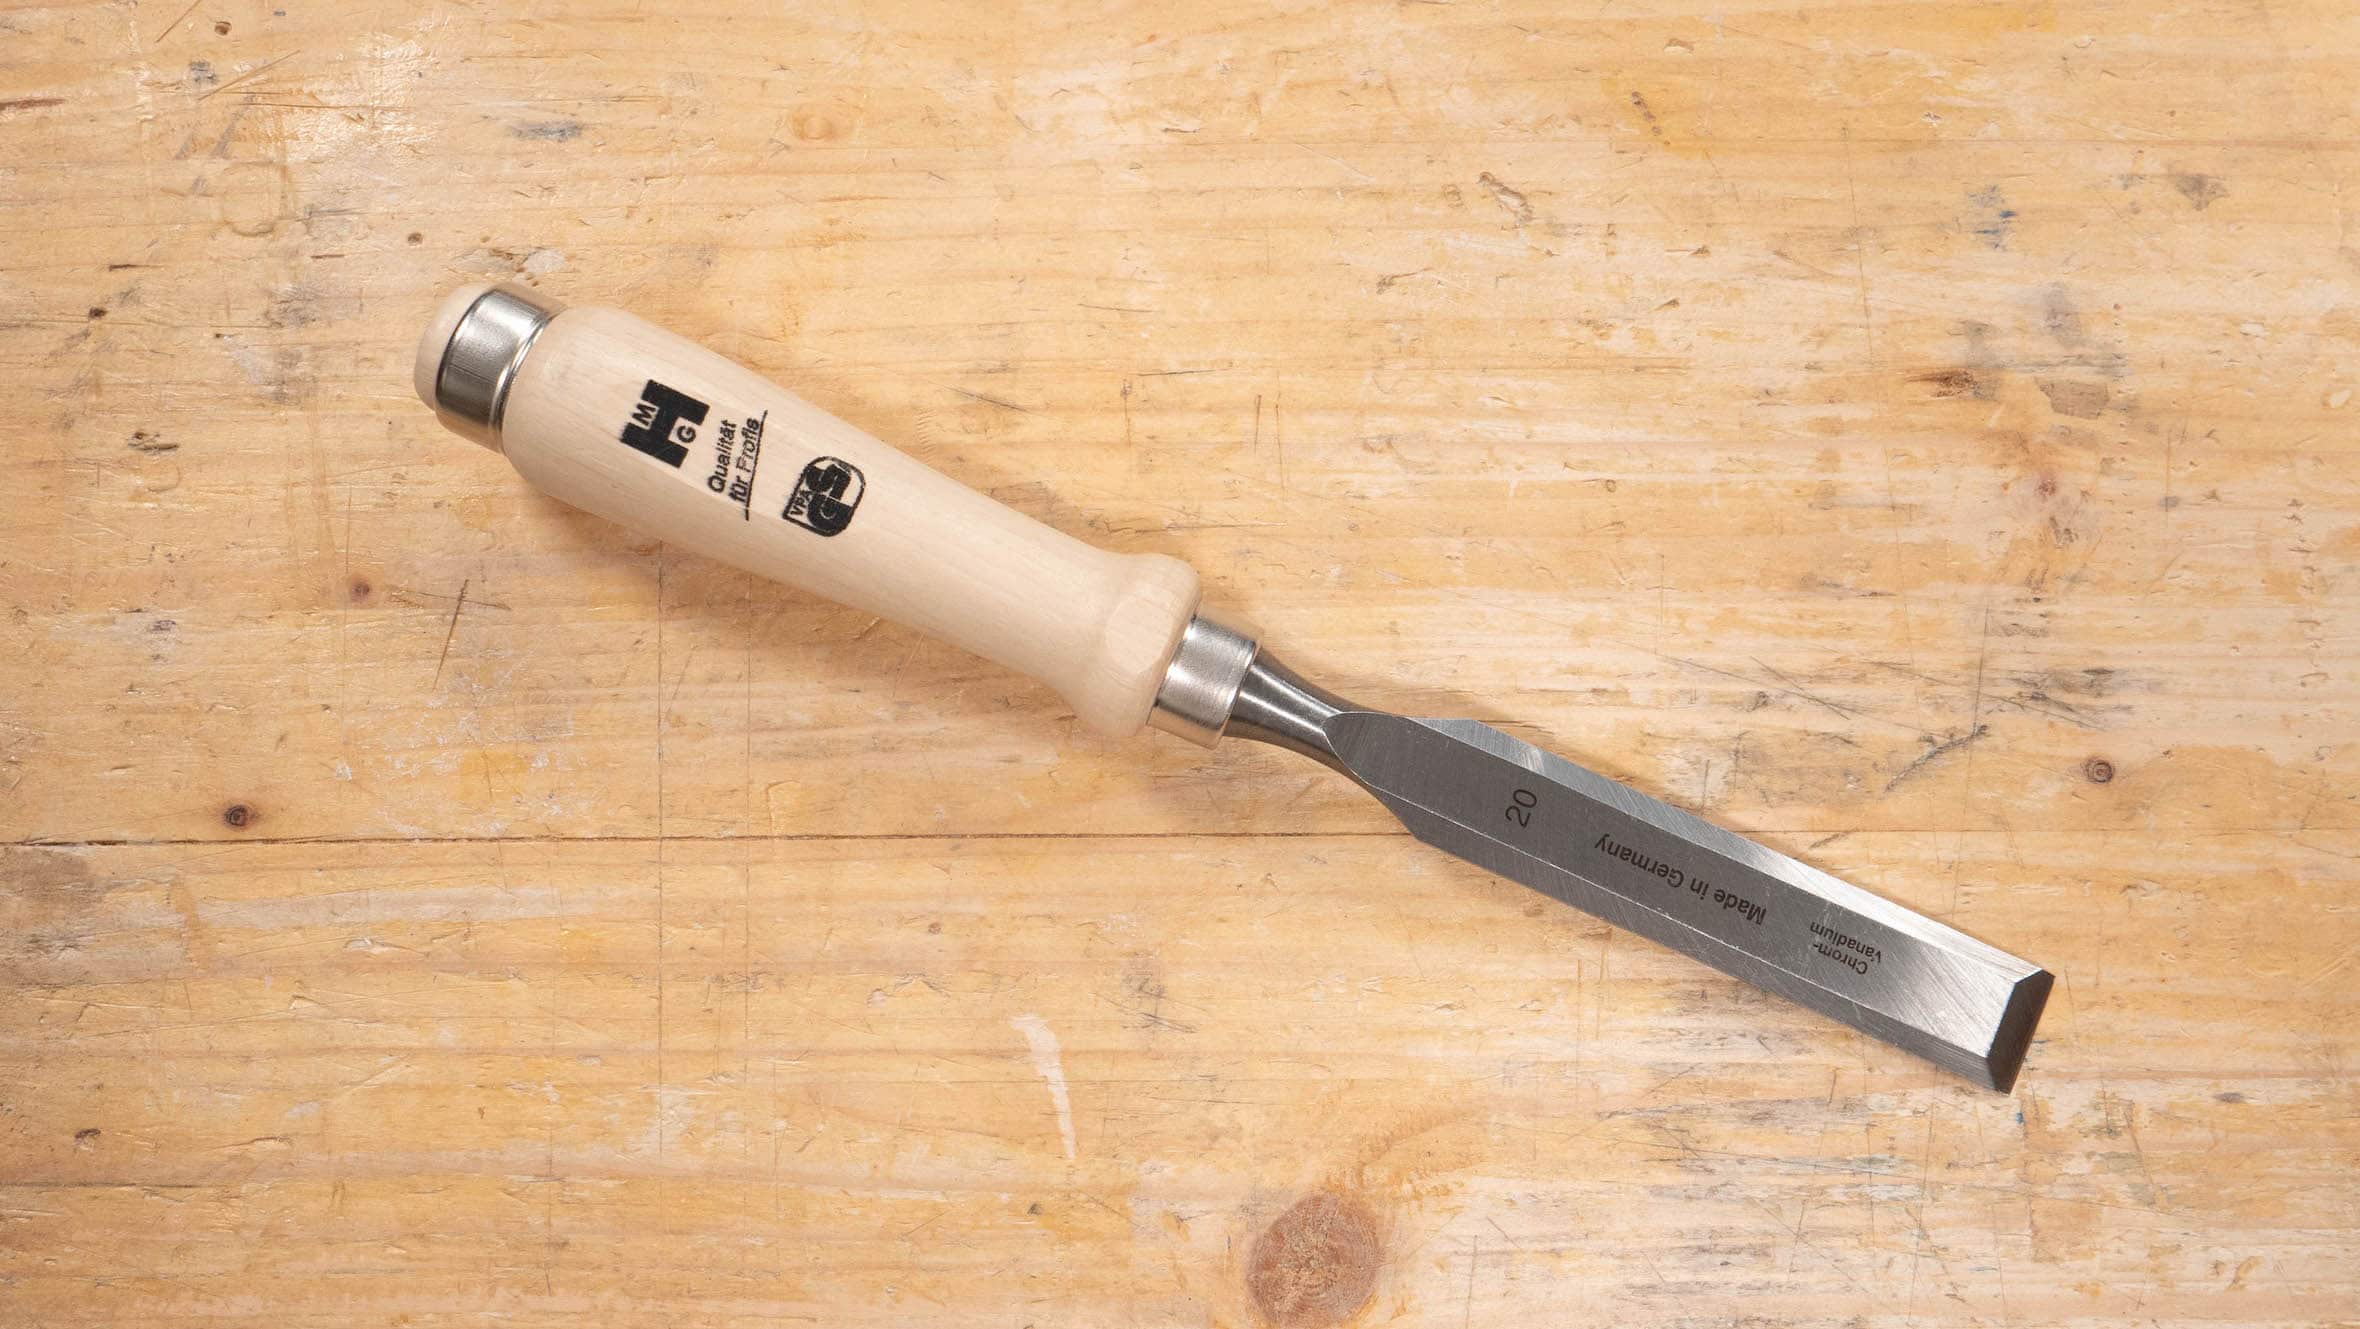
Parts of a Chisel

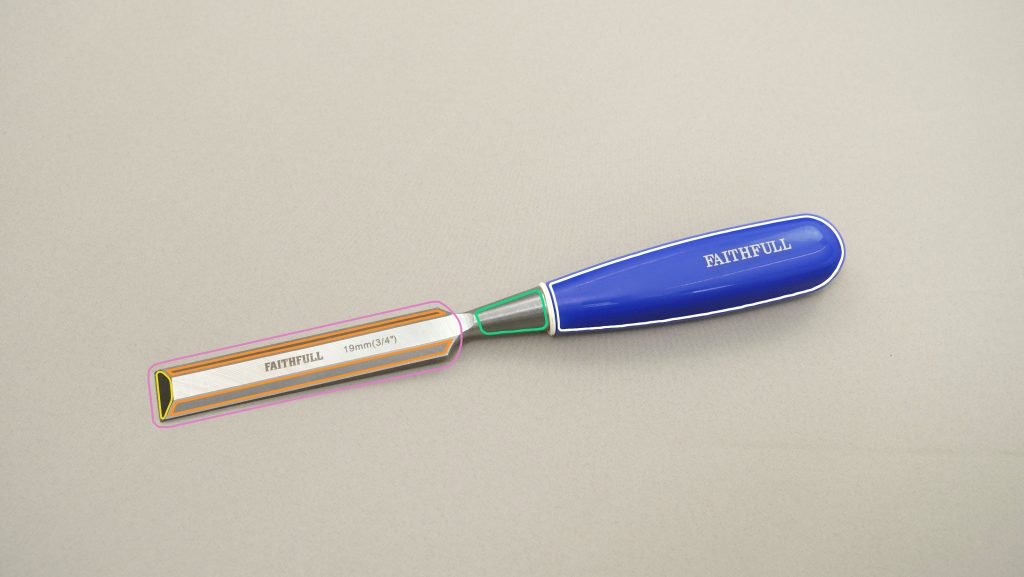
● Blade
● Side Bevel
● Bevel
● Bolster
◎ Handle
Relevant Guides
-
Buying a Chisel

When buying chisels, you will usually find a set of 4 or a set of 6. The set of 4 includes the 4 most common sizes listed below and the set of 6 includes the two additional sizes: and 2 additional sizes Some chisels come with a plastic handle and some have a wooden handle,…
-
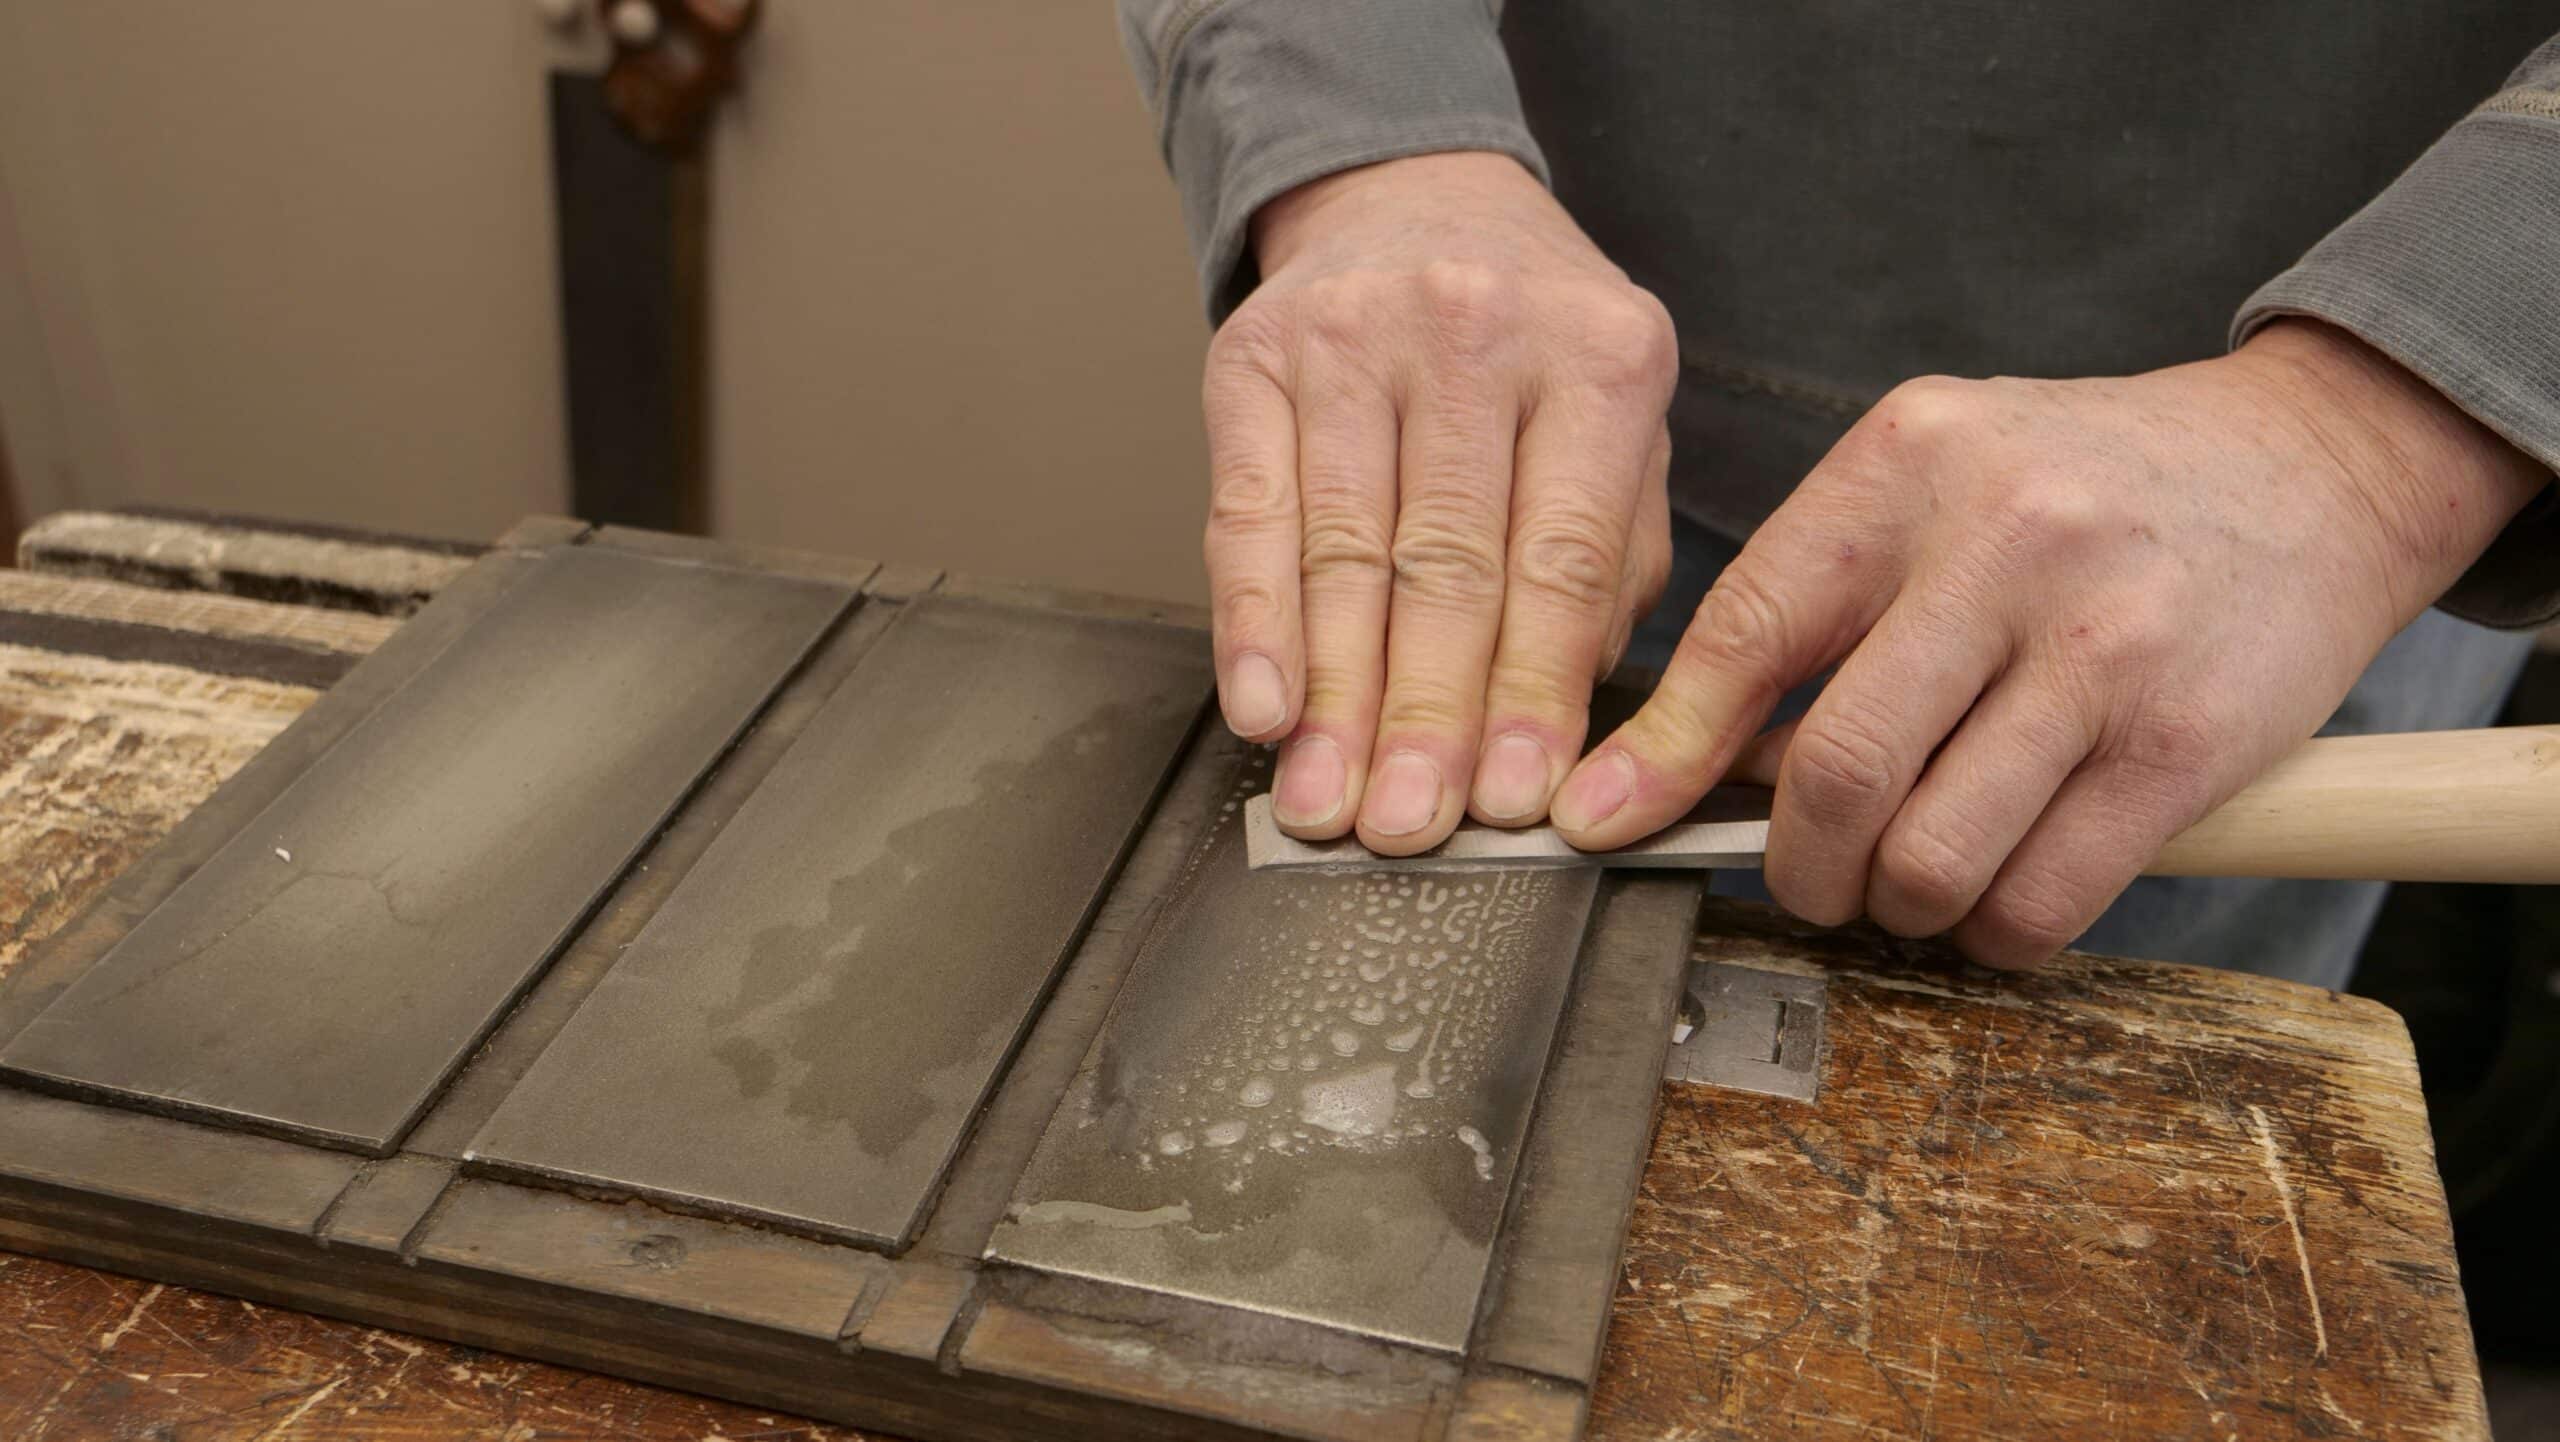
Setting Up and Sharpening a Chisel

Note: Be careful when sharpening as the tools will become very sharp, always face the blade away from you when sharpening. This guide will show you the process of how to sharpen a chisel using diamond stones and the process of how to sharpen a chisel using abrasive paper. Paul recommends diamond stones, however if…
-
Using a Chisel
When chopping paring or splitting, you should ensure the chisel is presented to the wood at the appropriate angle. PARE When you are paring wood you should rely on hand pressure only and use both hands to present the chisel to the wood. With your dominant hand on the handle and the other wrapped around…

Further Reading
To read more on this we recommend the following from Paul’s blog:
Very helpful. I’m so glad to find this site.