Setting Up and Sharpening a Saw
This applies to all saws except the coping saw which does not need sharpening as it comes with replacement blades, to see how to insert the blades, click here.
Note: Some saws will need setting before sharpening and some will need sharpening before setting. This all depends on the quality of the teeth to begin with. If your saw is secondhand and has well-worn, rounded teeth, you will need to sharpen these before it can be set. Sharpening will change the size of the tooth which determines how much it can be set. Some saws may only need setting, some may only need sharpening.
Sharpening
Usually three main sizes of file can be used to sharpen the teeth of most saws:
- 7” (175mm)
- 6” (150mm)
- 5”(125mm)
To read more on saw files, visit our guide here.
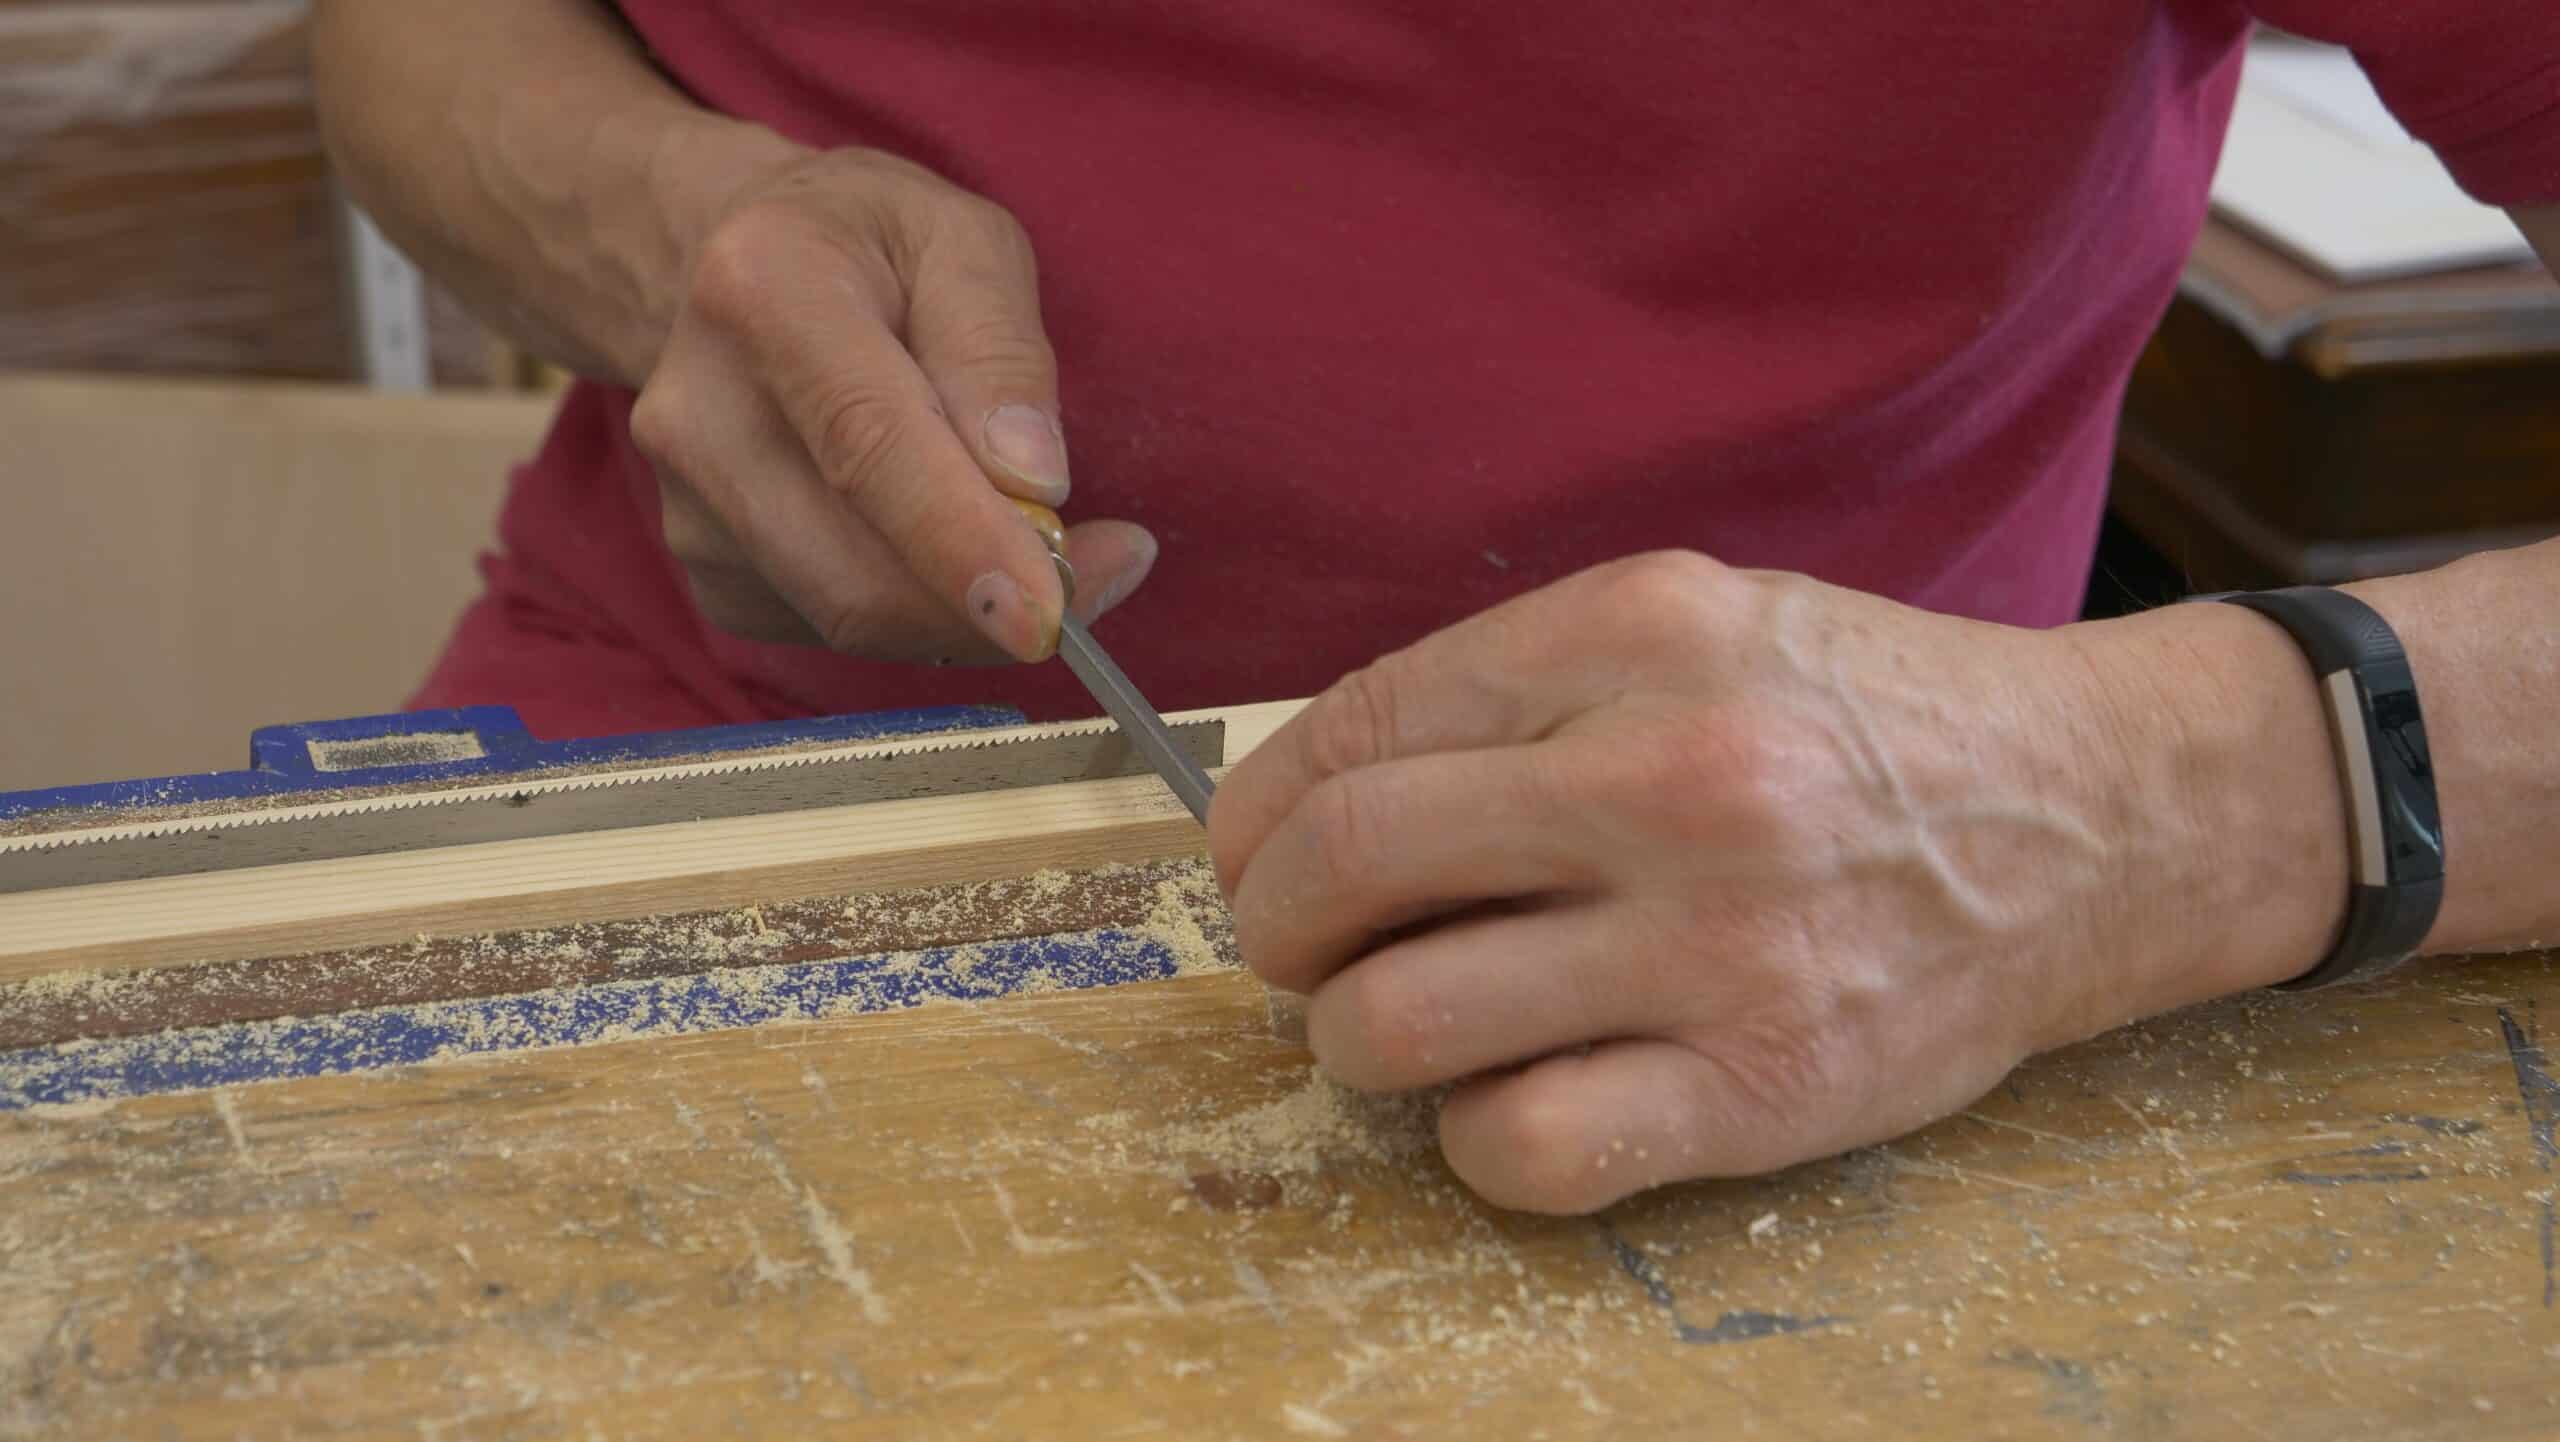
These are triangular so they can fit into the gap between the teeth. The width of each face on the triangle file should be double the height of the tooth that they are going to be used on. As the file sharpens two teeth at a time (the front of one and the back of another) it means that when the file is turned it will still have a fresh cutting surface.
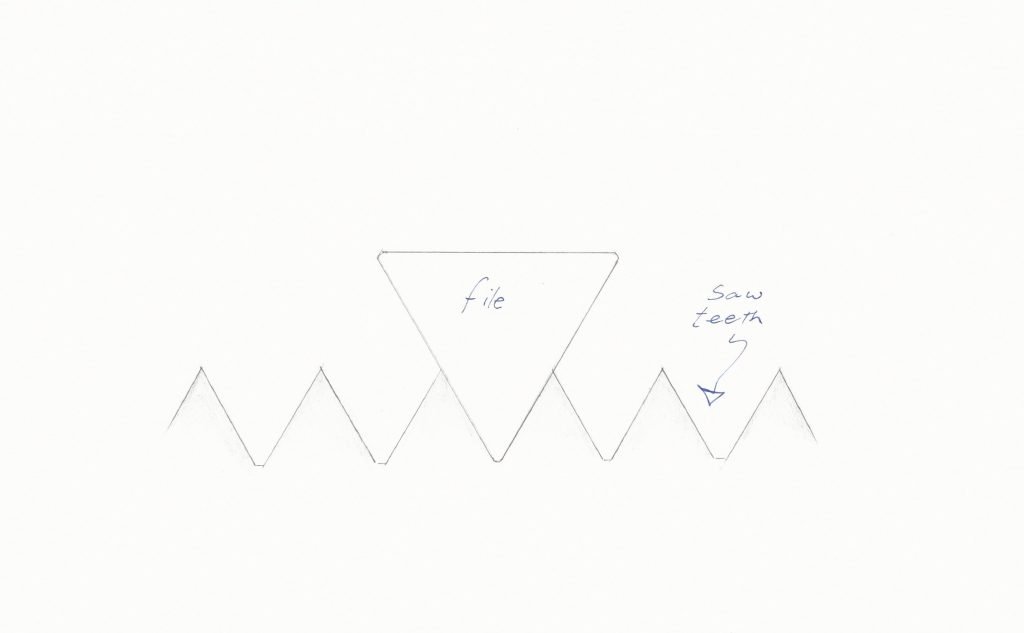
When sharpening a ripcut pattern, you will go in between the teeth at 90° across and with the file level, the front of each tooth is now filed at the most passive angle. We recommend sharpening your saw to the most passive pitch, this will enable it to be able to cut both crosscut and ripcut. To vary the aggression of the pitch, roll the file forward, the steeper the pitch, the more aggressive the cut will be.
Ripcut Gallery:
To help you sharpen your saw, you can make a holder to secure the blade in the vice, you can also draw guide lines on the holder to help you keep the file in line.
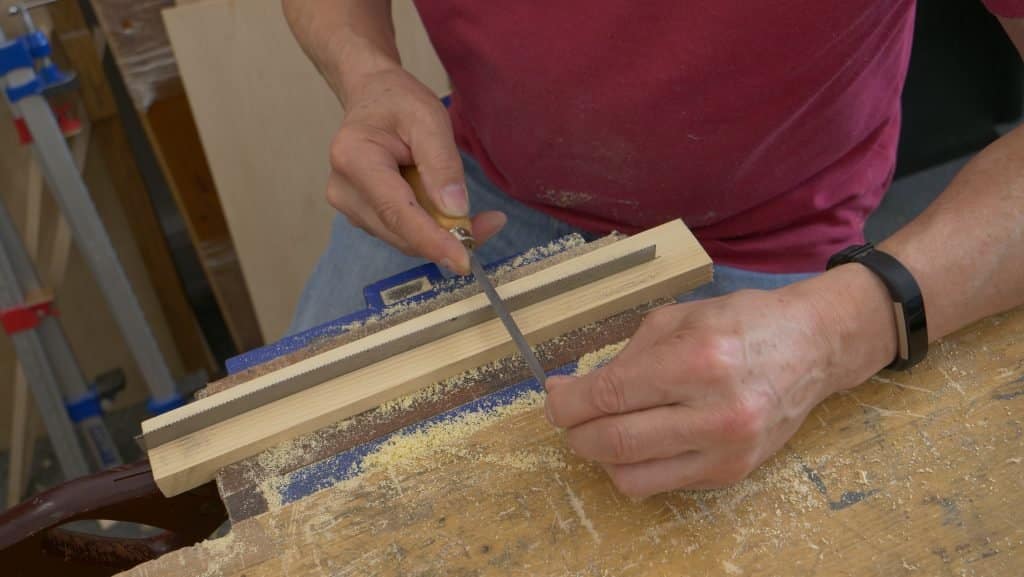
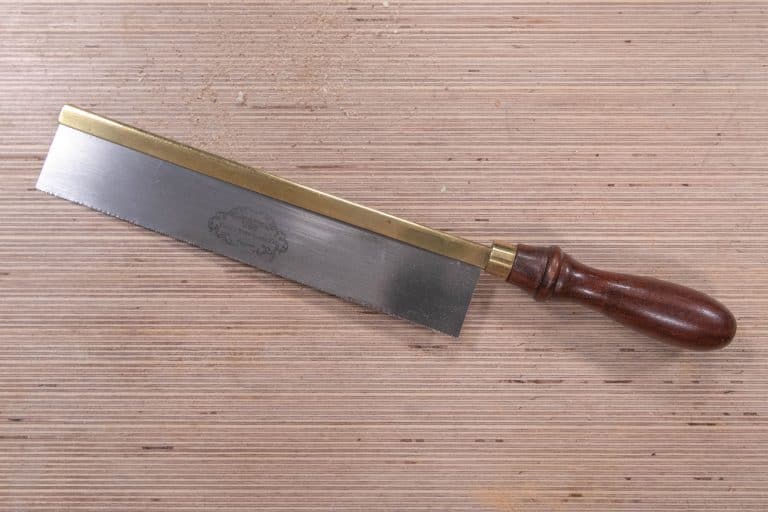
You can get Gent’s saws with up to 24 PPI but teeth this small can be difficult to sharpen, however these don’t often need sharpening as you would usually reserve them for occasional fine cuts.
Paul sharpens these saws to a ripcut pattern, even though he uses them to crosscut too as the teeth are so small so they take less material away than those with bigger teeth and therefore it isn’t important to differentiate between the types on very small teeth.
Crosscut Gallery:
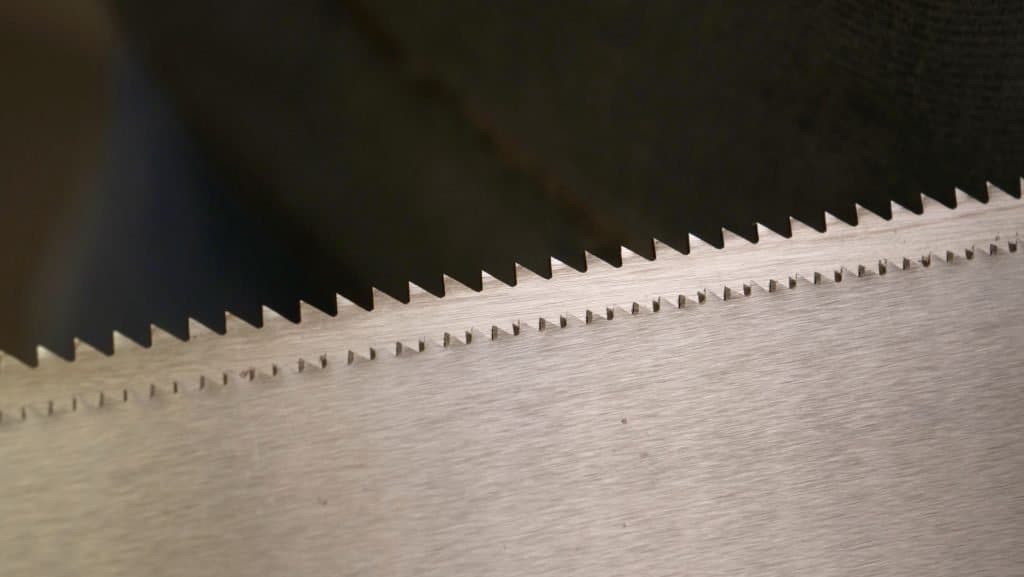
When sharpening a crosscut tooth pattern, the inside of each tooth is filed to create a pinnacle point. We do this by alternating the direction, sharpening each alternate tooth first from one side and then the other, this then develops a bevel to each side of the teeth we are sharpening.
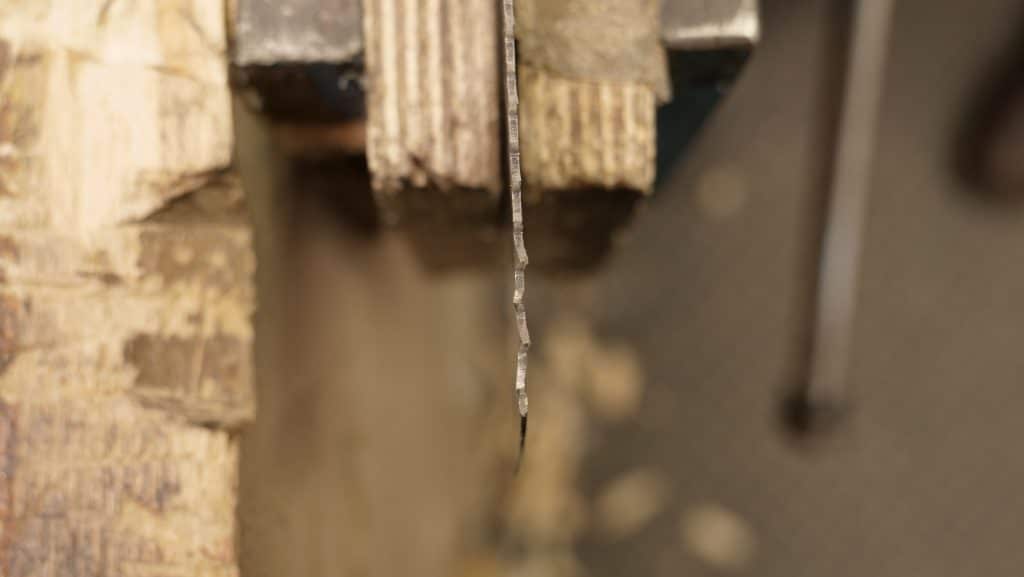
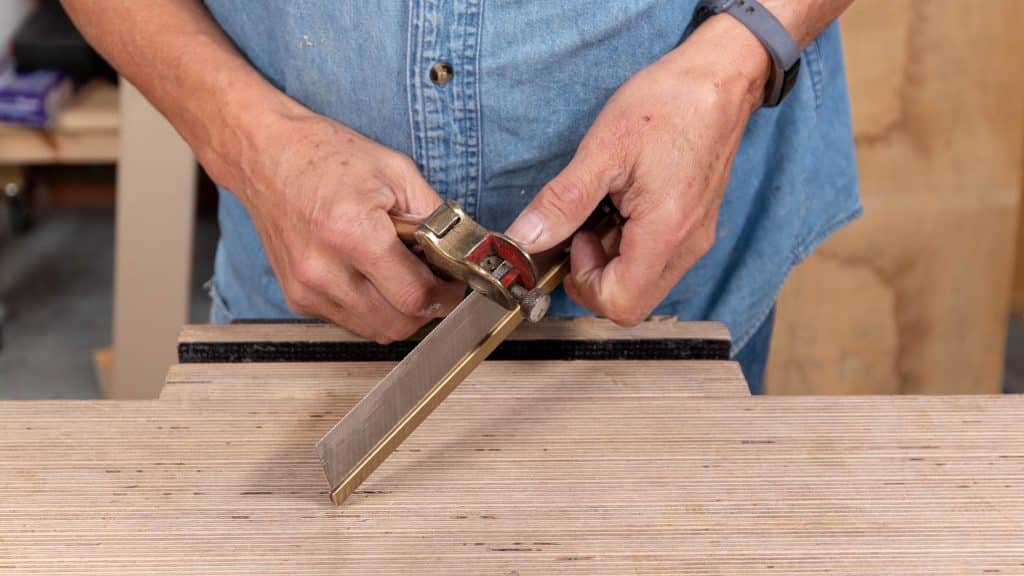
Tip: To see if a secondhand saw needs setting, test it on a scrap piece of wood. If the kerf is significantly wider than the plate itself, the set will usually need reducing.
Setting Up
When setting up a saw, a device called a ‘sawset’ is used. This is essentially a mechanised punch which bends the tooth away from you. This is done on every other tooth, then the saw is turned around and the same is done on the other teeth to bend them the opposite way. You can adjust the depth of the set to determine how far you want the teeth to be bent.
The teeth have to be slightly bent to allow the cut to be wider than the blade (Commonly referred to as the plate or saw plate), if the teeth were straight and inline with the plate then the side of the blade would rub against the wood and it would be very difficult to move the saw as it deepens in the cut. It is important that the teeth are evenly bent otherwise you would get a curved cut and struggle to saw straight or square.
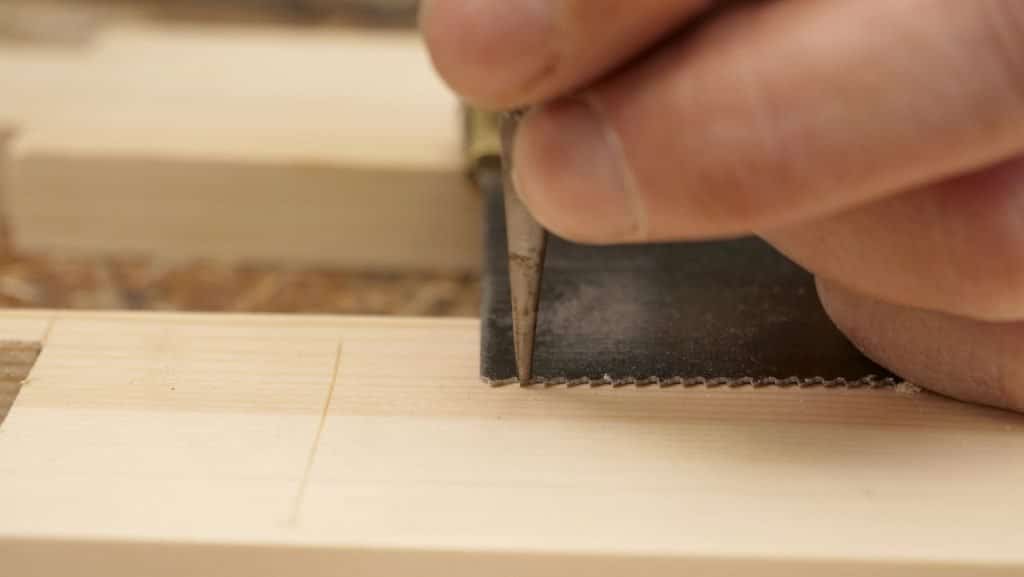
If you buy your saw secondhand, it is wise to check the teeth and see if they need setting. If you buy your saw new then it will often be set ready to go, although sometimes they may have too much set resulting in an overly wide ‘kerf’ which is the width of the cut. Sometimes the teeth will be too small or the blade will be too thin to use the sawset, in this instance it is best to use a nail punch and a small hammer with a light tap, you can watch Paul’s video on it here. You use the same alternating process as you would with the sawset, but the saw plate is placed flat on a piece of wood.
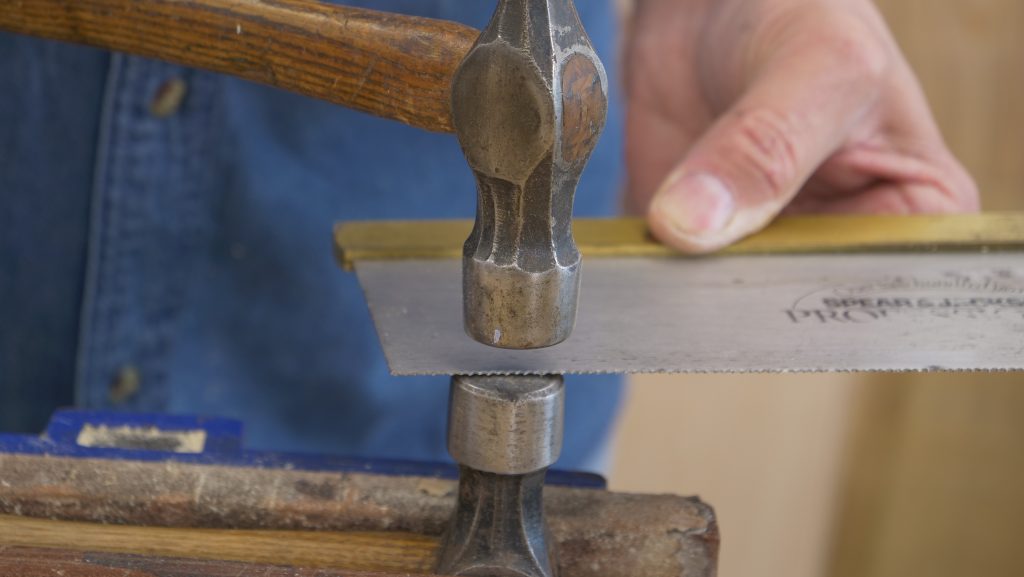
Once set, you then put another hammer in the vice, place the saw horizontally on top with the teeth centered on the face of the hammer and start lightly tapping all the way along the teeth using a second hammer. This is also how you remove excess set from saws that have too much.
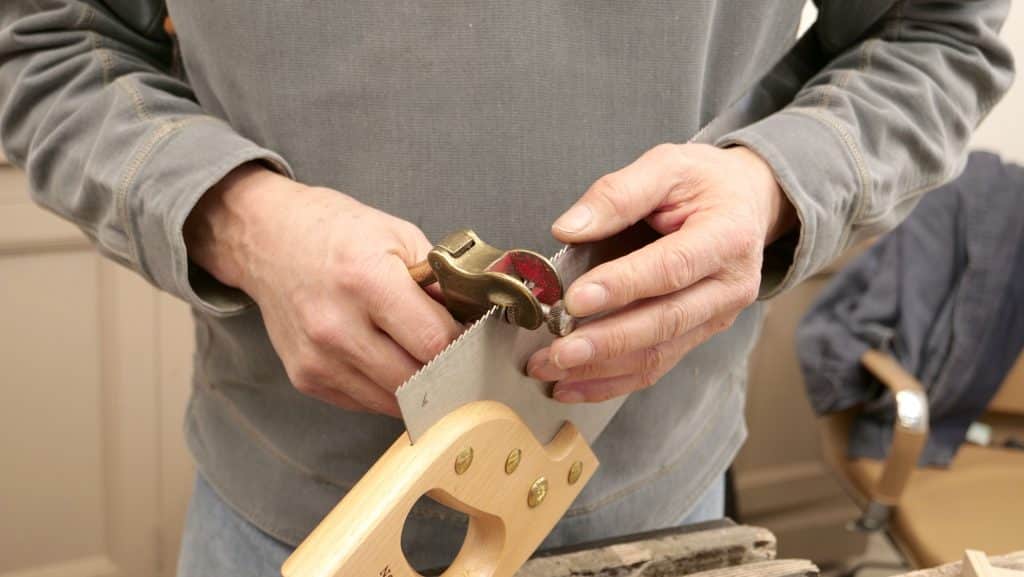
As Gent’s saws are smaller than usual saws, setting them in the same way doesn’t always work. Paul suggests not using the plate holder in the vise, and instead hold the saw with the teeth facing up, in your non dominant hand with your forearm against the body. Rest the end of the saw on the workbench for stability and use your dominant hand to hold and squeeze the sawset.
Setting Up a Coping Saw
When changing the blade, loosen it by turning the handle anticlockwise while holding the lever on the inside of the frame in place to avoid the blade twisting. Keep turning the handle until the blade is loose enough to pull the levers in towards the centre of the frame and release the blade through the slots. Once a new blade is in place, tighten the handle until the levers are held firmly by the tension. Both these levers need to be facing the same way for the blade to cut, otherwise the blade will be twisted. To change the direction of cut, loosen the handle slightly and turn both the levers until the blade is facing the desired direction then tighten the handle to keep in place.
Further Reading
To read more on saws, we recommend the following from Paul’s blog:
Sharpening Your First Crosscut Saw- Part 1
Sharpening Your First Crosscut Saw- Part 2
Radical Changes For Saw Sharpening Video
Magnetised Saw Sharpening Holder
Coping And The Cost Of Coping Saws And Blades
Hi, My 12″ rip cut tenon saw came ‘sharpened’ with an aggressive pitch on all teeth. The front face of all teeth are vertical. It is very difficult to start and cut cleanly.
I’d like to sharpen as Paul has described in the video ‘How to Sharpen a Woodworking Handsaw’ at 19:00 minutes where the first inch of teeth are filed passive with the file flat. The next inch a slightly more aggressive and the rest aggressive.
To correct this on a saw like mine does one rotate the file, to a passive angle and file the front face of the teeth to a more passive angle? I’m uncertain if the re-shaping will cause issues in this case.
Thanks in advance to anyone out there,
Jon
Hi Jon,
Paul says:
Here’s the thing, you don’t have to reshape the whole of the teeth, just the tips. Repeated sharpenings will ultimately result in the teeth being reshaped but that will not alter the ability of the teeth to cut going from passive to more aggressive.
Kind Regards,
Izzy
Hi, I recently bought the WILLIAM GREAVES Gent’s Saw 150 mm on Dieter Schmidt Fine tools.
By eye, I could see that the the teeth were not sharpened perpendicular to the blade but with an angle, as it is the case for cross-cutting saws. Hence I sharpened it as a cross-cutting saw. However I read on Paul’s website that he sharpens every saw above 10tpi as a ripcut. As mine is 15 tpi I guess this would be the way to go according to Paul. Can I go from cross-cutting sharpening to ripcut sharpening? I fear that I take out too much material out of my blade by resharpening it again in a perpendicular direction this time.
Hi,
Paul says:
You can readily convert a crosscut saw to a rip cut and it will not take out too much metal from the tooth once you’ve done this you will only take many more strokes to refresh the sharpness of your saw.
Kind Regards,
Izzy
Dear Folks,
Is it better to set the saw before sharpening or does it matter which one first?
Many Thanks,
Stephen
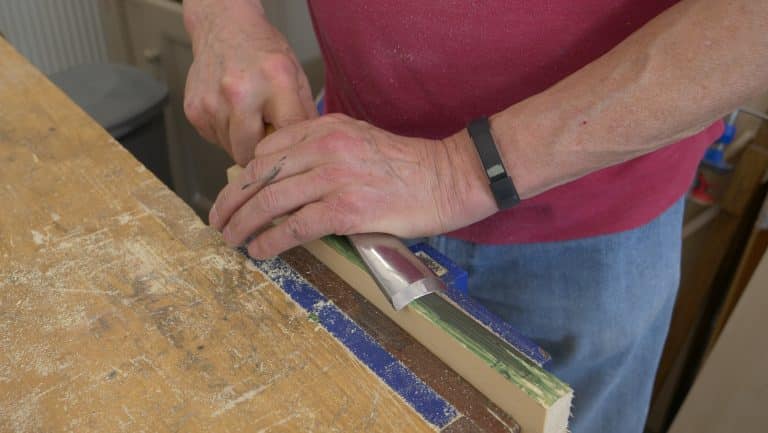
at 25:44 Paul uses some file for “micro bevel” https://youtu.be/UA5DixEaaUo?t=1544. It looks like a diamond nail polisher. What kind of file is it?
Thanks.
These are abrasive paddles Paul uses to sharpen the Woodworker’s Knife. You can see them here: https://commonwoodworking.com/setting-up-a-woodworkers-knife/
Izzy
Hi. I have been triying to make new teeth to an old English cross cut saw but found it impossible to follow Mr. Sellers Masterclass on the subject because although being the saw very old its blade is of an extremely hard steel.
No way to initially precut with a coping saw, not even with a bimetal saw and extremely difficult to make teeth with the suggested by Mr. Sellers Bahco triangular files.
I am open to new ideas but in the brink of discarding a fine saw.
If you have some freshideas I will be glad to read them.
Best regards and thank you.
Hi Slav,
I was looking for it too, I found the answer in https://commonwoodworking.com/sharpening-a-router-plane
He’s using these abrasive paddles: EZE-LAP diamond hone & stone.
Hi everyone. I hope someonw knows about this:
I have inherited a gent’s saw (about 15 tpi, 11 1/2″ long), and I’d love to tune it up.
The teeth are kind of strange: The front and back of the teeth have the same (inverted) angle to the row of teeth. That is, each tooth forms a perfect isosceles triangle, pointing directle away from the saw plate. It’s not at 45 degrees, so it wasn’t sharpened with a triangular file. I’d guess it was sharpened with a feather edge file.
I’m tempted to just put a triangular file to work on it, and shape them into the 90-degree rip pattern Paul reccommends, but I thought I’d ask if anyone might know why it’s like this to begin with. Maybe I am missing something?