
The Plane Guide
There are many different types of tools under the term plane which all have a blade fixed at an angle inside a metal or wooden body, some of which include:
- Bench planes
- Spokeshaves
- Plough Planes
- Router Planes
Over time the term bench plane has been shortened to be known as ‘plane’, however it is important to remember that this is in fact also an umbrella term for many different planes. In this guide we will be talking about the bench plane which is the most common type.

Overview
The bench plane is one of the most iconic and recognisable woodworking hand tools. It is used for truing, straightening, trimming and smoothing wood. The body can be made of wood or cast metal but the wooden planes are mostly considered vintage and are harder to find and can therefore be more expensive. The metal ones are more widely available and work just as well.
The most common of all the metal-cast planes are known as bailey-pattern planes. The size of these planes range from #1-8 with #1 being the shortest and #8 being the longest. Planes #1 and #2 are not commonly used as they are too small for most practical work, but more often you will see the #3-4 1/2 being used, these are referred to generally as smooth or smoothing planes. The #5 and #5½ are referred to as Jack planes, these are used for levelling and trimming in the same way as the smoothing planes but have the advantage of a longer sole. #6, #7 and #8 planes are called jointer planes and are much less commonly used.
Uses
The bench plane is used for levelling and smoothing wood to a high finish. The pushing motion allows the blade to cut the surface as much or as little as you need by adjusting the the depth of cut of the blade.
Terminology
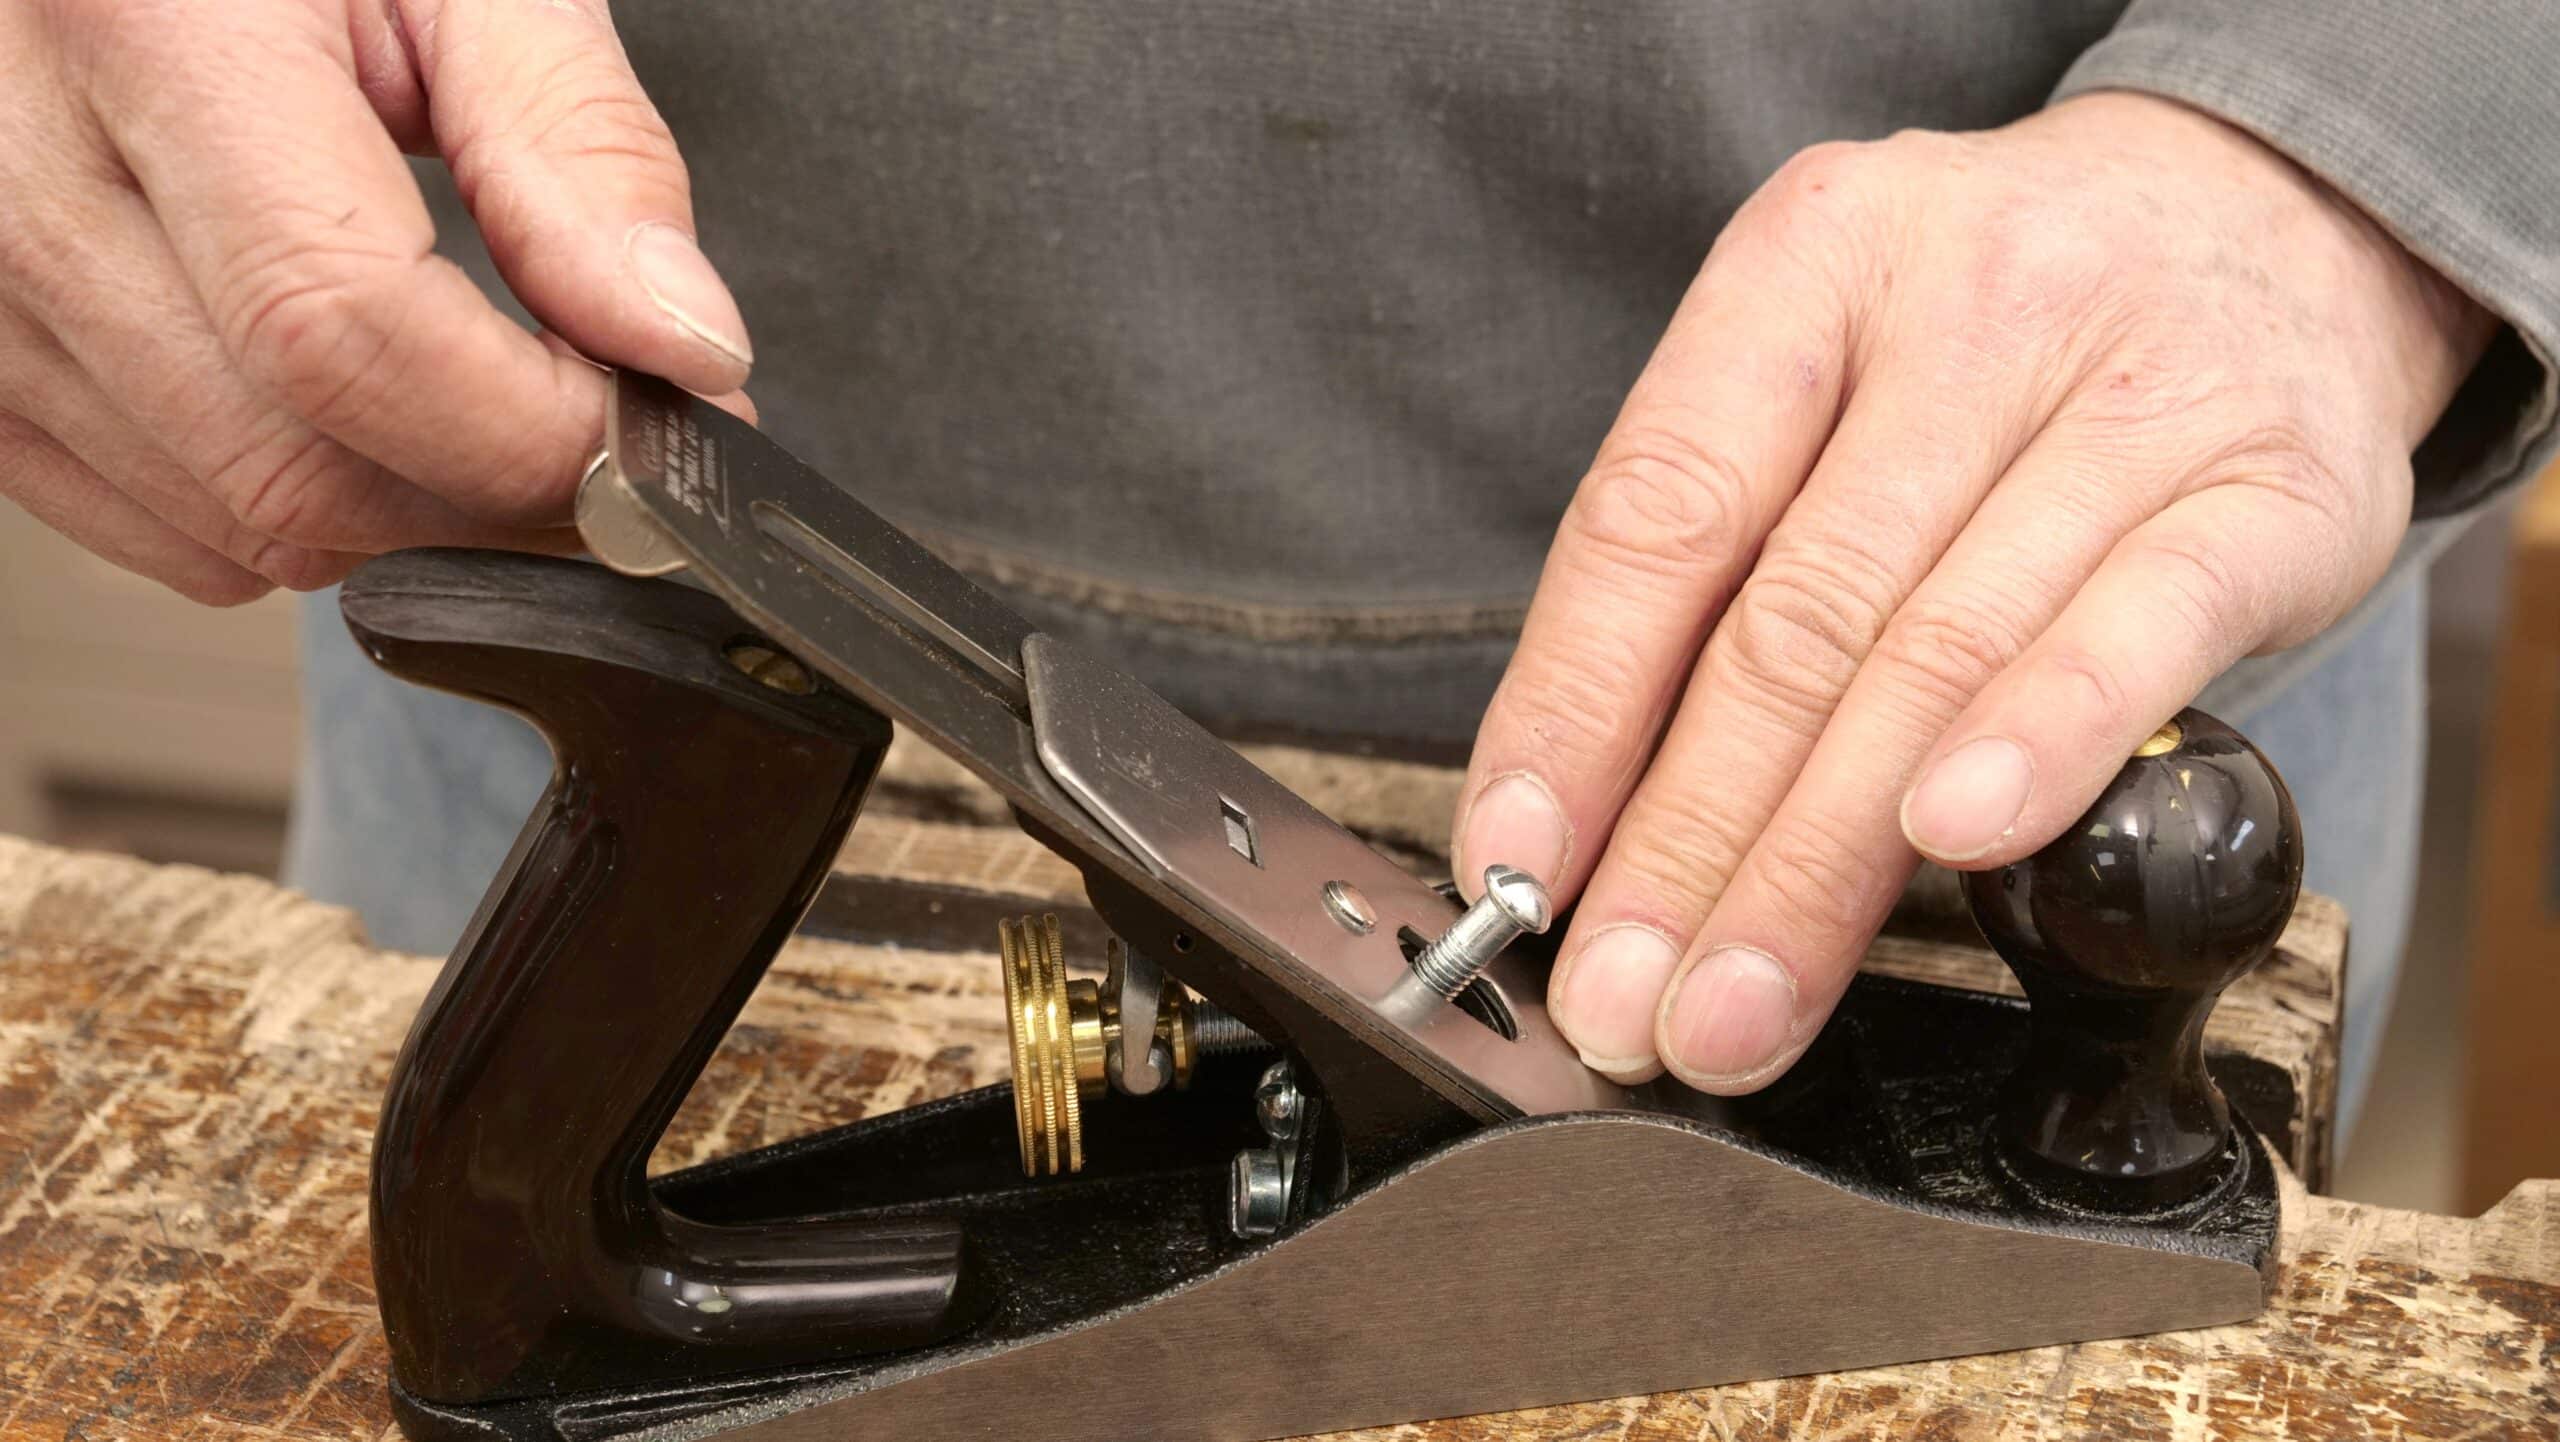
- Cap iron – A separate steel plate installed against the main cutting blade by a setscrew. The cap iron deflects the shavings up and into the mouth of the plane as planing cuts are made
- Frog – This angled section of metal is less obvious when the plane is fully assembled. It holds the blade assembly at a fixed angle and houses all of the adjustment mechanisms of the plane. It can be moved back and forth to adjust the mouth opening but this rarely needs doing
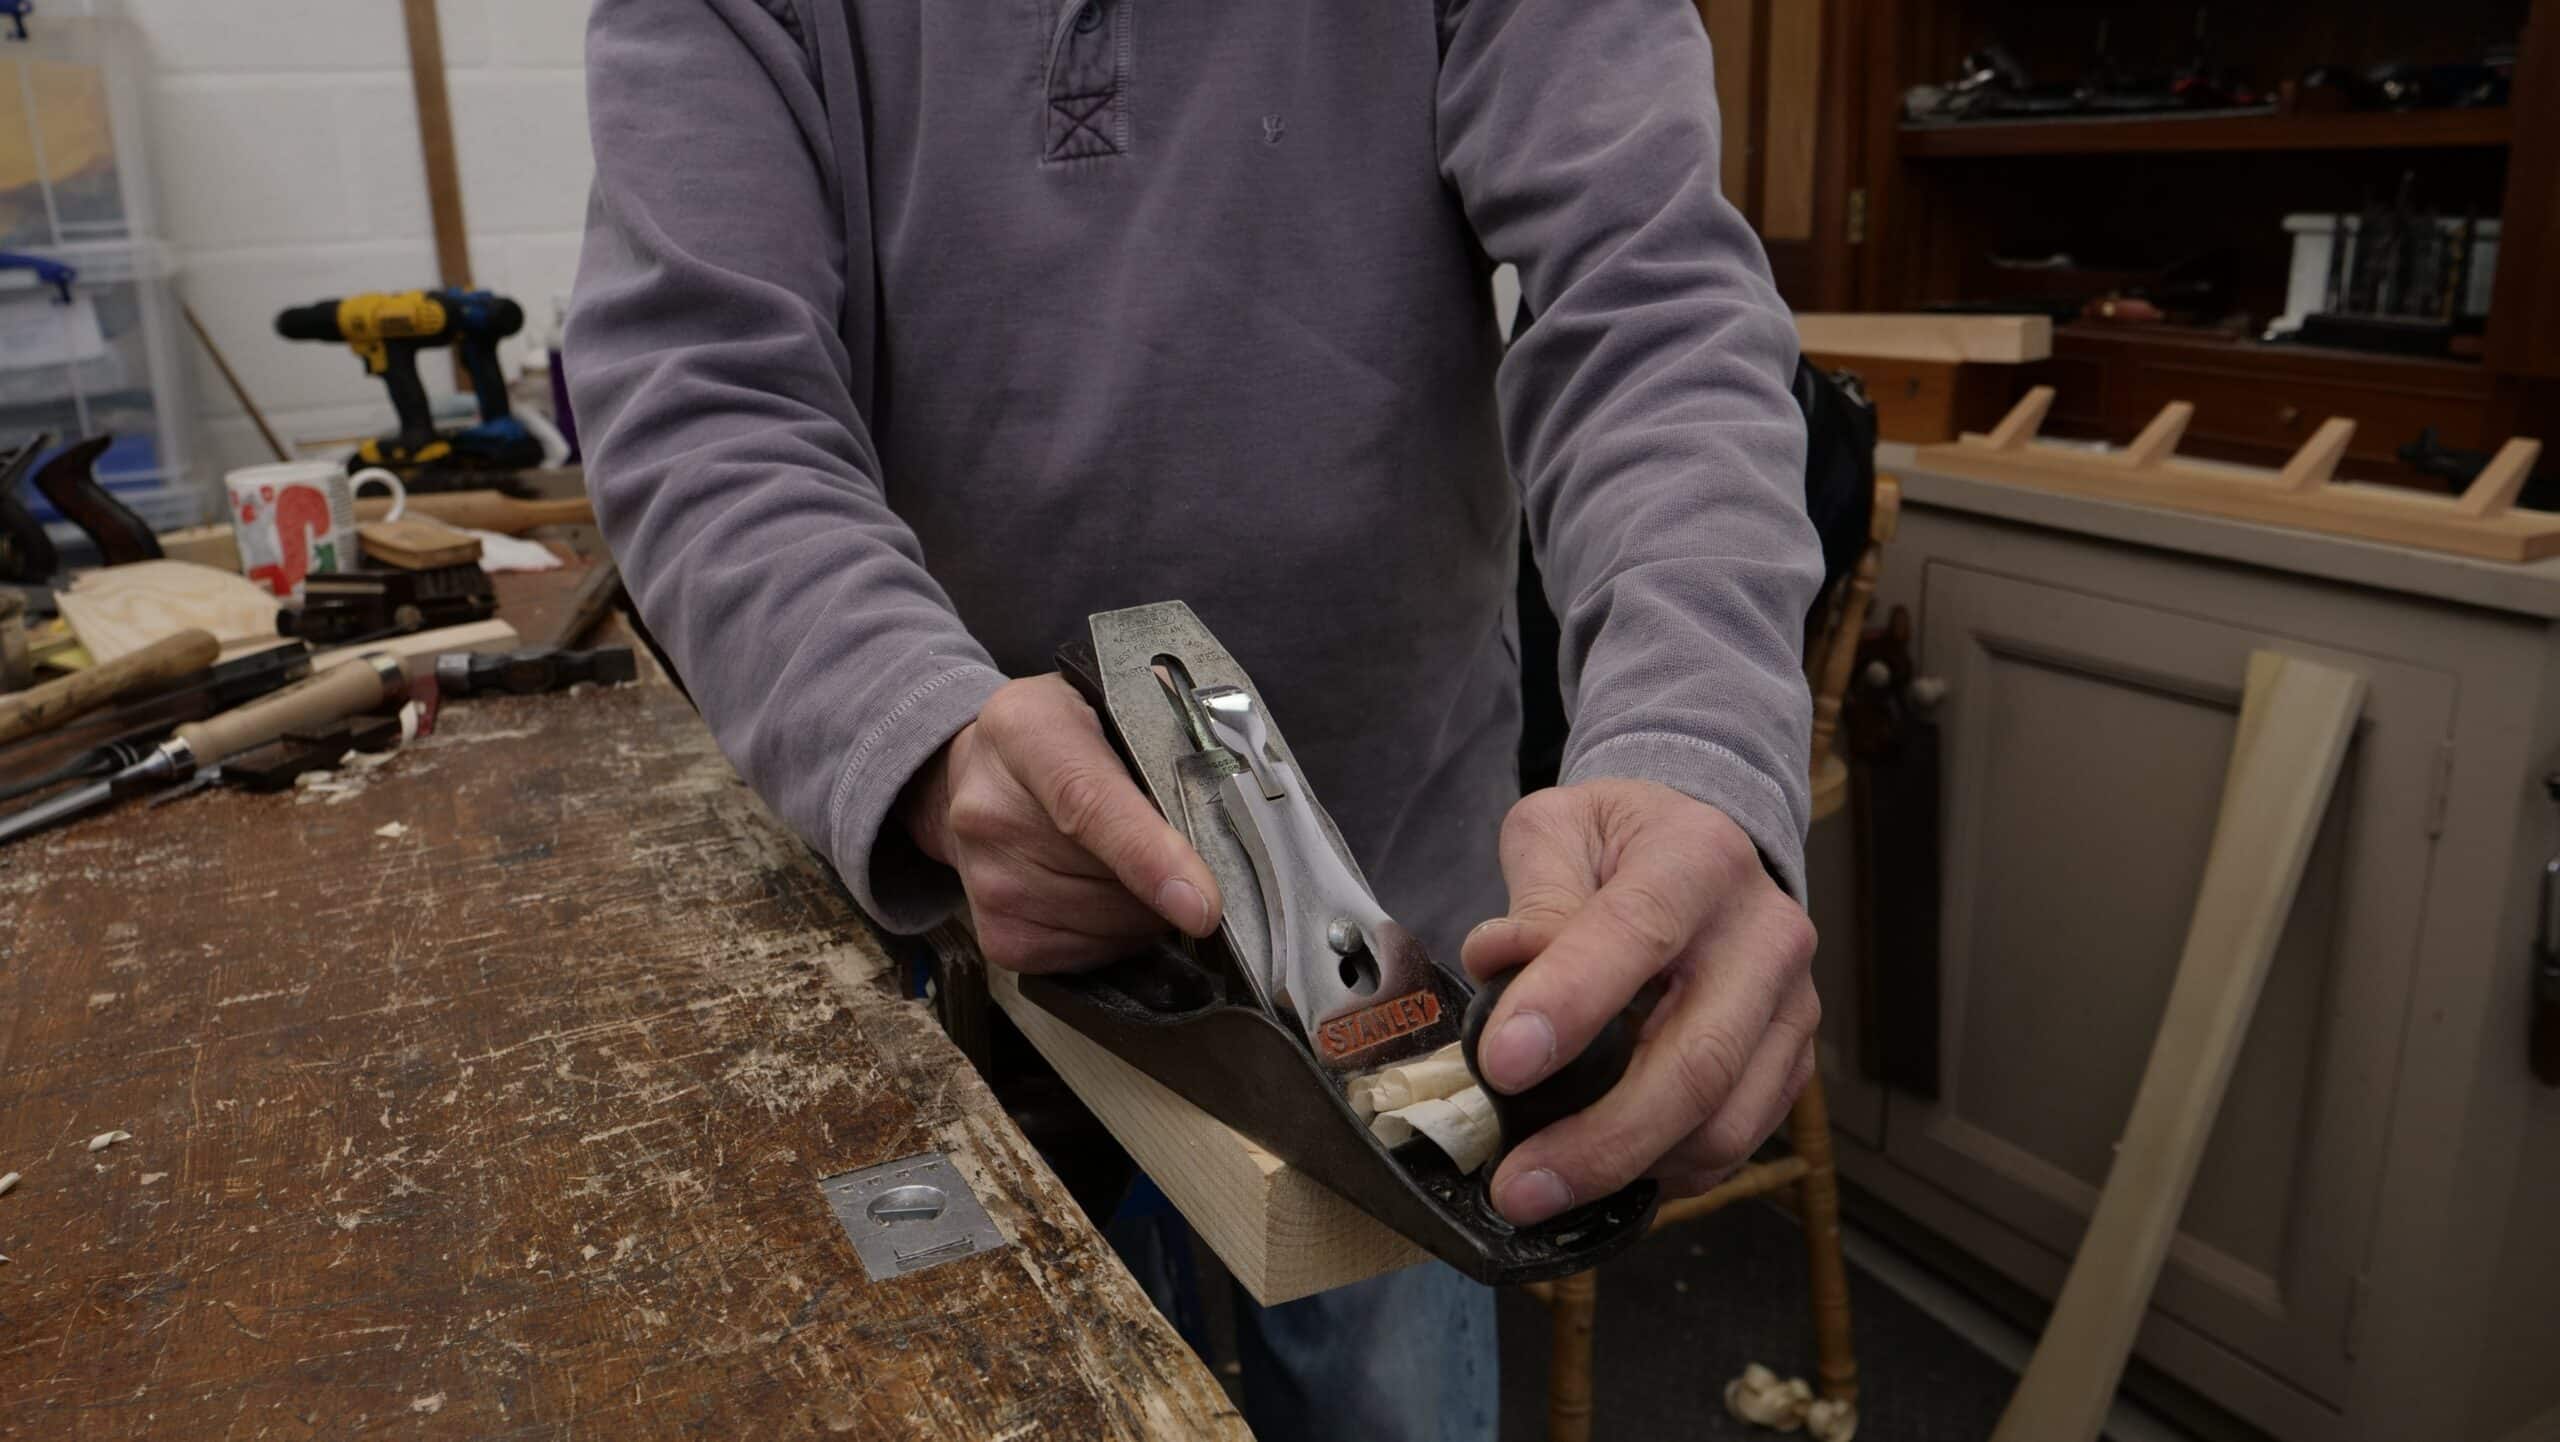
- Handle or Tote – The wooden or plastic part that you hold at the rear of the plane
- Knob – The wooden or plastic part at the front of the plane that you hold
- Lever cap – This sits on top of the whole blade assembly and locks it in place
- Mouth – This is the opening in the sole of the plane through which the blade protrudes
- Sole – This is the long flat surface forming the underside of the plane
Parts of a Plane


● Sole
● Handles (Front Knob and Back Tote)
● Cutting Iron Assembly (Cap Iron, Cutting Iron and Screw) and Setscrew
◎ Depth Adjustment Wheel
● Lever Cap
● Frog
● Lateral Adjustment Lever
● Frog Setscrews
● Frog Adjustment Screws
Relevant Guides
-
Setting Up and Sharpening a Plane
Note: Be careful when sharpening as the tools will become very sharp, always face the blade away from you when sharpening. To jump straight to ‘Sharpening’, click here. Setting up If your plane has plastic handles, you might be able to feel a seam down the middle where the two halves of the handle are…
-
Using a Plane
Note: When the plane is in between uses, Paul recommends that you should keep it upright with the blade against the benchtop, contrary to popular opinion. This way is not considered the norm, as they often used to teach in schools to lay it on its side. This was thought to protect the blade from…
-
Buying a Plane
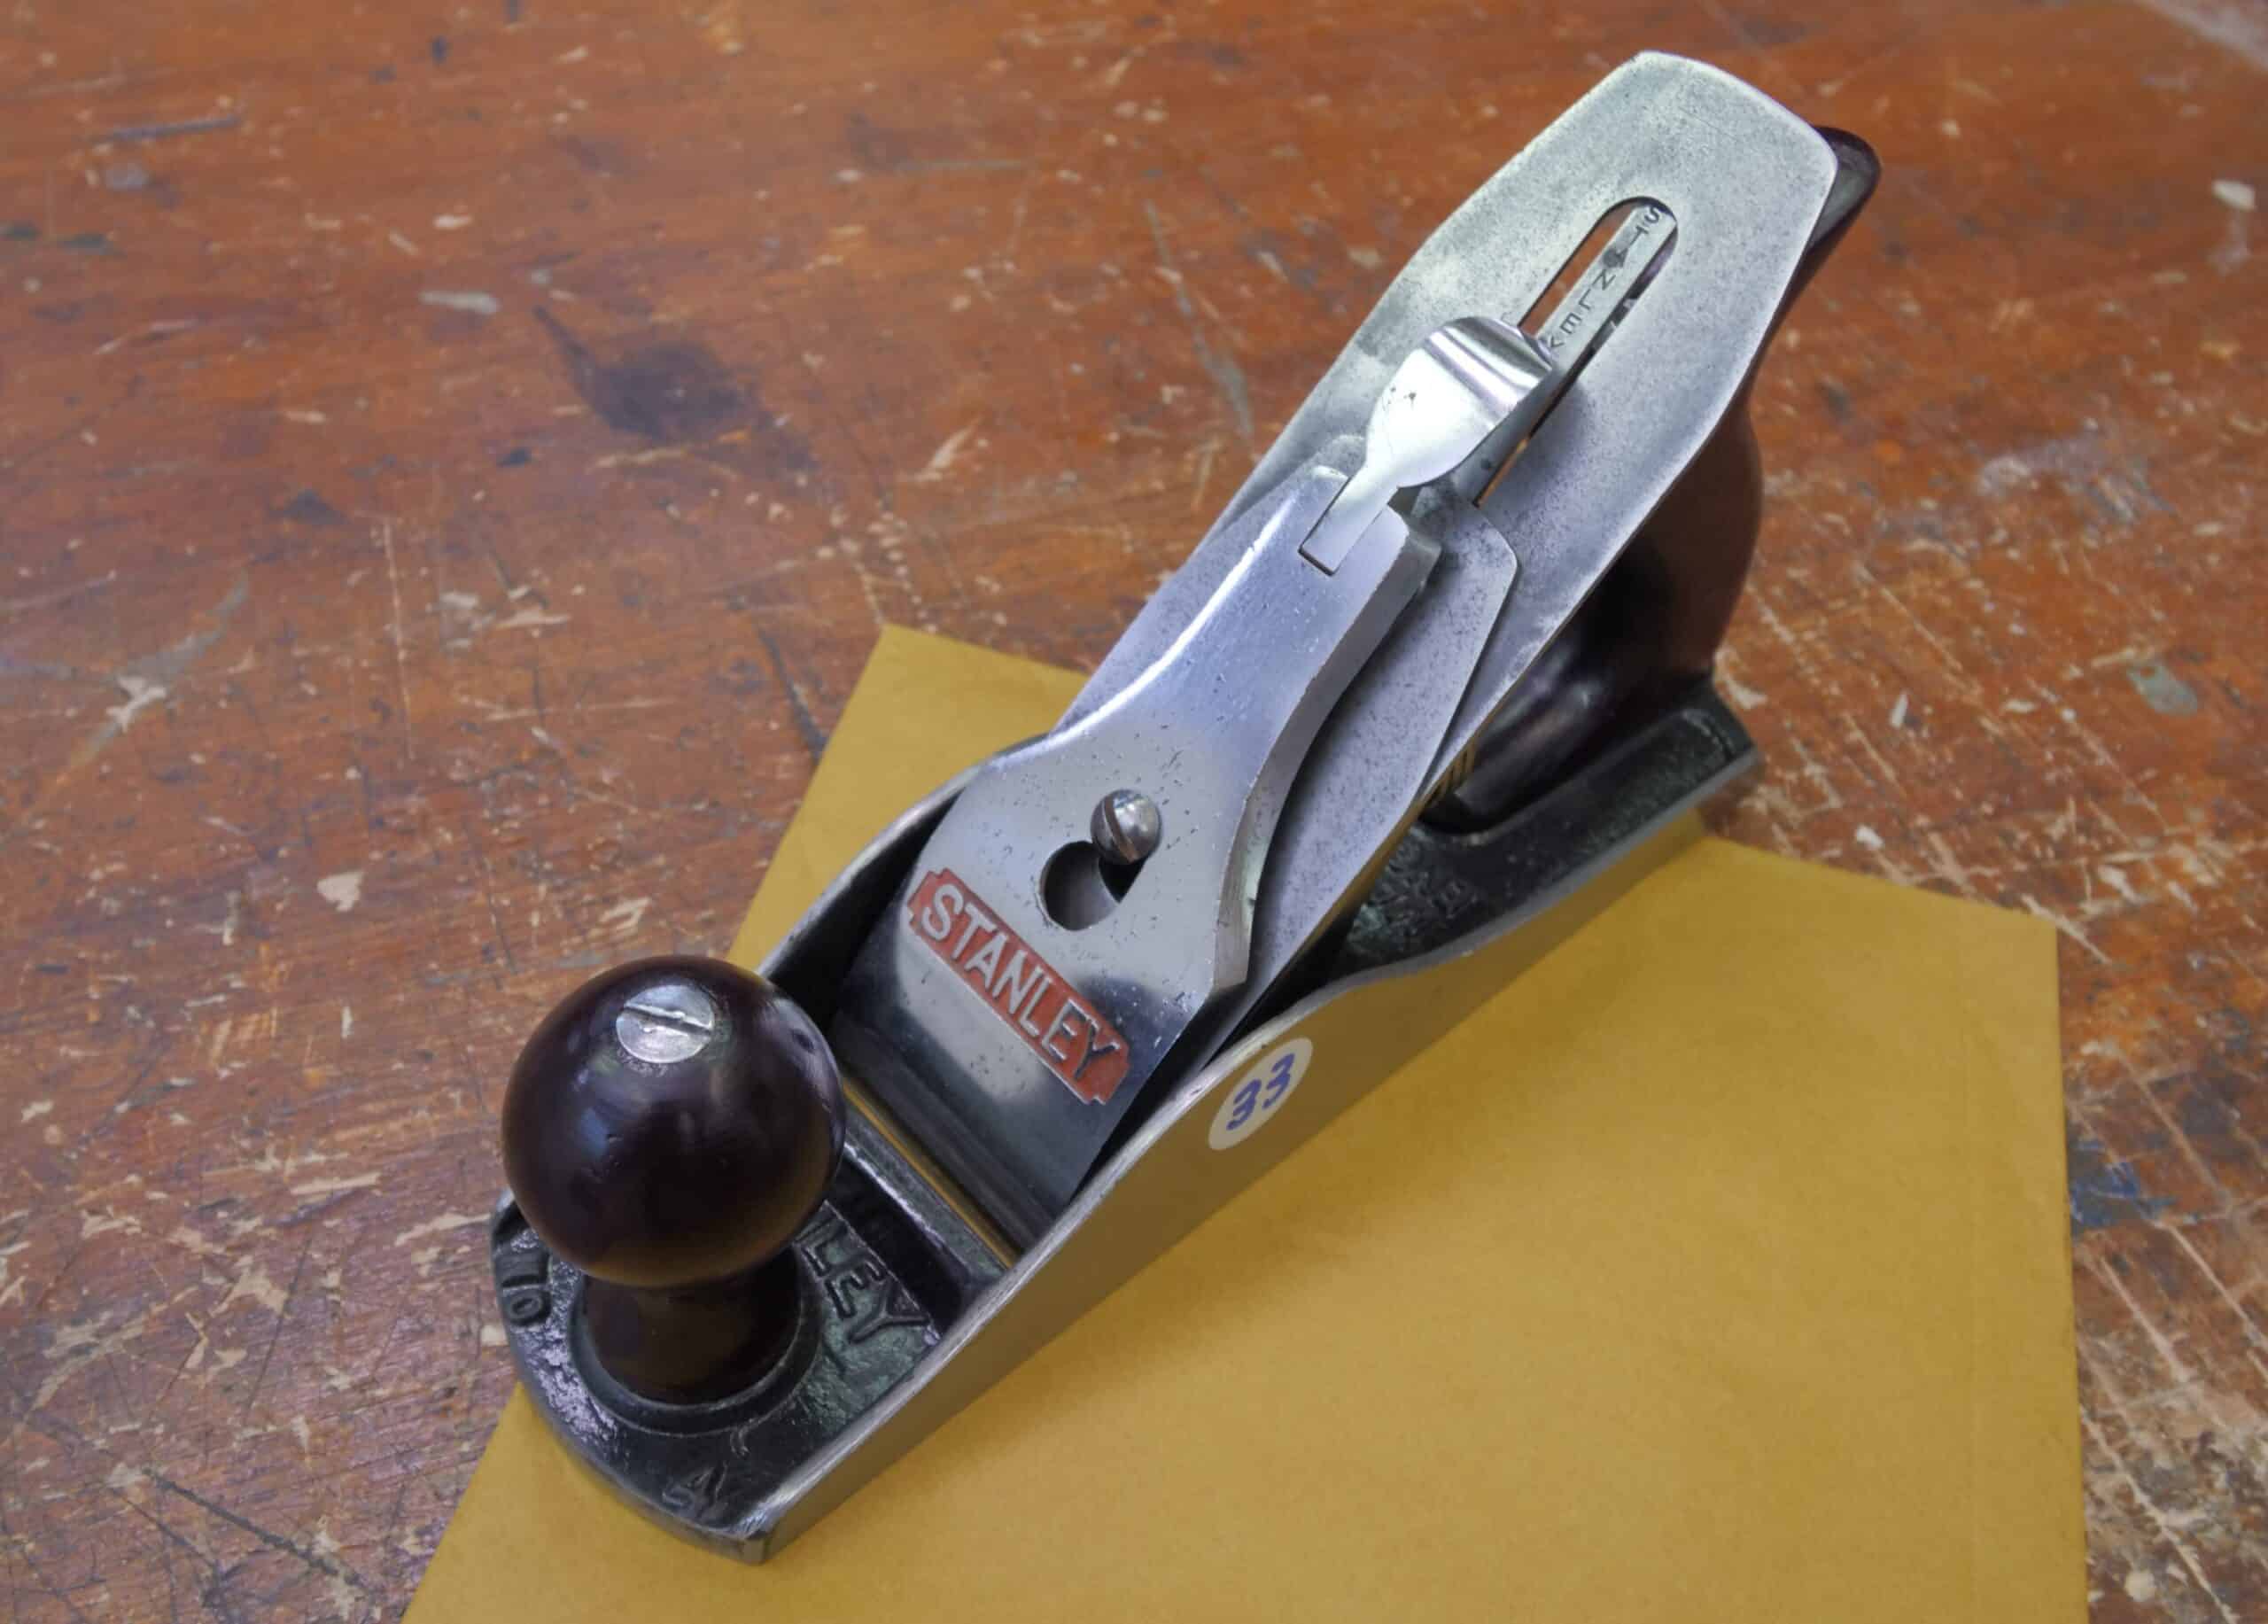
Paul Sellers recommends the Bailey-pattern #4 as it usually suits the build or stature of most people, if you have a slightly smaller stature, the #3 might suit better. Paul uses the #4 and #4½ the most. The ½ refers to the extra width, so these planes are both the same in length, but the…


Further Reading
To read more on this we recommend the following from Paul’s blog:


Hi Paul. I’ve recently started to follow you both here and on your YouTube channel and have to say I really enjoyed your style.
I’ve recently dug out all my dad’s old hand planes ( 2 Stanley No. 4’s, 1 No. 5, and I think a No. 4½ wider than the rest? And a Brazil No2 block plan by Tramontina)
I have a quandary about the Brazil No2.
I’ve taken it apart and sharpend the blade but I’m struggling to figure out how to reconfigure and set it again correctly. I’m thinking it’s like the wooden plane were you need to tap it one way or another to set it, but I don’t want to be mess with it to much until I figure out how it works. I’ve had a quick Google and can’t find much about their block plane.
Just wondering if you have ever had one of these or know anything about them that might help me out.
Look forward to your reply and see more of your work.
Best Regards
Gary
Hi Gary,
Thank you for getting in touch.
Paul says:
I’ve never heard of the plane so unfortunately I am unable to help.
Kind Regards,
Izzy
Hi,
Perhaps you’ve figured the block plane out by now, but if it looks like this https://i.ebayimg.com/images/g/LZEAAOSwE~Zb8ccI/s-l1600.jpg it is indeed adjusted with hammer taps. Be careful though to not strike the body of the plane, only the cutter, as cast iron is brittle. To retract the iron i’d just loosen the cap and reset it..
Hi Izzy
I have watched Pauls videos on sharpening and want to ask a question. The craftsmen of earlier centuries did not have the tools we have today and yet produced some of the most beautiful looking work. Can you ask Paul to explain how this was achieved? What grit did these craftsmen sharpen their planes to etc. In other words could Paul explain or maybe a give a demonstration of the methodology/techniques used by the craftsmen of say the Georgian era.
Cheers
Charlie
Charlie
Hi Charlie,
Paul says:
There is no doubt that early craftsman had access to very fine natural stone that equal anything we have today. Also, it is unquestionable to believe that we produce superior tools today, that’s far from true.
Kind Regards,
Izzy
Hi Izzy,
Thank you for this great intro and thank you all from Paul’s team.
I’ve been fascinated with everything Paul has online and (hopefully) starting to learn – I am absolutely sure true learning will come with practice but knowing where to start and ‘what good looks like’ has been a blessing.
I’ve kinda developed a bit of an addiction with buying appallingly abused planes which I intend refurbishing and putting back out there (will possibly not make any money but what I want is to get familiar with their anatomy at the same time as I learn how to drive ‘em).
So, here is my question: I have noticed some ‘Stanley Bailey number 4 made in England’ are slightly smaller and seem more crudely made than others. Is there a ‘best batch’ that you’re familiar with? Or are them all good, with cosmetic differences from on foundry/era to another?
Ngā mihi nui,
Paulo
(Brazilian in New Zealand, very much in love with British woodworking) 🙂
Hi Paulo,
Paul says:
I think the pre 1960’s are a better made option, but that’s all I can say.
Kind Regards,
Izzy
Thank you 🙂
Hi,
I’ve recently purchased a Stanley Bailey No.4 and No.5 second hand off Ebay. The No.4 has brass screws while the No.5 has what looks like steel screws. Both have the red “Stanley” logo on the lever cap. Why would this be? Would the No.5 potentially be a slightly newer model? A repair? Could you try and share some light on this for me please … I’m trying to get some consistency and this has niggled me.
Many Thanks!
Hi Thomas,
Paul says:
Many planes went to steel and or plastic during the war because brass was needed for munitions. They did eventually go back to brass.
Izzy
Here are two images for reference:
No.5: https://i.ebayimg.com/images/g/CJYAAOSweANgTnQ-/s-l1600.jpg
No.4: https://i.ebayimg.com/images/g/st0AAOSw-HlgTO47/s-l1600.jpg
Many Thanks!