Setting Up and Sharpening a Combination Gauge
To see a video on centring the gauge, click here.
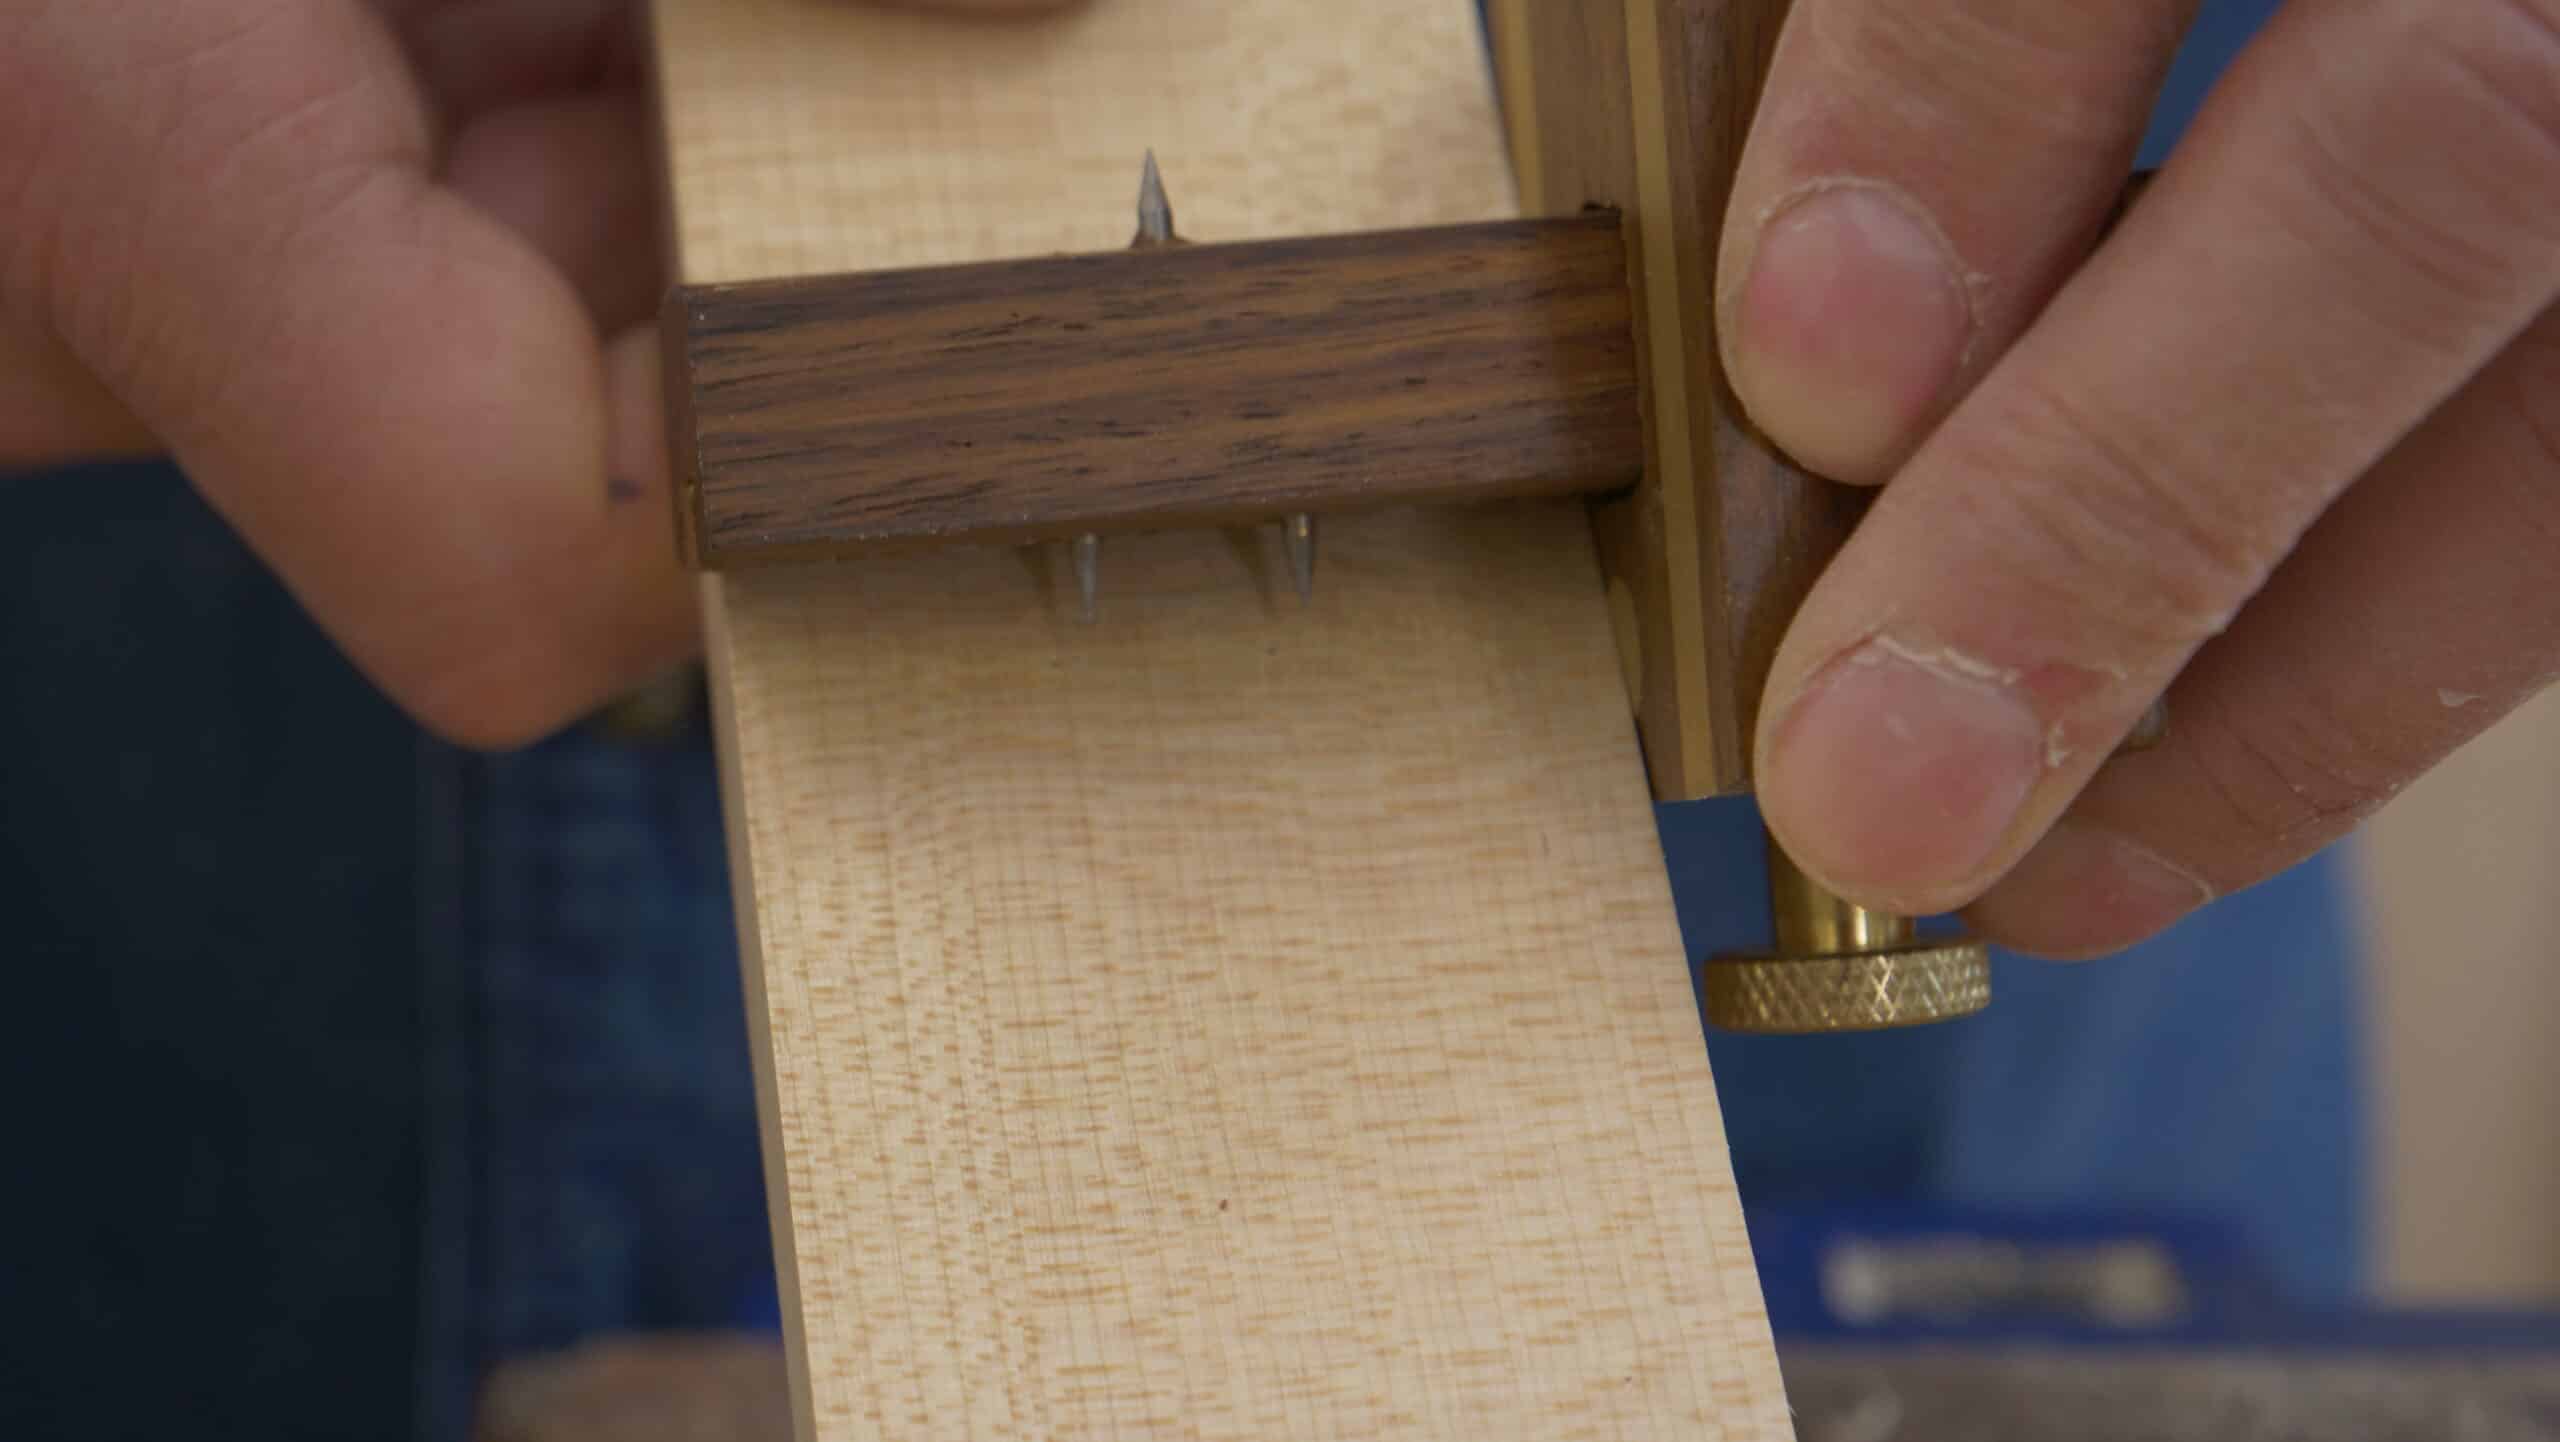
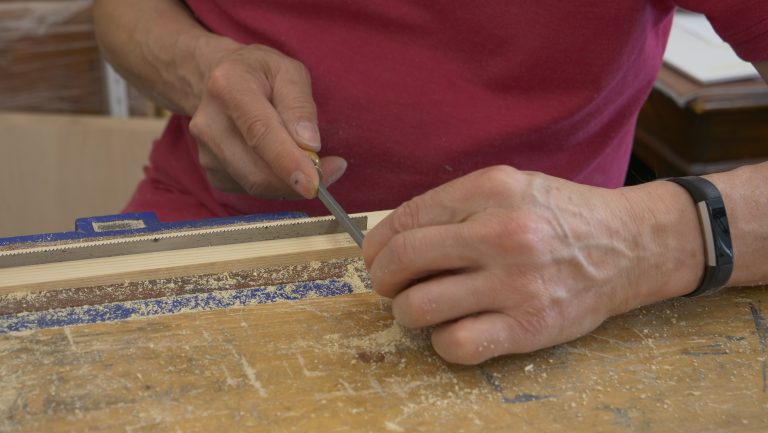
When setting a mortise gauge, one of the twin pins is moveable. Place the chisel against the fixed pin, then set the moveable pin to the width of the chisel. Position the chisel just inside the tips of the pins (refer to picture for positioning). Hold the pin bar in place while securing the second pin with the knurled knob or thumbscrew.
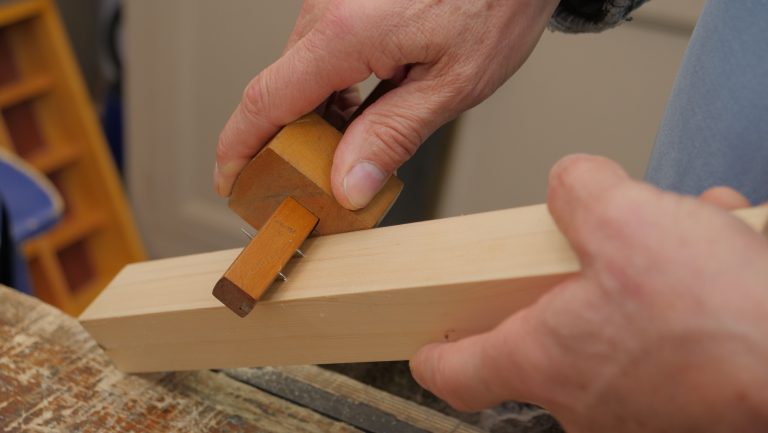
To center, rough set the pins where you think the middle of your material is, register the stock against the side of your wood, then tighten the locking screw to secure in place. Press the pins down to make a mark in the wood lightly, then place the gauge on the opposite face so that the stock of the gauge registers on the other side. Press the pins down on the wood again to see if they align with your previous marks.
If the marks match up without having to adjust the combination gauge, then you have got it centred. If they do not match up, you need to adjust the stock of the gauge to ensure you are in between the 2 points. Hold the pin bar to keep the pins in place while you move the stock. Check the pins against the chisel at the end to ensure these have not moved, if they have moved you will need to reset the width and recentre the pins.
This may take a couple of tries but it is worth being accurate as this will determine the alignment of the cheeks of your joint and where to make the exact cuts.
Centering a Gauge Video:
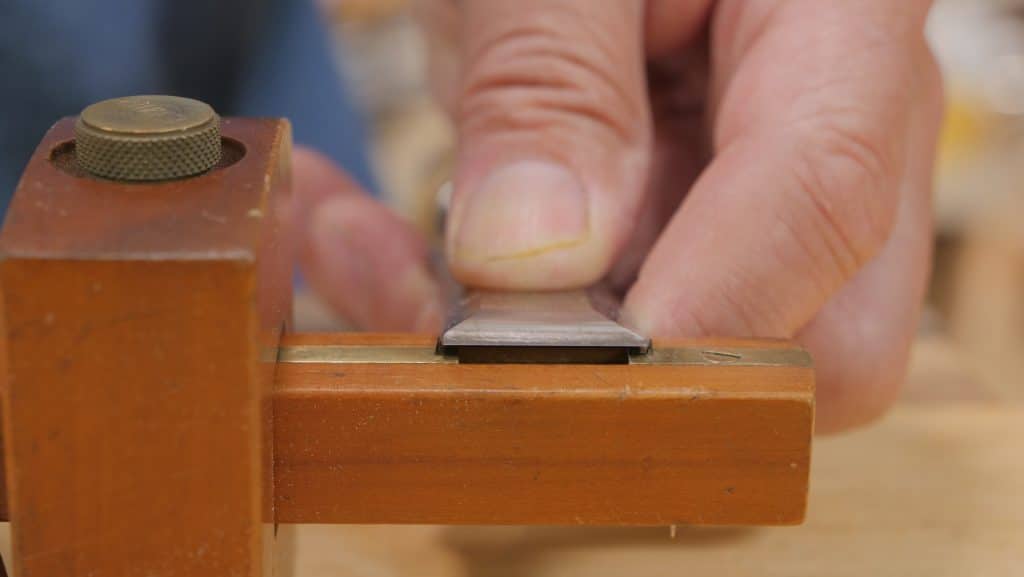
Sharpening
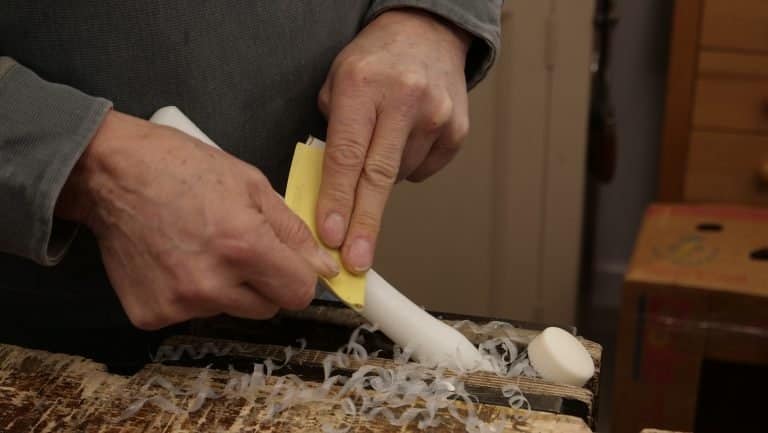
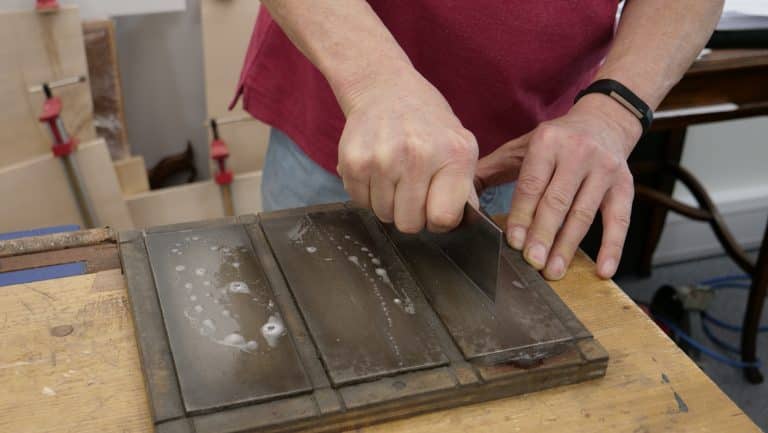
Over time the marking pins will wear down, sometimes they will even snap off. You have two choices when this happens, you can either sharpen them back to a point, or you can sharpen them into a flat chisel tip using a diamond paddle or a homemade abrasive paddle.
Further Reading
To read more on the combination gauge, we recommend the following from Paul’s blog:
My Minimalist Tool List- The Combination Gauge
On Marking Gauges Part I- Old and New
Marking Gauges- Part II- Mortise Gauges and More
Thank you for all this information!! its great!!