Paul’s Top Woodworking Tips: Part 3
In this blog we are continuing to share some of Paul’s favourite woodworking tips he has collected over the years. You can catch up with part 1 and part 2 here.
Poor Man’s Rasp
Get a dowel (eg. a broom handle) and cut it in 2 lengthways, glue sandpaper around this to make a poor man’s rasp. The rounded side is great for shaping a hollow, and the reverse side can be used for flat surfaces.


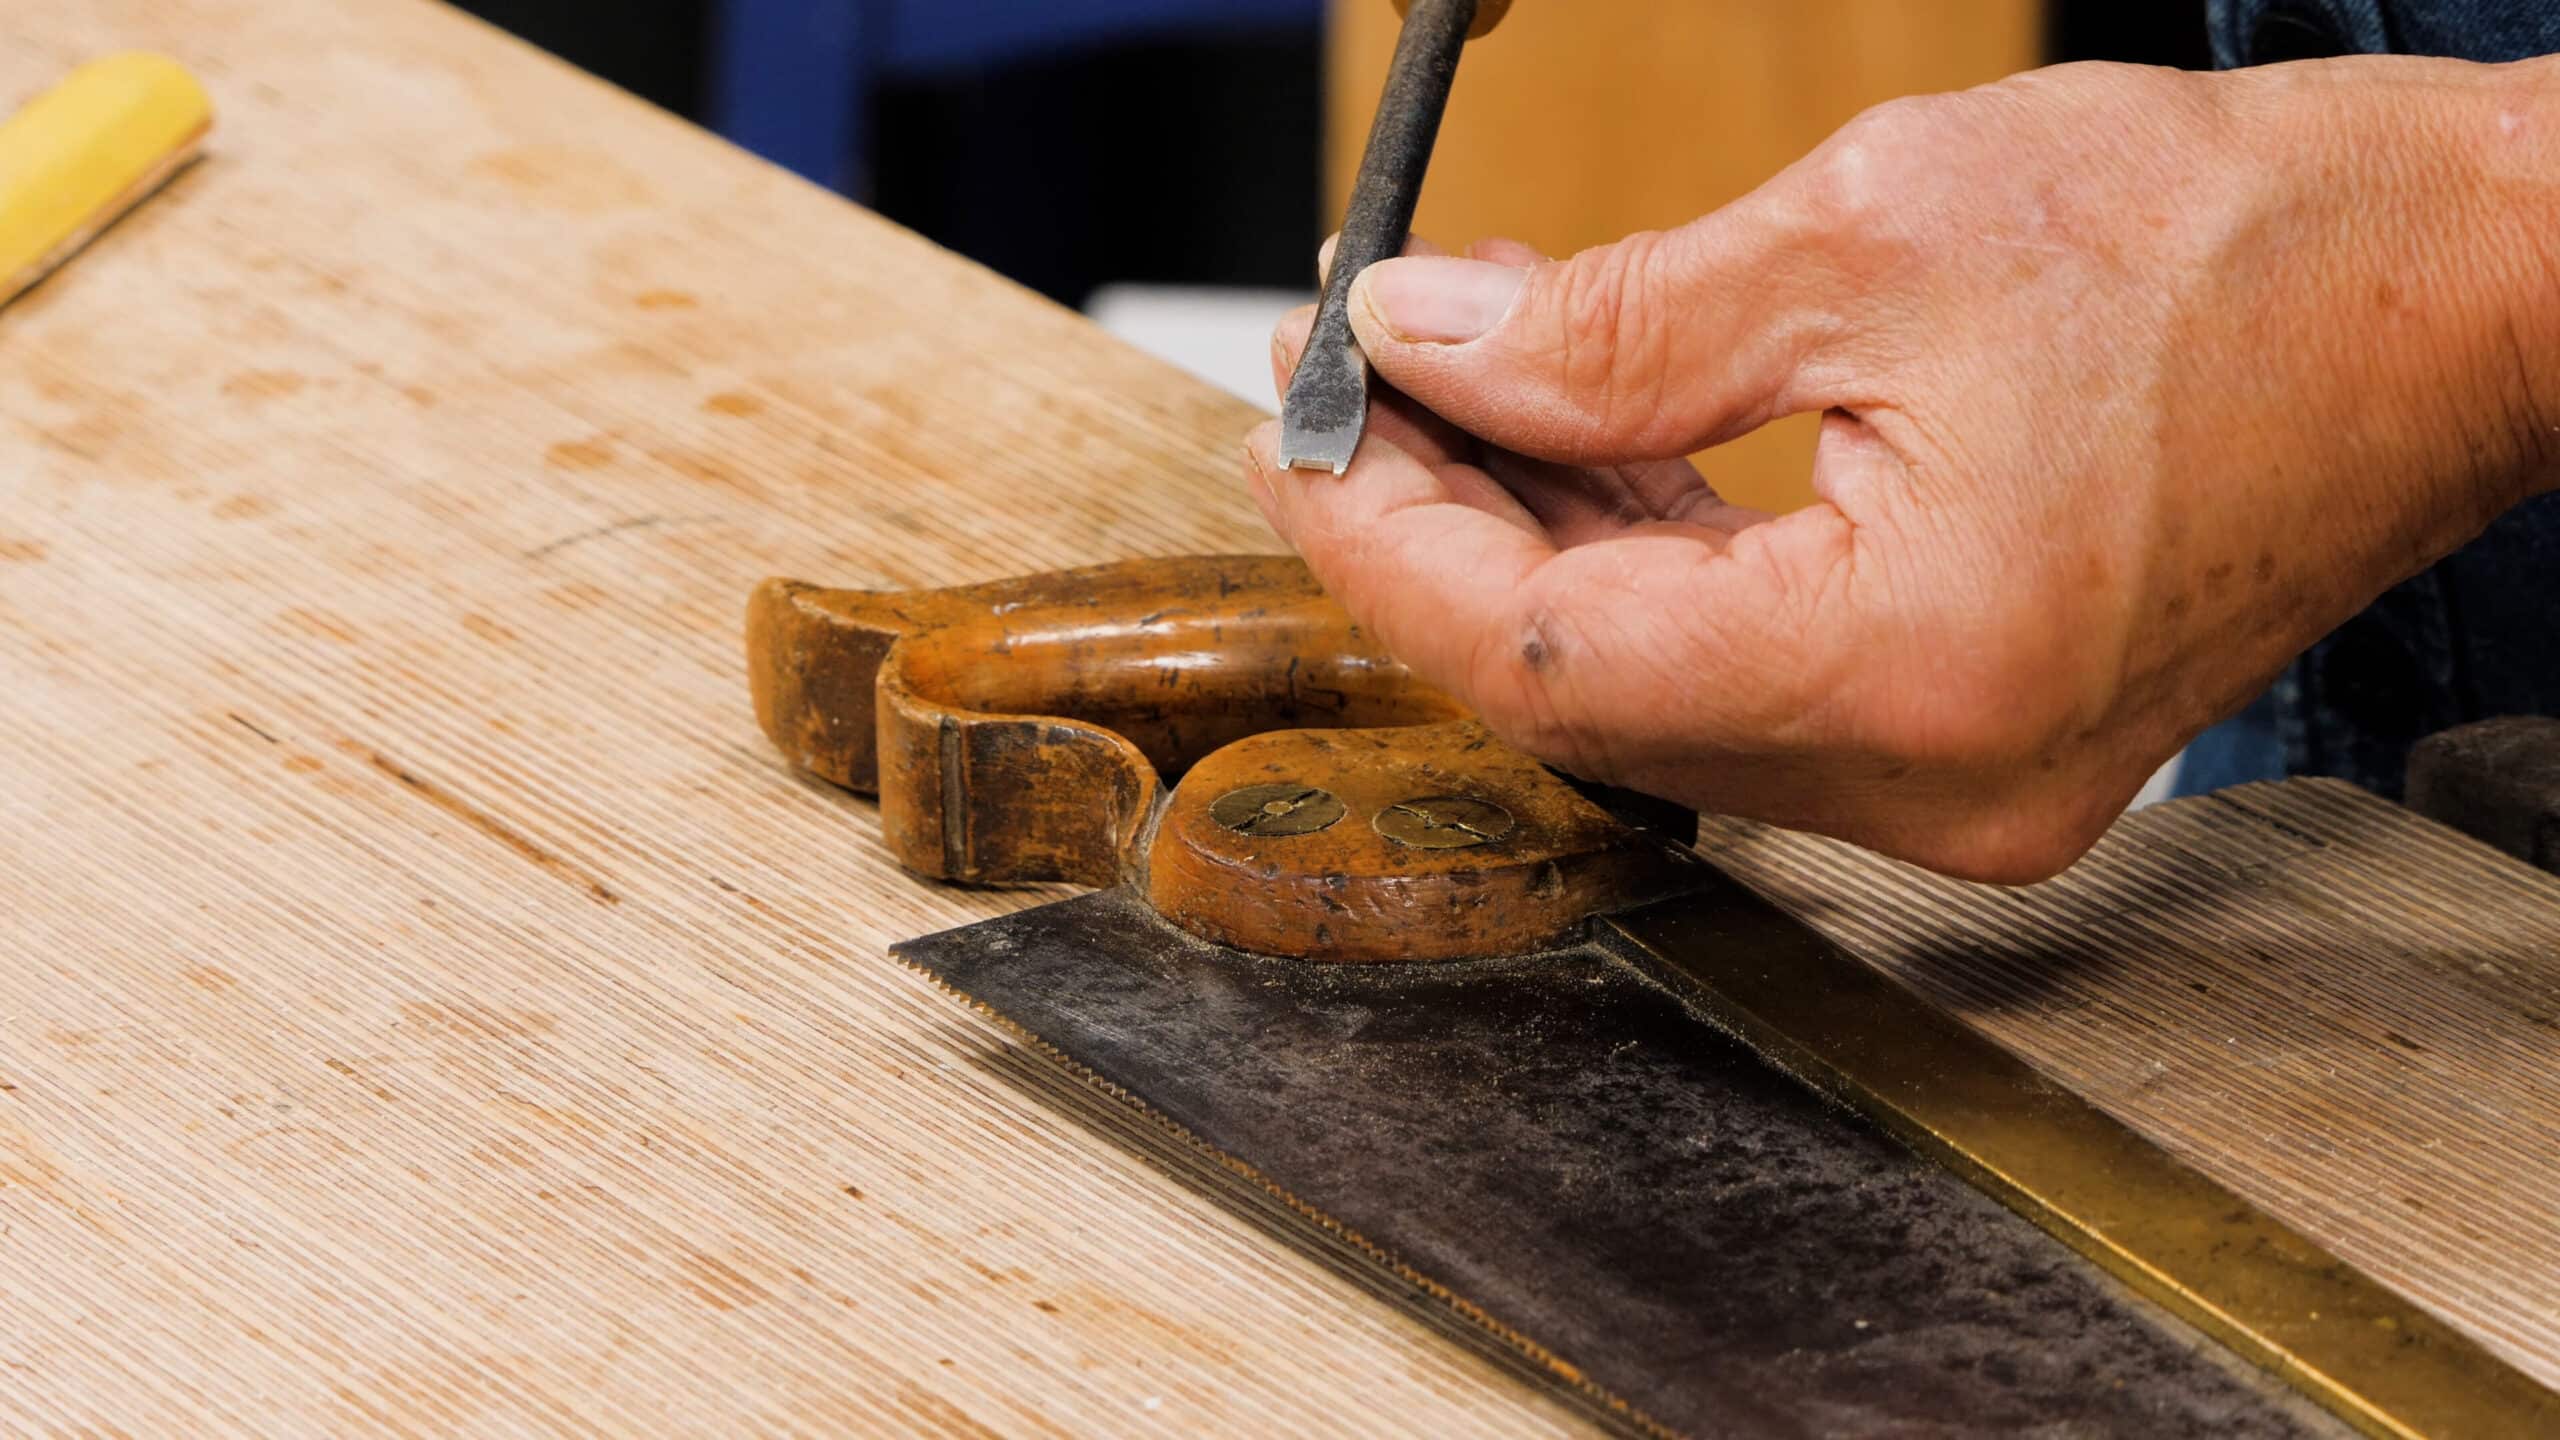
Tighten up Split Nuts on a Saw Handle
To tighten up split nuts on a vintage saw handle, file out the middle section on a screwdriver to fit into the grooves of the split nut heads without damaging them. This is a very handy tool to have!


Stop Marking Gauge Jarring
If your marking gauge catches every now and then, lower the stock and use a rag to coat the stem in bees wax, do the same for the face of the gauge and reposition. Your gauge should run along your wood smoothly with no skudding.


Sharpening a Square Awl
The square awl relies on its square corners to ream out wood. To keep these sharp, take a flat file to each of the facets for one full stroke.


Rolling the Spokeshave
To save you having to change the setting on a spokeshave each time, you can set it to a heavy cut and roll the spokeshave forward slightly which will take off a lighter shaving.


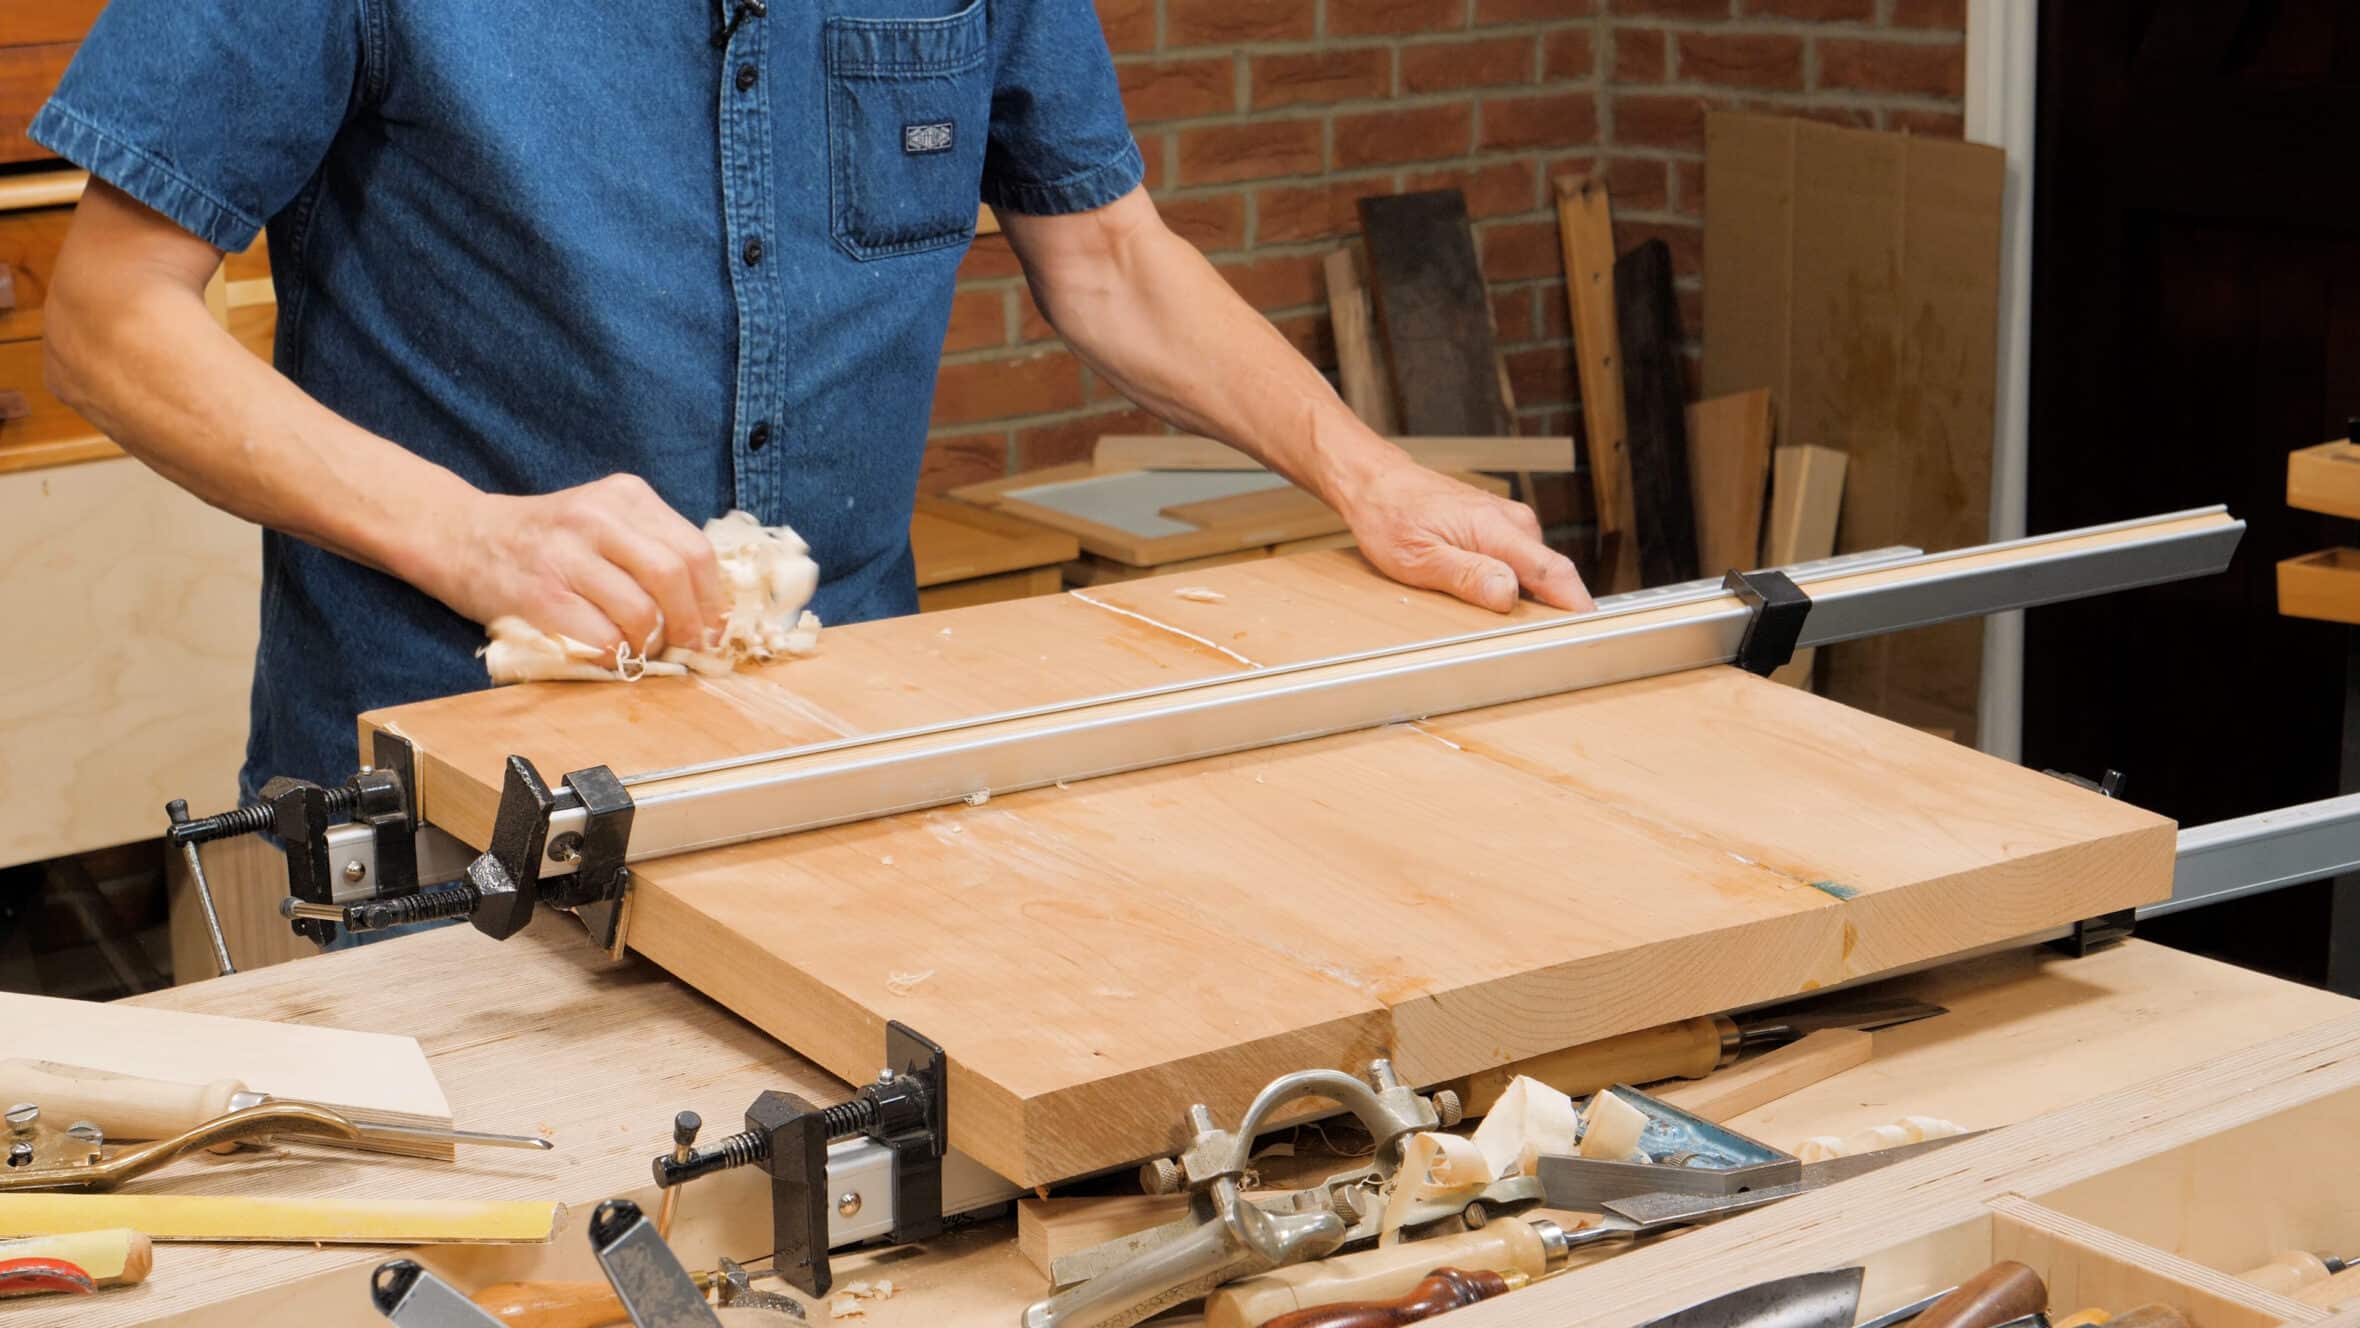
Positioning Sash Clamps
To reduce the footprint of your project, make sure all your clamps are going in the same direction. This will especially help if you have limited space in your workshop.


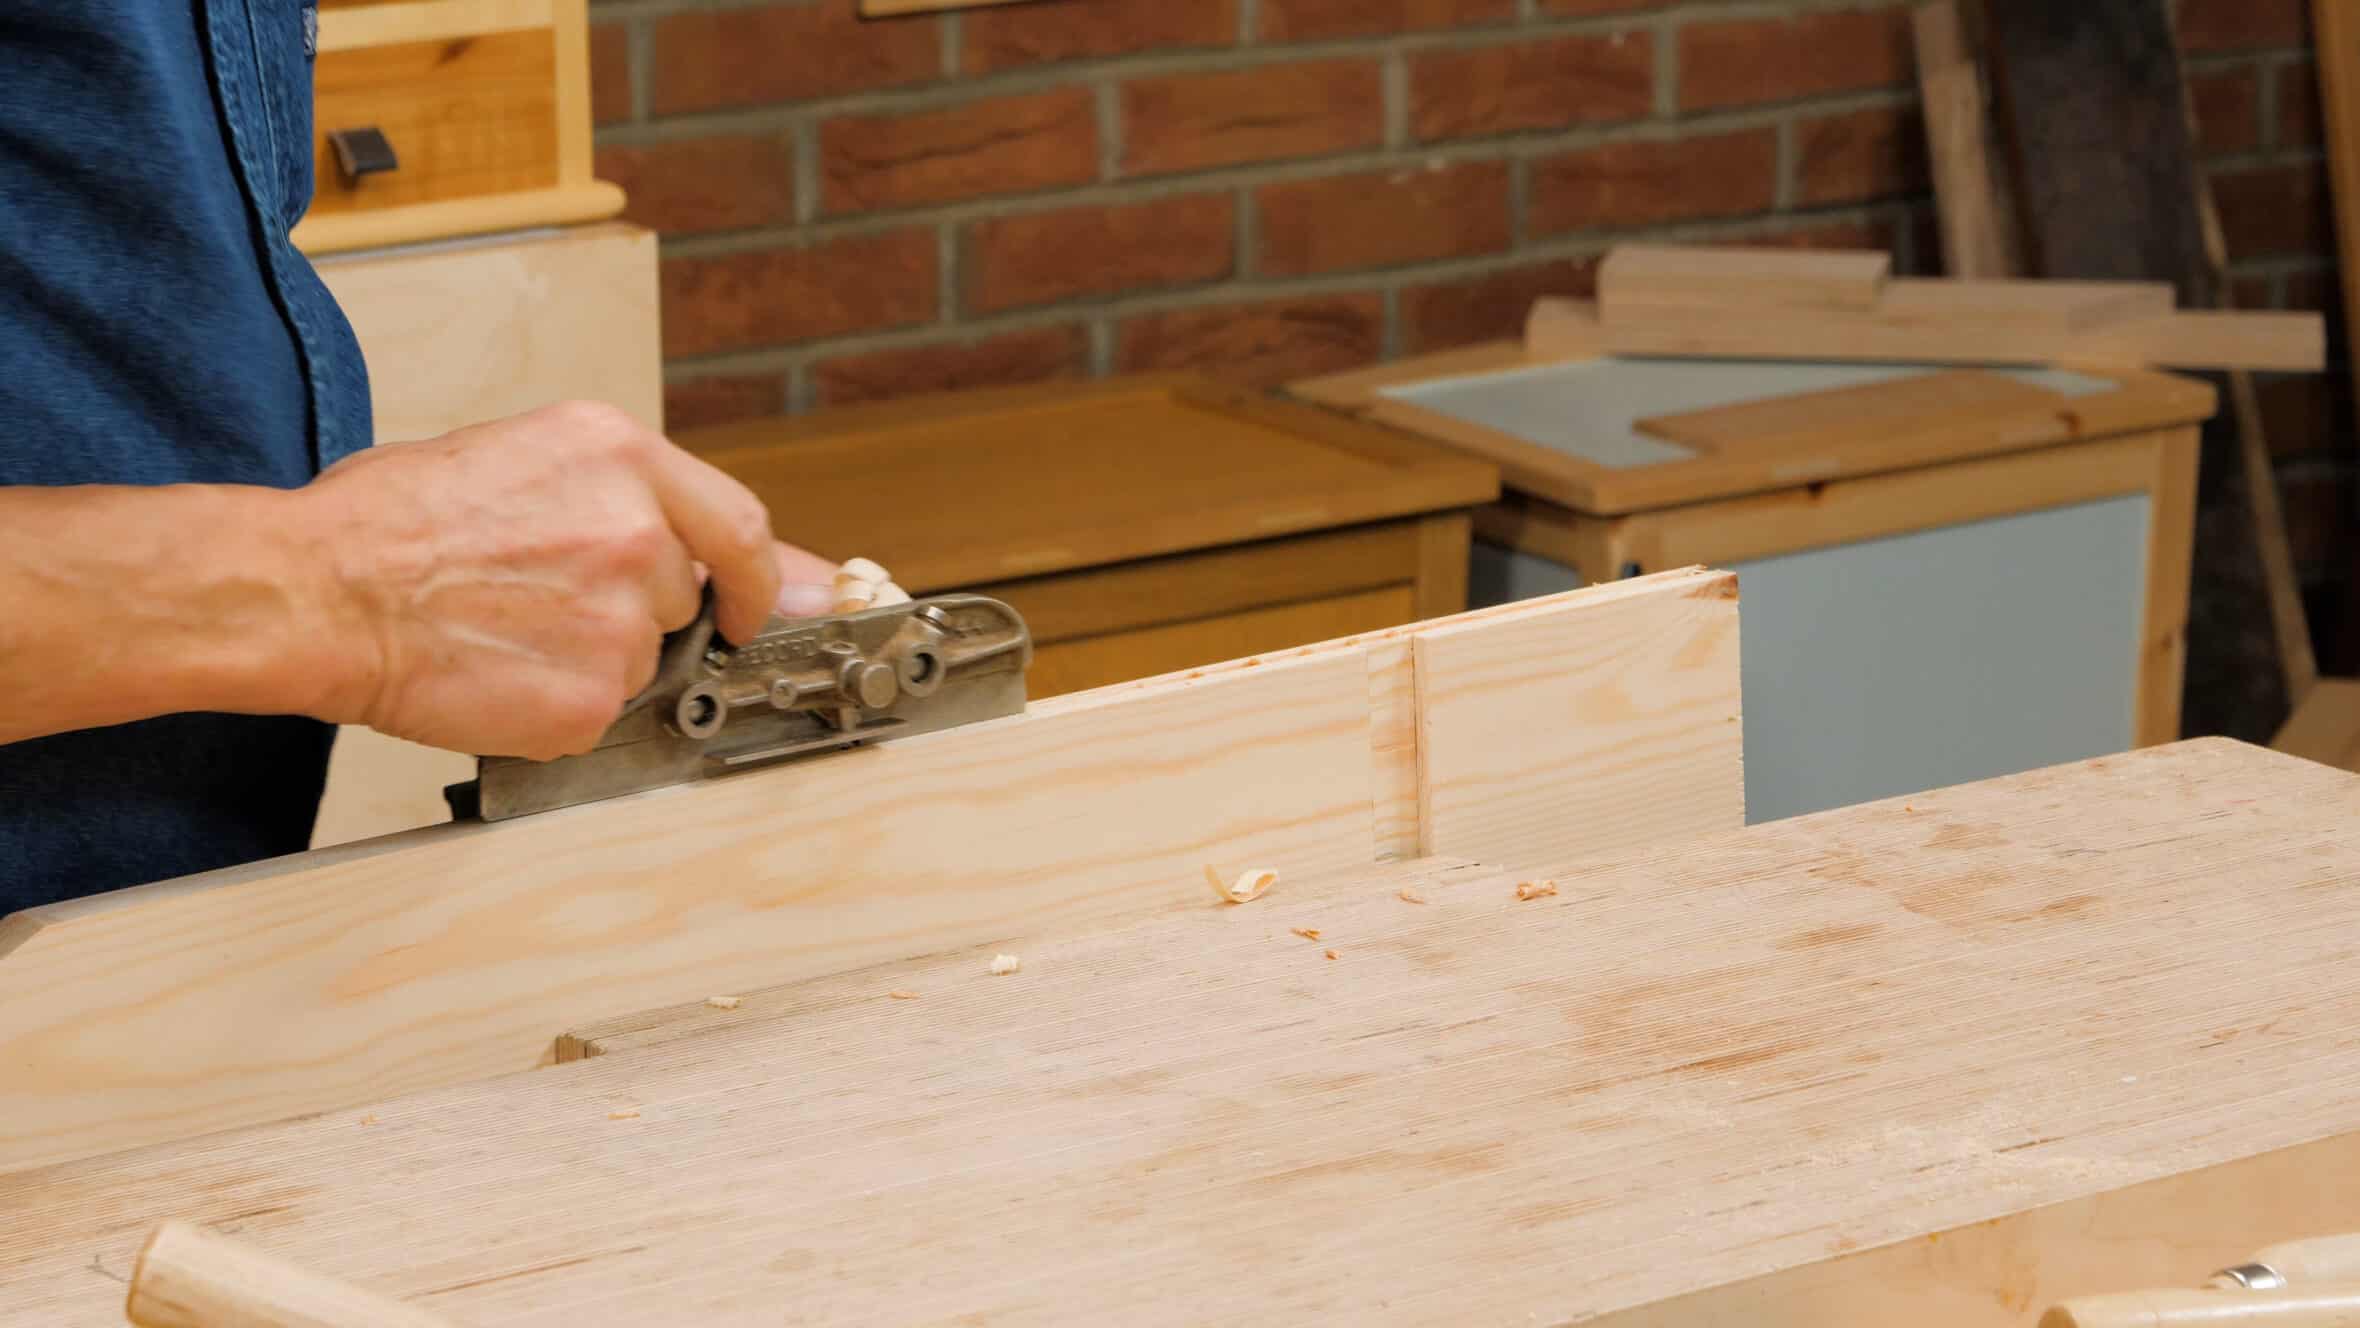
Overcoming Wild Grain with the Plough Plane
When using plough plane in a groove, sometimes you get some contrary grain and the plane will stop cutting. Take a chisel the same size as the groove and make chops into the wood at the bottom of the groove, then retry the plane. This will pull the blade to task and take care of wild grain.


Marking the Mortise Depth
If you’re chopping a mortise to a very specific depth, measure the distance on the chisel and make a mark so you know what depth to chop down to.


Removing Surface Nibbing
On many projects we use sandpaper between coats of finish which take down the surface nibbing (the fuzzy bits on finished wood.) Instead of using sandpaper which abrades the surface, you can lightly use a sharp card scraper across the surface to take off the surface nibbing between coats.

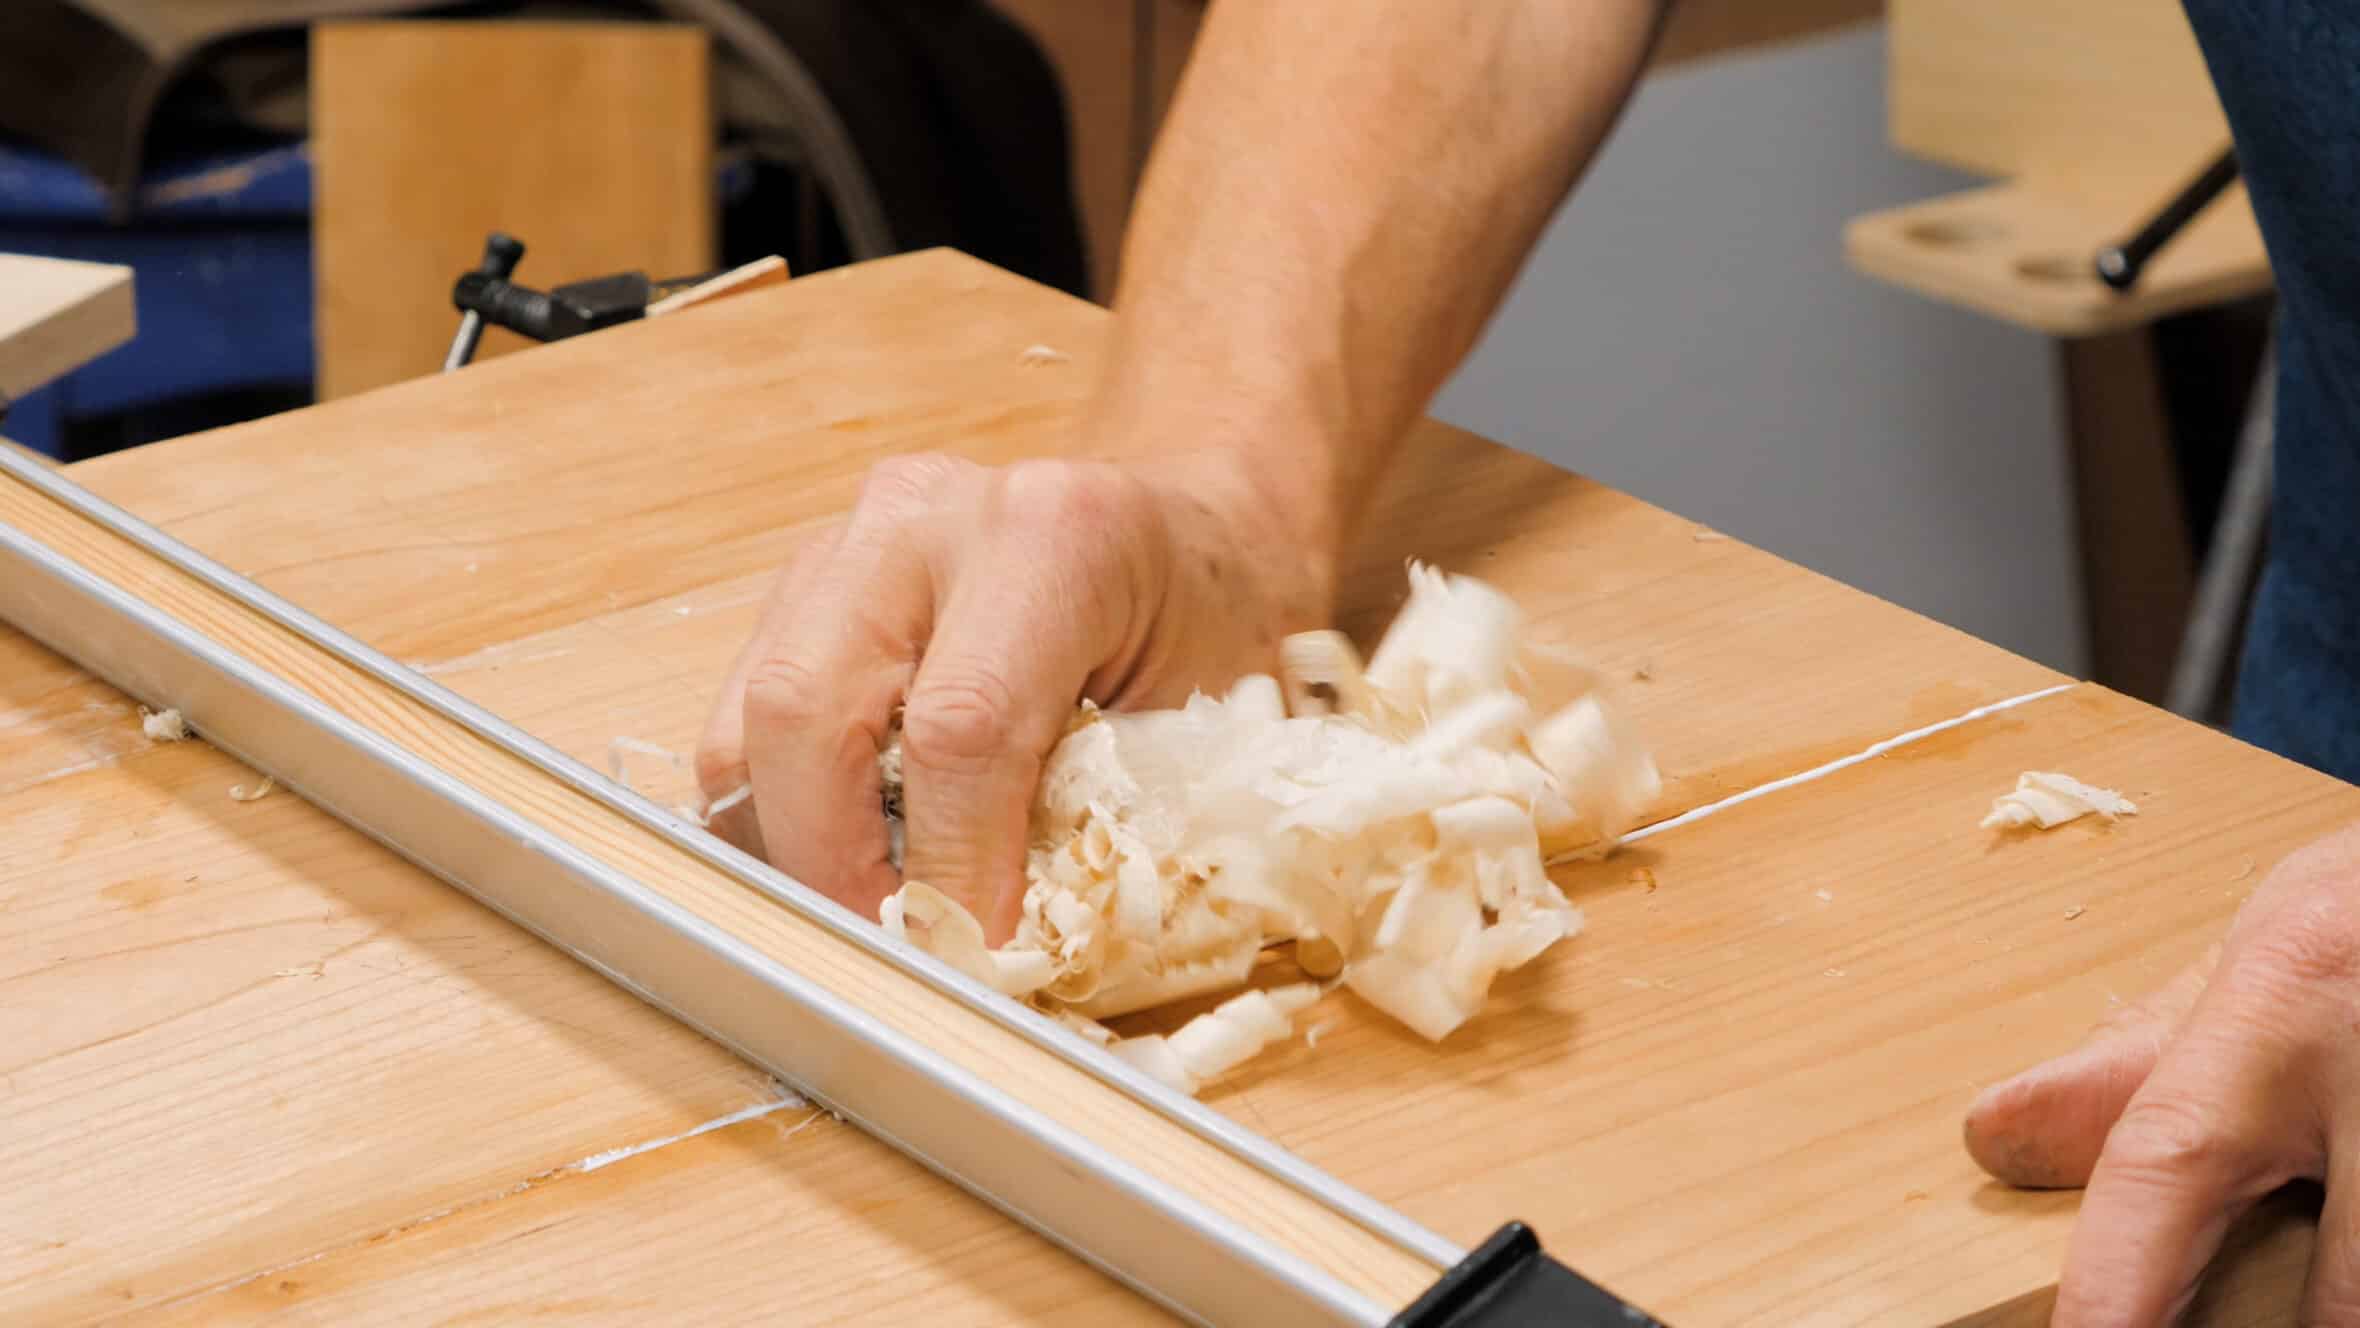
Clearing up Excess Glue
After glue up you might find there is glue oozing from the joint lines. Instead of introducing water to your project to clean it up, use some discarded shavings to remove the excess glue. The glue inside will dry much quicker if you’ve taken off the excess glue.


Good tip about wax on a marking gauge. Thanks.
Great tip on using a chisel to help with plough plane difficulty. Works great, I tried it. First course of action of course is to make sure your blade is very sharp. Sharp is everything.